Why Disc Brakes are a Game-Changer for Mountain Biking
When it comes to mountain biking, having reliable and efficient braking systems is crucial for a safe and enjoyable ride. Traditional rim brakes have been the norm for many years, but they have several limitations, particularly in wet conditions. This is where disc brakes for mountain bikes come into play, offering a significant upgrade in terms of stopping power, durability, and overall performance.

Click Image to Find eBike Products
Disc brakes work by using a rotor attached to the wheel hub and a caliper that houses the brake pads. When the brake lever is squeezed, the caliper clamps the rotor, slowing down the wheel. This design provides better heat dissipation, reduced wear on the brake pads, and improved stopping power, especially in wet conditions. Popular mountain bike brands such as Shimano and SRAM have adopted disc brakes as a standard feature in their high-end models, a testament to their effectiveness.
The benefits of disc brakes for mountain bikes are numerous. For one, they offer improved stopping power, which is critical when navigating technical trails or descending steep slopes. Additionally, disc brakes are less prone to wear and tear, reducing the need for frequent maintenance and replacement. They also perform better in wet conditions, where traditional rim brakes can be unreliable. Furthermore, disc brakes provide a more consistent braking experience, allowing riders to focus on the trail ahead rather than worrying about their brakes.
While disc brakes may require a slightly higher upfront investment, their long-term benefits and improved performance make them a worthwhile upgrade for serious mountain bikers. Whether you’re a seasoned pro or an enthusiast, disc brakes can take your riding experience to the next level, providing the confidence and control you need to tackle even the most challenging trails.
How to Choose the Right Disc Brakes for Your Mountain Bike
Selecting the right disc brakes for your mountain bike can be a daunting task, especially with the numerous options available in the market. However, by considering a few key factors, you can make an informed decision and find the perfect disc brakes for your ride. When choosing disc brakes for your mountain bike, it’s essential to consider the type of brake, rotor size, and caliper design.
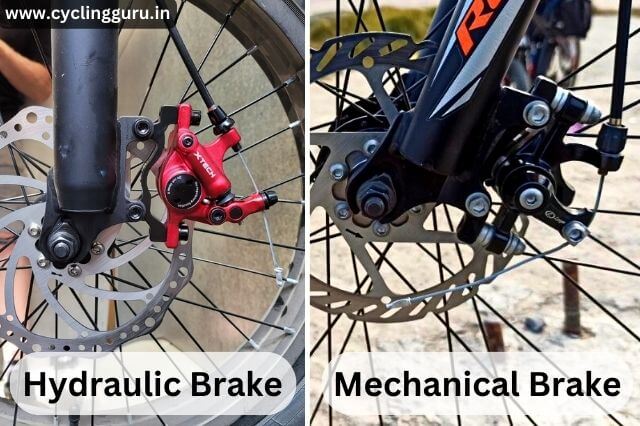
Disc brakes come in two main types: mechanical and hydraulic. Mechanical disc brakes use a cable to activate the brake caliper, while hydraulic disc brakes use fluid pressure to engage the brake pads. Hydraulic disc brakes are generally more powerful and offer better modulation, but they can be more expensive and require more maintenance. Mechanical disc brakes, on the other hand, are simpler and more affordable, but may not offer the same level of performance.
Rotor size is another critical factor to consider when choosing disc brakes for your mountain bike. A larger rotor provides more stopping power, but may also increase the weight and cost of the brake system. Common rotor sizes for mountain bikes include 160mm, 180mm, and 200mm. When selecting a rotor size, consider the type of riding you’ll be doing and the terrain you’ll be encountering.
Caliper design is also an essential aspect of disc brakes for mountain bikes. The caliper is the component that houses the brake pads and engages the rotor. Look for a caliper design that is sturdy, reliable, and offers good heat dissipation. Some popular disc brake models, such as the Shimano XT and SRAM Guide, feature advanced caliper designs that provide excellent braking performance.
When evaluating disc brake systems, consider the overall performance, durability, and value for money. Look for systems that offer a good balance of power, modulation, and reliability. Some popular disc brake systems for mountain bikes include the Shimano XT, SRAM Guide, and Hope Tech. These systems have been tested and proven to provide excellent braking performance in a variety of conditions.
By considering these factors and doing your research, you can find the perfect disc brakes for your mountain bike and take your riding experience to the next level. Whether you’re a seasoned pro or an enthusiast, the right disc brakes can make all the difference in your performance and safety on the trails.
Understanding Disc Brake Components: A Closer Look
A disc brake system consists of several key components that work together to provide reliable braking performance. Understanding these components and how they interact is essential for maintaining and troubleshooting your disc brakes. In this section, we’ll take a closer look at the rotor, caliper, brake pads, and brake levers that make up a typical disc brake system.
The rotor is the circular metal disc that is attached to the wheel hub. It’s the component that the brake pads clamp onto to slow down the wheel. Rotors come in different sizes, ranging from 140mm to 200mm in diameter, and are typically made of steel or aluminum. The size and material of the rotor can affect the braking performance and heat dissipation of the system.
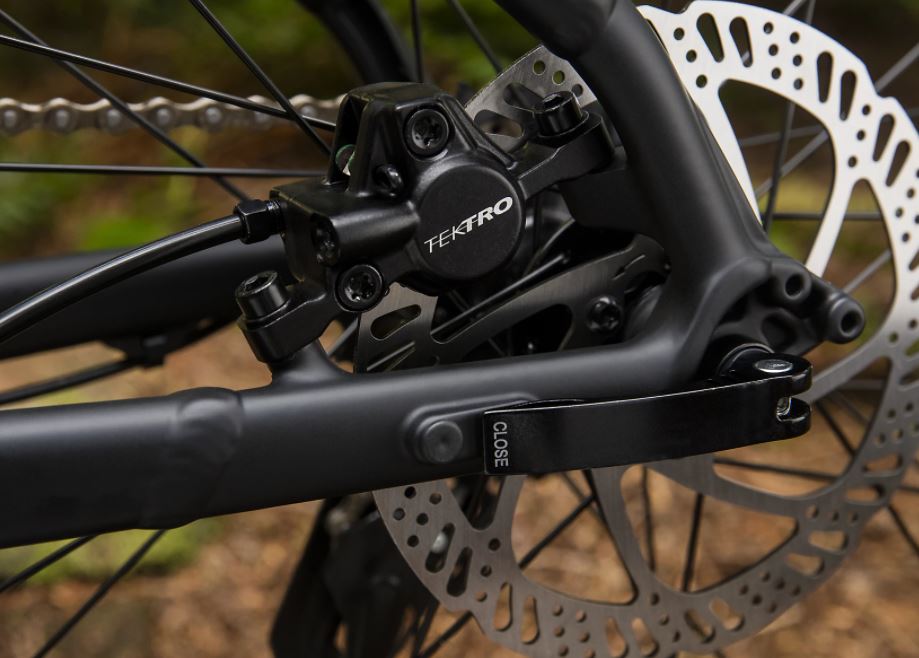
The caliper is the component that houses the brake pads and is responsible for clamping the rotor. It’s typically made of aluminum or magnesium and is designed to be lightweight and durable. The caliper is attached to the frame or fork of the bike and is connected to the brake levers via a hose or cable. There are different types of calipers, including mechanical and hydraulic, each with its own advantages and disadvantages.
Brake pads are the components that make contact with the rotor to slow down the wheel. They’re typically made of a semi-metallic or organic material and are designed to provide good braking performance and durability. Brake pads come in different types, including sintered and organic, each with its own characteristics and advantages.
Brake levers are the components that the rider uses to activate the brake system. They’re typically attached to the handlebars and are connected to the caliper via a hose or cable. Brake levers come in different types, including mechanical and hydraulic, each with its own advantages and disadvantages. Some brake levers also feature adjustable reach and bite point, allowing the rider to customize the feel of the brakes.
When these components work together, they provide a reliable and efficient braking system that can handle the demands of mountain biking. By understanding how each component works and how they interact, you can better maintain and troubleshoot your disc brakes, ensuring optimal performance and safety on the trails.
Top Disc Brake Systems for Mountain Bikes: A Review
When it comes to choosing the best disc brake system for your mountain bike, there are several options to consider. In this review, we’ll take a closer look at three popular disc brake systems: the Shimano XT, SRAM Guide, and Hope Tech. We’ll evaluate each system’s performance, durability, and value for money to help you make an informed decision.
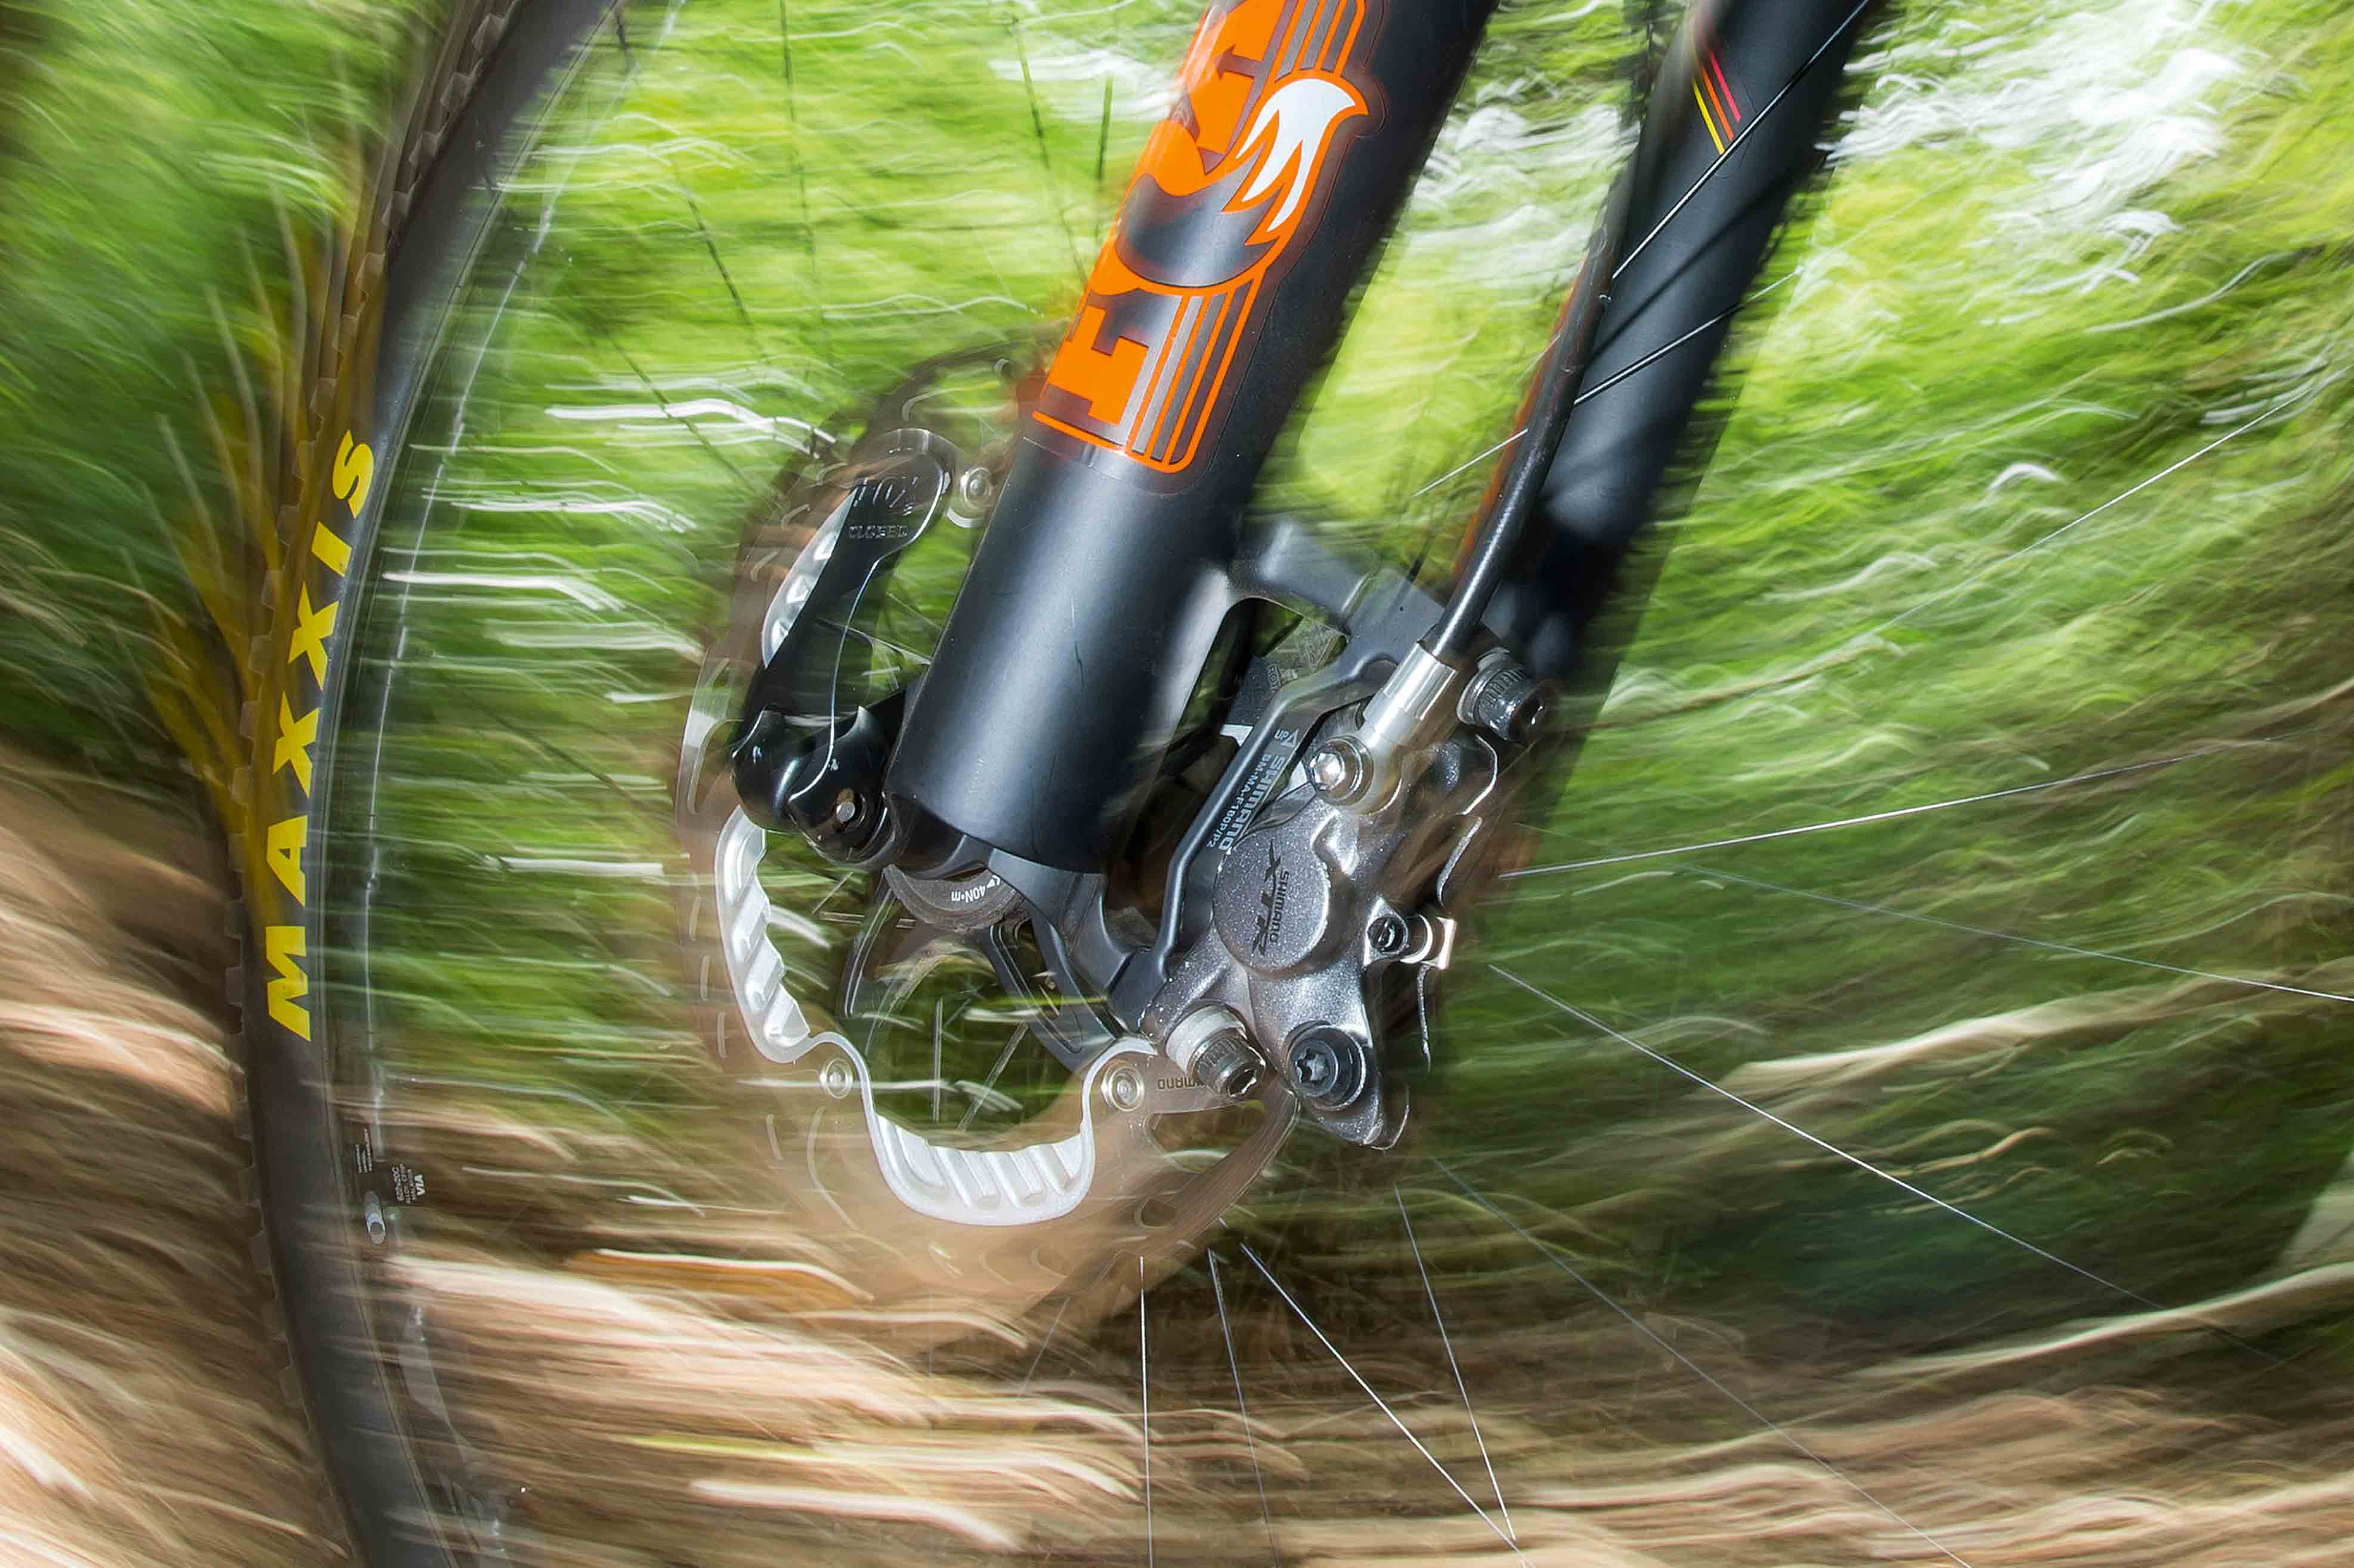
The Shimano XT disc brake system is a popular choice among mountain bikers. It features a hydraulic brake system with a 2-piston caliper and a 160mm rotor. The XT system is known for its excellent braking performance, with good modulation and a strong bite. It’s also relatively lightweight and easy to maintain. However, it can be a bit pricey, with a retail price of around $200.
The SRAM Guide disc brake system is another popular option. It features a hydraulic brake system with a 4-piston caliper and a 180mm rotor. The Guide system is known for its excellent braking performance, with good modulation and a strong bite. It’s also relatively lightweight and easy to maintain. However, it can be a bit pricey, with a retail price of around $250.
The Hope Tech disc brake system is a more budget-friendly option. It features a hydraulic brake system with a 2-piston caliper and a 160mm rotor. The Hope Tech system is known for its excellent braking performance, with good modulation and a strong bite. It’s also relatively lightweight and easy to maintain. However, it may not be as durable as some of the other options, with a retail price of around $150.
When evaluating these disc brake systems, it’s essential to consider your specific needs and preferences. If you’re looking for a high-performance brake system with excellent modulation and a strong bite, the Shimano XT or SRAM Guide may be the best option. However, if you’re on a budget and looking for a more affordable option, the Hope Tech may be the way to go.
Ultimately, the best disc brake system for your mountain bike will depend on your specific needs and preferences. By considering the performance, durability, and value for money of each system, you can make an informed decision and find the perfect brake system for your ride.

Installation and Maintenance Tips for Disc Brakes
Proper installation and maintenance of disc brakes are crucial for optimal performance and safety. In this section, we’ll provide step-by-step instructions on how to install and maintain disc brakes on your mountain bike, including bleeding the brake system and replacing brake pads.
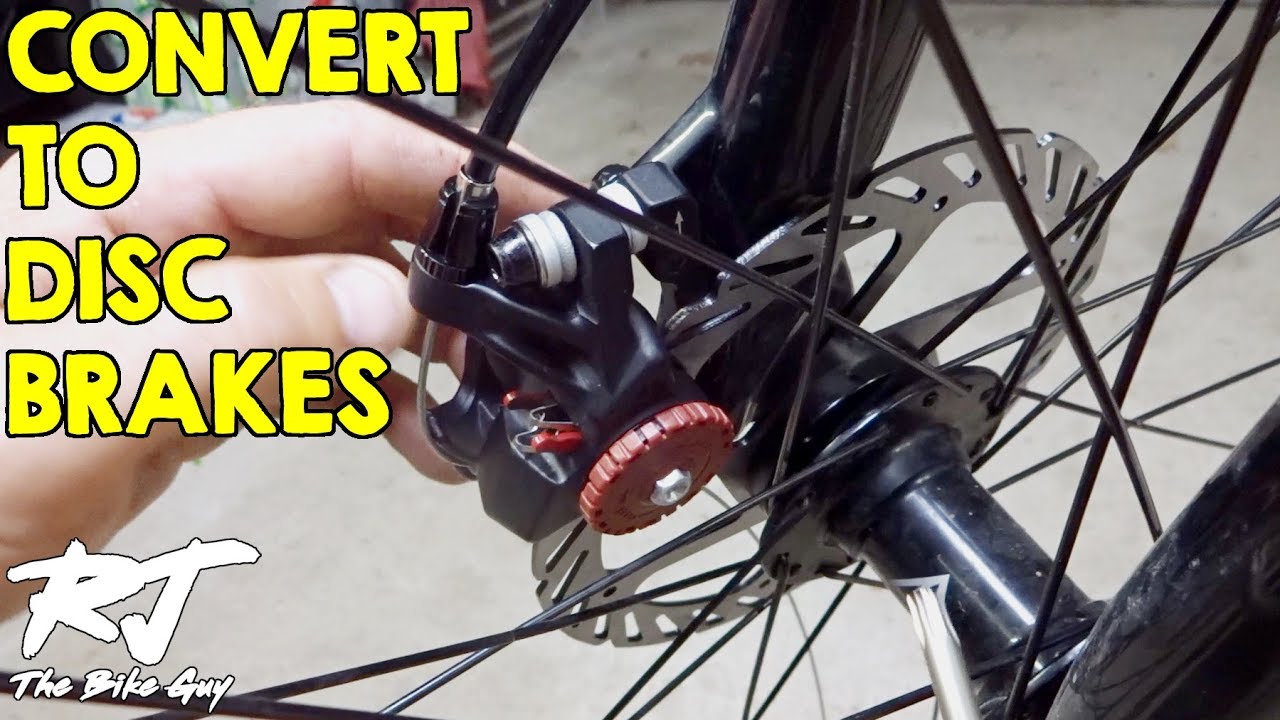
Installing disc brakes on your mountain bike requires some technical expertise, but it’s a relatively straightforward process. First, ensure that your bike is compatible with disc brakes and that you have the necessary tools and components. Next, follow the manufacturer’s instructions for installing the brake system, including the caliper, rotor, and brake levers.
Once the brake system is installed, it’s essential to bleed the system to remove any air bubbles that may have formed during the installation process. Bleeding the brake system involves using a brake bleeding kit to remove any air bubbles from the brake lines and caliper. This process can be a bit tricky, but it’s essential for optimal brake performance.
Replacing brake pads is another essential maintenance task for disc brakes. Brake pads should be replaced every 500-1000 miles, depending on the type of riding you do and the condition of the pads. To replace brake pads, simply remove the old pads and install new ones, following the manufacturer’s instructions.
In addition to bleeding the brake system and replacing brake pads, there are several other maintenance tasks that you should perform regularly to keep your disc brakes in good working order. These include cleaning the brake system, checking the brake fluid level, and inspecting the brake pads for wear.
By following these installation and maintenance tips, you can ensure that your disc brakes are working optimally and provide you with the stopping power and safety you need on the trails.
Here are some additional tips to keep in mind when installing and maintaining disc brakes:
- Always follow the manufacturer’s instructions for installation and maintenance.
- Use the correct tools and components for the job.
- Take your time and be patient when working with disc brakes.
- Don’t be afraid to seek help if you’re unsure about any aspect of the installation or maintenance process.

Troubleshooting Common Disc Brake Issues
Disc brakes are a reliable and efficient braking system, but like any mechanical component, they can be prone to issues. In this section, we’ll identify common problems that can occur with disc brakes, such as spongy brake levers or uneven brake pad wear, and offer troubleshooting tips and solutions to resolve these issues.
One common issue with disc brakes is spongy brake levers. This can be caused by air in the brake system, which can enter the system during installation or maintenance. To resolve this issue, try bleeding the brake system to remove any air bubbles. This can be done using a brake bleeding kit, which is available at most bike shops.
Another common issue with disc brakes is uneven brake pad wear. This can be caused by improper brake pad alignment or worn-out brake pads. To resolve this issue, try adjusting the brake pad alignment or replacing the brake pads with new ones. It’s also important to regularly inspect the brake pads for wear and tear, and replace them as needed.
Other common issues with disc brakes include brake lever drag, brake pad noise, and brake fluid leaks. To resolve these issues, try adjusting the brake lever alignment, replacing the brake pads with new ones, or tightening the brake fluid reservoir cap.
Here are some additional troubleshooting tips to keep in mind:
- Always refer to the manufacturer’s instructions for troubleshooting and maintenance.
- Use the correct tools and components for the job.
- Take your time and be patient when working with disc brakes.
- Don’t be afraid to seek help if you’re unsure about any aspect of the troubleshooting process.
By following these troubleshooting tips and solutions, you can resolve common issues with disc brakes and ensure optimal braking performance and safety on the trails.
Upgrading to Disc Brakes: Is it Worth the Investment?
Upgrading to disc brakes can be a significant investment, but is it worth the cost? In this section, we’ll discuss the cost-benefit analysis of upgrading to disc brakes, including the cost of the brake system, installation, and maintenance. We’ll also evaluate whether the improved performance and safety of disc brakes justify the investment.
The cost of a disc brake system can vary widely, depending on the type and quality of the components. A basic disc brake system can cost around $200-$300, while a high-end system can cost upwards of $1,000. Installation costs can also vary, depending on the complexity of the installation and the labor costs of the mechanic.
However, the benefits of disc brakes far outweigh the costs. Disc brakes offer improved stopping power, better performance in wet conditions, and increased durability. They also provide a more consistent and reliable braking experience, which can be a major safety advantage on the trails.
In addition to the cost of the brake system and installation, maintenance costs should also be considered. Disc brakes require regular maintenance to ensure optimal performance, including bleeding the brake system and replacing brake pads. However, these costs are relatively low, and the benefits of disc brakes far outweigh the costs.
So, is upgrading to disc brakes worth the investment? Absolutely. While the upfront cost may be higher, the benefits of disc brakes far outweigh the costs. Improved performance, safety, and reliability make disc brakes a worthwhile investment for any serious mountain biker.
Here are some tips to consider when upgrading to disc brakes:
- Research different disc brake systems and compare prices and features.
- Consider the cost of installation and maintenance when calculating the total cost of the upgrade.
- Look for deals and discounts on disc brake systems and components.
- Consider upgrading to a complete disc brake system, including the brake levers, calipers, and rotors.

Conclusion: Take Your Mountain Biking to the Next Level with Disc Brakes
In conclusion, disc brakes are a game-changer for mountain biking. They offer improved stopping power, better performance in wet conditions, and increased durability. With the right disc brake system, you can take your mountain biking to the next level and enjoy a safer, more confident ride.
Whether you’re a seasoned pro or just starting out, disc brakes are a worthwhile investment for any mountain biker. They provide a more consistent and reliable braking experience, which can be a major safety advantage on the trails.
In this article, we’ve covered the benefits of disc brakes, how to choose the right disc brakes for your mountain bike, and how to install and maintain them. We’ve also reviewed popular disc brake systems and discussed the cost-benefit analysis of upgrading to disc brakes.
So, what are you waiting for? Upgrade to disc brakes today and experience the difference for yourself. With their improved performance, safety, and reliability, disc brakes are the perfect upgrade for any mountain biker looking to take their ride to the next level.
Remember, when it comes to mountain biking, safety should always be your top priority. With disc brakes, you can ride with confidence and enjoy the thrill of the ride, knowing that you have a reliable braking system behind you.
Thanks for reading, and we hope you found this article informative and helpful. Happy trails!