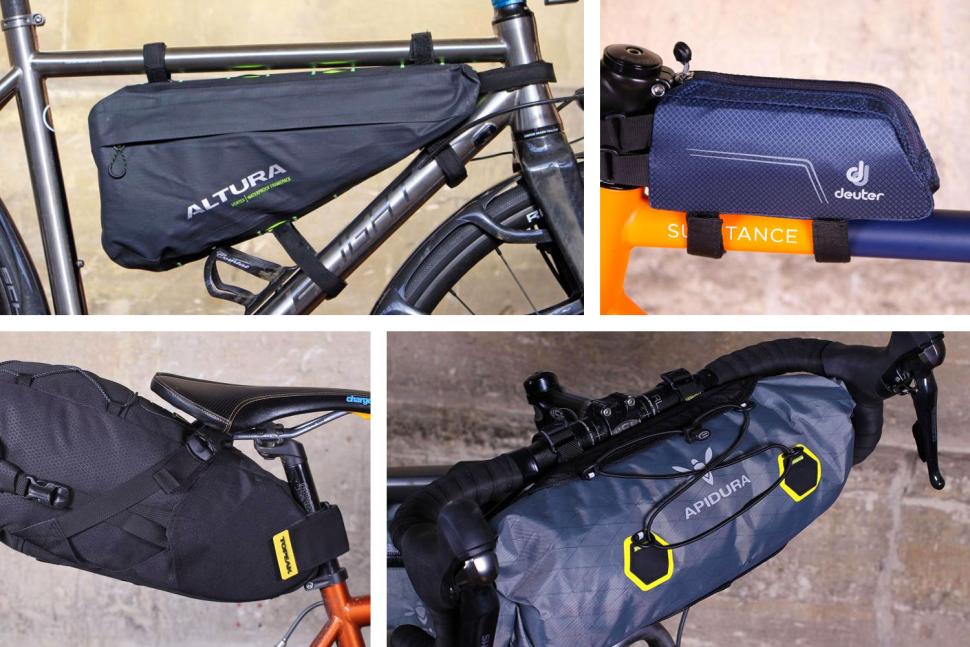
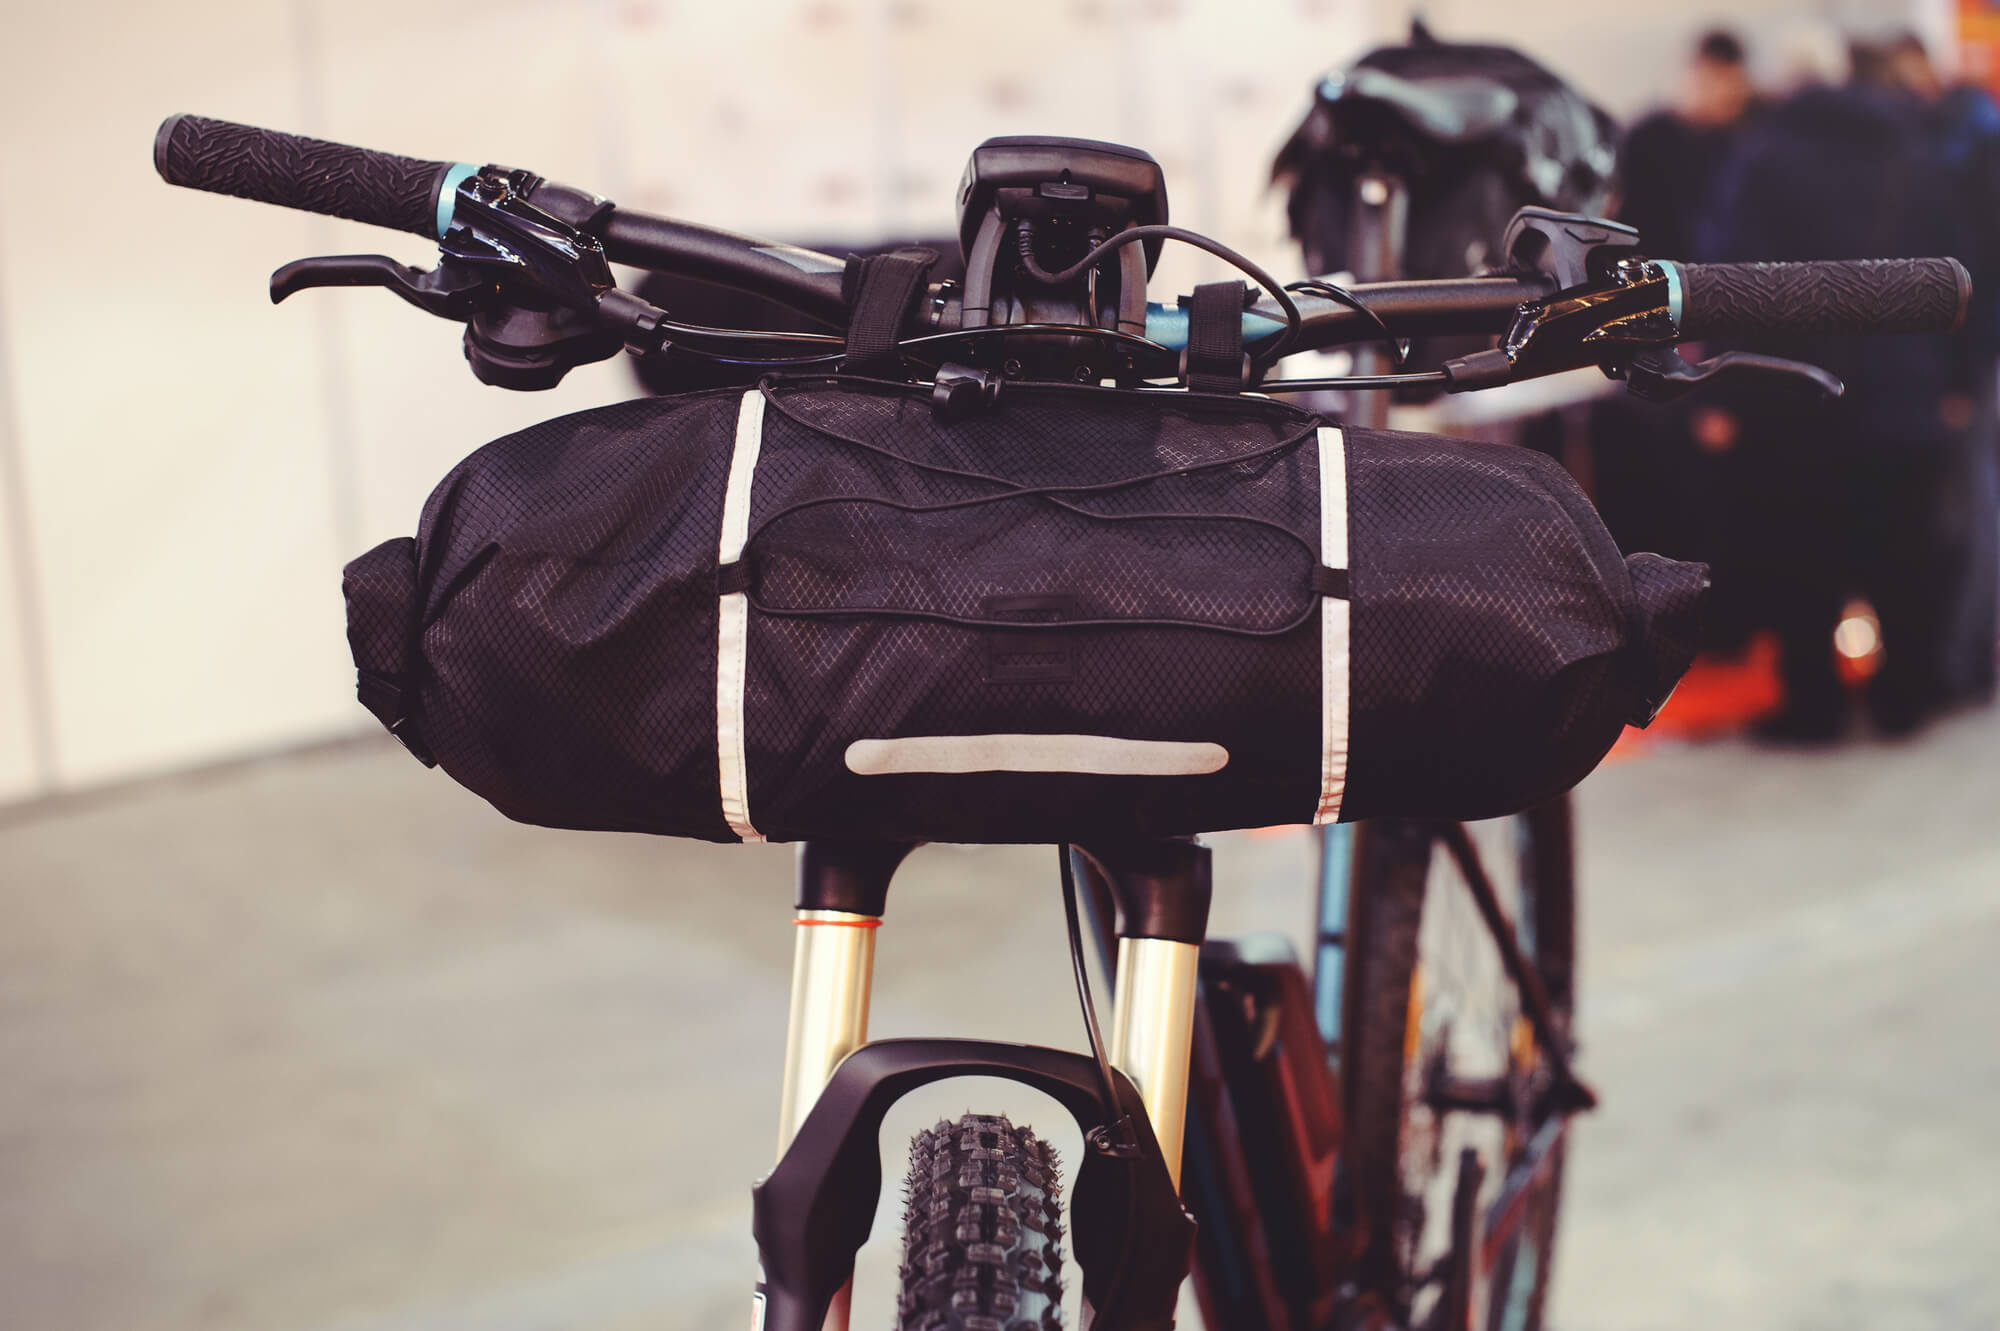
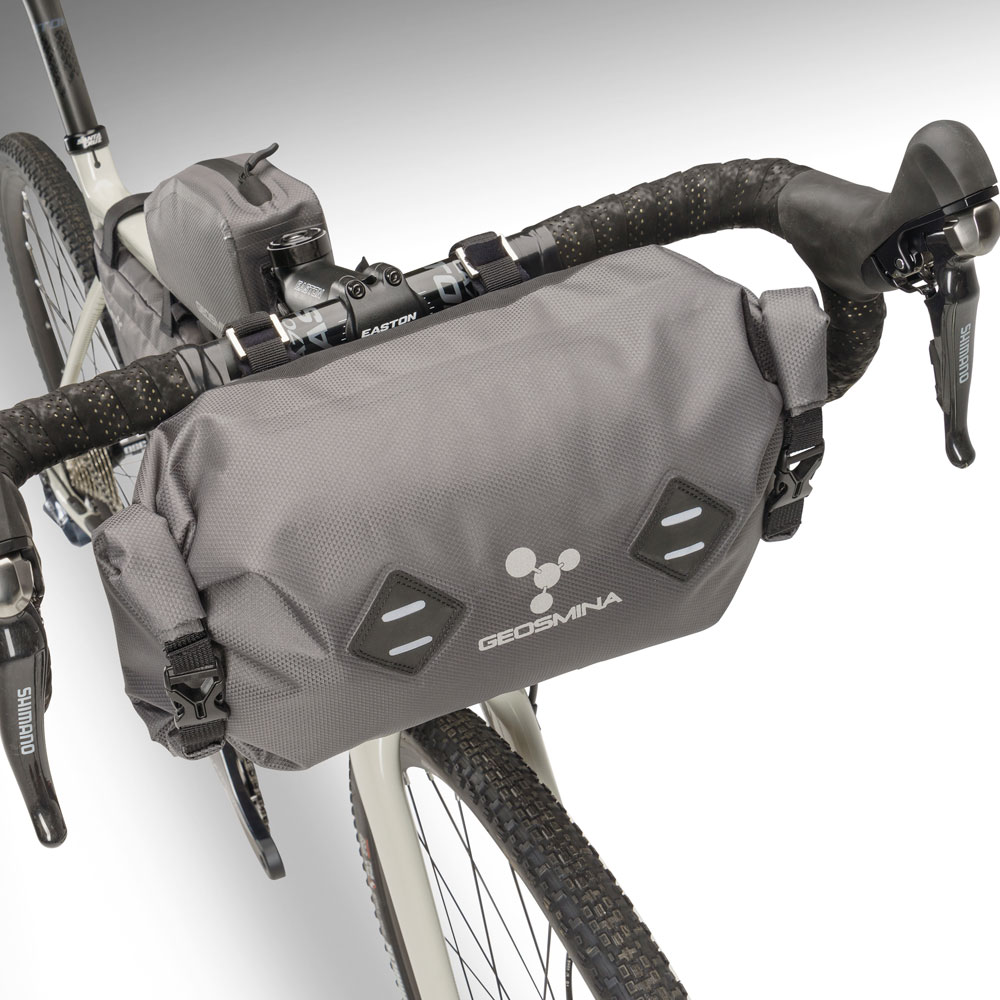
What to Look for in a Bike Handle Bar Bag
When it comes to selecting a bike handle bar bag, there are several key features to consider to ensure a perfect fit for your biking needs. The following aspects are crucial in making an informed decision:
Firstly, the size of the bag is an important consideration. Depending on the duration and purpose of your rides, you may require a larger or smaller bag. For instance, if you plan on carrying essentials for a day-long adventure, you might opt for a roomier bag. Conversely, for shorter rides, a compact bag would suffice.
Secondly, the material of the bag plays a significant role in its durability and functionality. High-quality materials, such as nylon or polyester, offer water resistance and can withstand wear and tear. Additionally, consider bags with reinforced stitching and zippers for added longevity.
Thirdly, the mounting system is essential for a secure and stable fit. Some bags come with universal mounts, while others are designed for specific handlebar types. Ensure the mounting system is compatible with your bike and easy to install.
Fourthly, water resistance is a valuable feature, especially for those who frequently bike in inclement weather or near bodies of water. A water-resistant or waterproof bag will protect your belongings from rain, snow, and other elements.
Lastly, compatibility with different bike types is crucial. Not all bike handle bar bags are suitable for all bikes. For example, mountain bikes may require a different mounting system than road bikes. Make sure the bag you choose is compatible with your bike.
How to Choose the Right Bike Handlebar Bag
Selecting the perfect bike handlebar bag involves careful consideration of your needs, biking habits, and budget. Follow these steps to ensure a well-informed decision:
Step 1: Evaluate your needs. Determine what you will be carrying in your bag, such as tools, snacks, or extra clothing. This will help you decide on the appropriate size and features of the bag.
Step 2: Assess your biking habits. Consider the frequency, duration, and terrain of your rides. For instance, if you frequently ride on rough terrains, you might require a bag with additional padding or a more robust mounting system.
Step 3: Set a budget. Bike handlebar bags are available at various price points, so it’s essential to establish a budget before making a purchase. Keep in mind that more expensive bags often come with higher-quality materials and advanced features.
Step 4: Research and compare. Browse different brands and models, and compare their features, pros, and cons. Pay attention to aspects such as size, material, mounting system, water resistance, and compatibility with your bike type.
Step 5: Read reviews. Look for unbiased customer reviews to gain insights into the bag’s performance, durability, and overall value. This can help you make a more informed decision and avoid potential issues.
Step 6: Measure your handlebars. Before making a final decision, measure the diameter of your handlebars to ensure the bag’s mounting system is compatible. Some bags come with adjustable mounts, while others require specific handlebar sizes.
Step 7: Test and adjust. Once you’ve received your bag, test it on a short ride to ensure a secure and stable fit. Make any necessary adjustments to the mounting system or straps for optimal performance.
Review: The Best Bike Handlebar Bags on the Market
When it comes to bike handlebar bags, there are several top-rated options available, each with its unique features, pros, and cons. Here are some of the best bike handlebar bags on the market, recommended for various types of bikers:
1. The Classic: The Ortlieb Ultimate6 Handlebar Bag
The Ortlieb Ultimate6 Handlebar Bag is a popular choice among long-distance tourers and commuters. Its waterproof design, robust mounting system, and spacious interior make it an ideal option for those carrying heavier loads. However, its higher price point may be a drawback for budget-conscious riders.
2. The Compact: The Topeak Fuel Tank
The Topeak Fuel Tank is a compact and lightweight handlebar bag, perfect for short rides and day trips. Its quick-release mounting system and tool pouch make it a convenient choice for riders who need easy access to their essentials. However, its limited capacity may not suit those requiring more space.
3. The Versatile: The Blackburn Outpost Handlebar Roll
The Blackburn Outpost Handlebar Roll is a versatile and durable bag, suitable for both on- and off-road adventures. Its adjustable mounting system and waterproof design make it a reliable choice for various biking conditions. However, its larger size may not be ideal for riders with limited handlebar space.
4. The Budget-Friendly: The Roswheel
Comparing Bike Handlebar Bags: Top Brands and Models
When comparing bike handlebar bags, it’s essential to consider various factors, such as size, material, mounting system, water resistance, and compatibility with different bike types. Here are some popular brands and models, along with their similarities, differences, and value for money:
1. Ortlieb vs. Topeak: Two Leading Brands
Ortlieb and Topeak are both well-known brands in the bike handlebar bag market. Ortlieb bags are known for their waterproof and durable designs, while Topeak bags offer a range of compact and lightweight options. Both brands offer adjustable mounting systems and various sizes, making them suitable for various biking needs.
2. Blackburn vs. Roswheel: Affordable and Versatile Options
Blackburn and Roswheel offer affordable and versatile bike handlebar bags, suitable for both on- and off-road adventures. Blackburn bags feature adjustable mounting systems and waterproof designs, while Roswheel bags offer compact and lightweight options with multiple compartments. Both brands cater to budget-conscious riders looking for reliable and functional bags.
3. Axiom vs. Oxford: Compatibility and Accessibility
Axiom and Oxford bike handlebar bags are popular for their compatibility with various bike types and accessibility features. Axiom bags often come with universal mounting systems and reflective accents for improved visibility, while Oxford bags offer water-resistant materials and quick-release mounts. Both brands cater to riders who prioritize compatibility and ease of use.
4. Comparing Top-Rated Models: Size and Features
When comparing top-rated bike handlebar bags, consider the size and features that best suit your needs. For instance, the Ortlieb Ultimate6 offers a spacious interior and waterproof design, while the Topeak Fuel Tank provides a compact and lightweight option with quick-release mounts. The Blackburn Outpost Handlebar Roll offers versatility and durability, while the Roswheel Compact Handlebar Bag provides a budget-friendly and accessible solution. Ultimately, the best bike handlebar bag for you will depend on your specific requirements and preferences.
How to Mount and Adjust a Bike Handlebar Bag
Installing and adjusting a bike handlebar bag is a straightforward process that can be accomplished with a few simple steps. Here’s a step-by-step guide on how to mount and adjust your bike handlebar bag:
Step 1: Prepare the Bag and Mounting Hardware
Ensure that your bike handlebar bag and mounting hardware are clean and free from debris. Lay out all components, including the bag, mounting bracket, and any necessary tools, such as Allen wrenches or screwdrivers.
Step 2: Attach the Mounting Bracket to the Bag
Follow the manufacturer’s instructions to attach the mounting bracket to the bike handlebar bag. This may involve screwing the bracket into place or securing it with quick-release clips.
Step 3: Position the Bag on the Handlebars
Place the bag on your handlebars, aligning it with the center or slightly offset, depending on your preference and bike type. Ensure that the bag is not obstructing your view or interfering with your brakes or shifters.
Step 4: Secure the Bag to the Handlebars
Tighten the mounting bracket to secure the bag to the handlebars. Use a torque wrench or recommended tool to avoid overtightening, which could damage the handlebars or bag.
Step 5: Adjust the Bag for Optimal Accessibility
Adjust the bag’s straps or mounting hardware to ensure that it is easily accessible while riding. You may need to experiment with different configurations to find the most comfortable and convenient setup.
Step 6: Test the Bag on a Short Ride
Once the bag is installed and adjusted, take it for a short test ride to ensure that it is secure and stable. Make any necessary adjustments to improve the fit and functionality.
When mounting and adjusting your bike handlebar bag, consider the following tips:
- Use a bag with a secure mounting system to prevent swaying or bouncing.
- Ensure that the bag is not obstructing your view or interfering with your bike’s controls.
- Regularly check the tightness of the mounting bracket to maintain a secure fit.
- Adjust the bag’s position and straps as needed to accommodate different riding conditions and terrain.
Organizing Your Bike Handlebar Bag: Best Practices
Properly organizing your bike handlebar bag can help maximize its space and accessibility. Here are some practical tips on how to pack and organize your bike handlebar bag:
1. Prioritize Essential Items
Place the most frequently used items, such as your phone, keys, or snacks, in an easily accessible compartment or pocket. This will help minimize the need to dig through your bag while riding.
2. Use Compression Sacks or Stuff Sacks
Compression sacks or stuff sacks can help compress bulky items, such as clothing or extra layers, making them easier to fit in your bag. Additionally, using different colored sacks can help you quickly locate specific items.
3. Utilize Mesh Pockets and Loops
Many bike handlebar bags come with mesh pockets or loops, which can be used to store smaller items, such as tools, tubes, or multi-tools. These pockets can help keep your items organized and prevent them from moving around while riding.
4. Balance the Weight
Ensure that the weight in your bag is evenly distributed. Placing heavy items on one side can cause the bag to sway or bounce, making it more challenging to control your bike. Try to distribute the weight evenly between the front and back of the bag.
5. Secure Loose Items
Use elastic bands, straps, or cord locks to secure loose items, such as maps, gloves, or extra layers. This will help prevent items from falling out or getting lost while riding.
6. Regularly Check and Adjust Your Bag
Periodically check your bag and adjust its contents as needed. This will help ensure that you have easy access to the items you need and that your bag remains balanced and secure.
By following these best practices, you can make the most of your bike handlebar bag’s space and accessibility, ensuring that you have everything you need for a safe and enjoyable ride.
Maintaining and Cleaning Your Bike Handlebar Bag
Maintaining and cleaning your bike handlebar bag is essential to ensure its longevity and functionality. Regular maintenance can help prevent wear and tear, while cleaning can remove dirt, debris, and other contaminants that can damage the bag. Here are some step-by-step instructions and recommended products for maintaining and cleaning your bike handlebar bag:
Step 1: Empty the Bag
Remove all items from your bike handlebar bag and lay them out in a clean, organized space. This will help prevent any damage to your items during the cleaning process.
Step 2: Clean the Exterior
Use a soft, damp cloth to wipe down the exterior of the bag. Avoid using abrasive materials or harsh chemicals, as these can damage the bag’s material or waterproof coating. For stubborn dirt or stains, use a mild soap and warm water.
Step 3: Clean the Interior
Remove any liners or inserts and clean them separately using the same method as the exterior. Use a soft brush or cloth to remove any dirt or debris from the interior of the bag. For stubborn stains, use a mild soap and warm water.
Step 4: Dry the Bag
Allow the bag to air dry completely before reassembling and storing. Avoid using heat sources, such as a dryer or radiator, as these can damage the bag’s material or waterproof coating.
Step 5: Inspect the Bag
Inspect the bag for any signs of wear and tear, such as frayed seams or damaged zippers. If any issues are found, consider repairing or replacing the bag as needed.
Recommended Products
Here are some recommended products for maintaining and cleaning your bike handlebar bag:
- Mild soap, such as dish soap or hand soap
- Soft cloth or brush
- Warm water
- Towels for drying
By following these steps and using recommended products, you can maintain and clean your bike handlebar bag, ensuring its longevity and functionality for years to come.
FAQs About Bike Handlebar Bags
Here are some frequently asked questions about bike handlebar bags:
1. Can I use a handlebar bag with any bike?
Most bike handlebar bags are compatible with a wide range of bikes, but it’s essential to check the bag’s specifications to ensure it’s compatible with your bike type. Some bags may not be suitable for certain handlebar shapes or sizes, so it’s essential to double-check before making a purchase.
2. How do I prevent my handlebar bag from swaying or bouncing?
To prevent your handlebar bag from swaying or bouncing, ensure that it’s securely mounted and adjusted. Use the mounting hardware provided with the bag and follow the manufacturer’s instructions for installation. Additionally, ensure that the bag’s weight is evenly distributed and not overloaded, as this can cause it to sway or bounce while riding.
3. What should I do if my handlebar bag gets wet or dirty?
If your handlebar bag gets wet or dirty, clean and dry it as soon as possible to prevent damage to the bag’s material or waterproof coating. Use a soft, damp cloth to wipe down the exterior, and avoid using abrasive materials or harsh chemicals. For stubborn stains, use a mild soap and warm water. Allow the bag to air dry completely before reassembling and storing.
4. How do I organize my handlebar bag for optimal use?
To organize your handlebar bag for optimal use, prioritize essential items and place them in easily accessible compartments or pockets. Use compression sacks or stuff sacks to compress bulky items, and utilize mesh pockets and loops to store smaller items. Balance the weight in the bag and secure loose items with elastic bands, straps, or cord locks. Regularly check and adjust your bag as needed to ensure easy access to the items you need.
5. How do I maintain my bike handlebar bag to ensure its longevity and functionality?
To maintain your bike handlebar bag, regularly inspect it for signs of wear and tear, such as frayed seams or damaged zippers. Clean and dry the bag as needed, using mild soap and warm water. Avoid using heat sources, such as a dryer or radiator, as these can damage the bag’s material or waterproof coating. Store the bag in a cool, dry place when not in use.


