Types of Bike Lights: Tail Lights vs. Headlights
Biking on the road, whether during the day or night, always involves sharing the space with other vehicles. To ensure your safety and visibility, it’s crucial to invest in the right blinking lights for your bike. Tail lights and headlights serve different purposes and contribute to your overall visibility on the road.

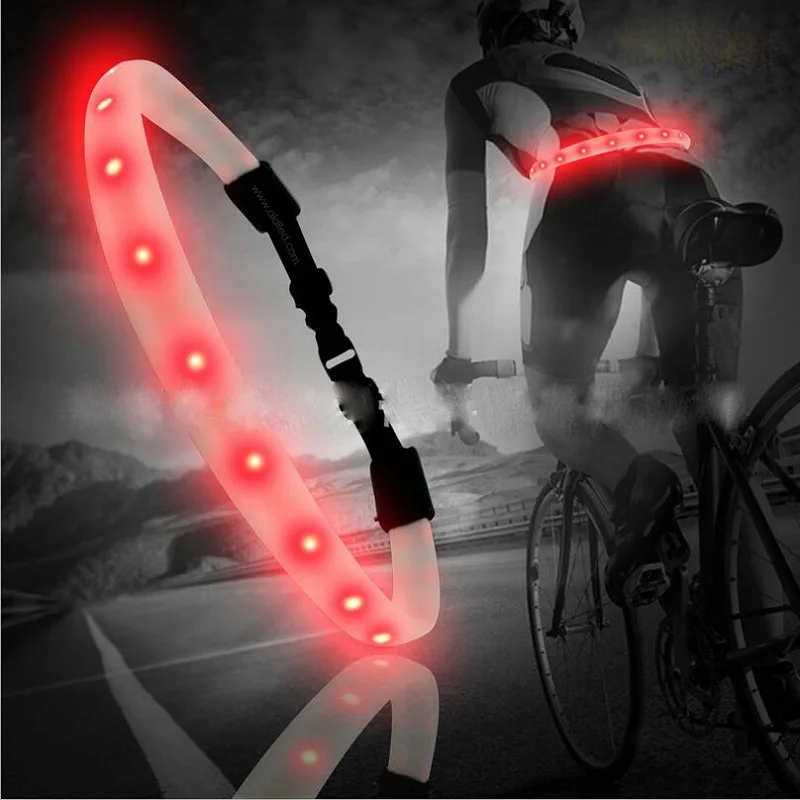
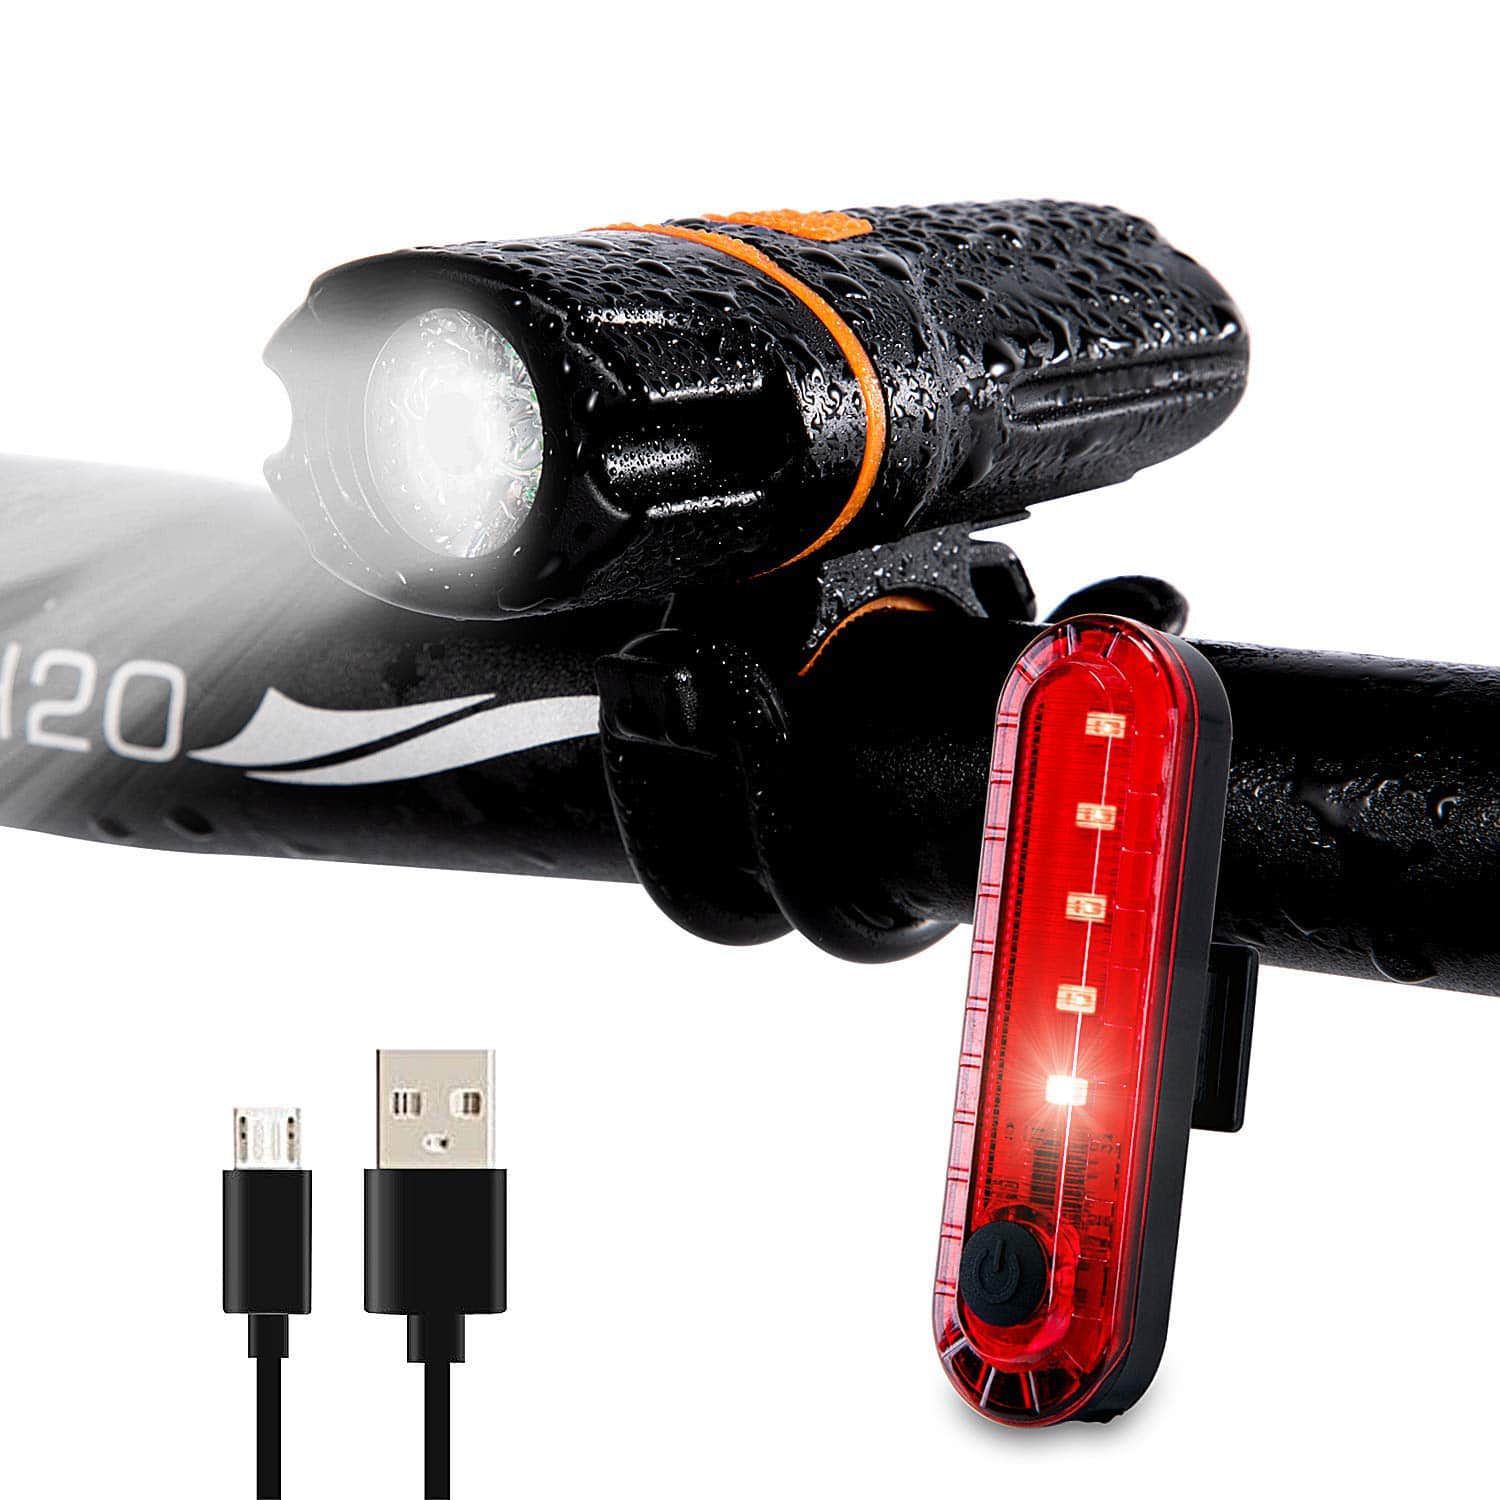
Click Image to Find eBike Products
Tail lights, also known as rear lights, are designed to make you visible from behind. These lights typically emit a red glow and are mounted on the back of the bike’s seat post or rear rack. Tail lights often include a flashing mode, which helps attract attention and increase your conspicuity among drivers. Some tail lights even come with additional features like brake lights or turn signals, further enhancing your safety on the road.
Headlights, or front lights, are responsible for illuminating the path ahead. They help you see obstacles, potholes, and other potential hazards in low-light conditions. High-quality headlights usually offer adjustable brightness levels and beam patterns, allowing you to customize the light output based on your specific needs. Additionally, some headlights come with daytime running lights (DRLs) to improve your visibility during daylight hours.
Having both tail lights and headlights on your bike is essential for optimal visibility and safety. By combining the functions of these two types of blinking lights, you can ensure that you’re seen by other road users from all angles, reducing the risk of accidents and increasing your overall cycling experience.

Key Features to Consider When Choosing a Blinking Light for Your Bike
Selecting the ideal blinking light for your bike involves considering several essential features that contribute to the light’s overall performance and durability. By understanding these features, you can make an informed decision and choose a product that best suits your needs.
Brightness
Brightness is a crucial factor when selecting a blinking light for your bike. A brighter light ensures better visibility in low-light conditions, allowing you to see and be seen more easily. Look for lights with adjustable brightness levels, as this feature enables you to customize the light output based on your specific needs and environment.
Battery Life
Battery life is another critical consideration when choosing a blinking light for your bike. A longer battery life ensures that your light remains operational for extended periods, reducing the need for frequent recharging or battery replacements. Opt for lights with energy-efficient LEDs and rechargeable batteries, as these options typically offer the best battery life and are more environmentally friendly.
Mounting Options
The mounting options available for a blinking light can significantly impact its usability and versatility. Look for lights with versatile mounting systems that allow you to attach and remove the light easily, as well as adjust its positioning to suit your bike and riding style. Some mounting systems even offer tool-free installation, making it convenient to switch the light between bikes or remove it for charging and storage.
Water Resistance
Water resistance is an essential feature for any blinking light, as it ensures that your light remains functional even in adverse weather conditions. Look for lights with an IP (Ingress Protection) rating, which indicates the level of protection against solid particles and liquids. A higher IP rating, such as IPX4 or IPX7, indicates better water resistance and increased durability.
Additional Features
Some blinking lights for bikes come with additional features that can enhance their functionality and usability. Examples include side visibility, which increases your visibility from the side, and ambient light sensors, which automatically adjust the light output based on the surrounding environment. Other features may include integrated USB charging, theft-prevention mechanisms, and compatibility with various mounting systems.
By carefully considering these key features, you can choose a high-quality blinking light for your bike that offers optimal performance, durability, and visibility, ensuring a safer and more enjoyable cycling experience.

Top Blinking Lights for Bike Reviews
When it comes to selecting the best blinking light for your bike, there are several high-quality products available in the market. This section reviews two top-performing options: the Cygolite Hotshot Pro 150 USB Rechargeable Bike Tail Light and the CatEye Volt 800 USB Front Light.
Cygolite Hotshot Pro 150 USB Rechargeable Bike Tail Light
The Cygolite Hotshot Pro 150 is a powerful and versatile tail light that offers an impressive 150 lumens of brightness. Its six different light modes, including daytime flash and zoom modes, ensure optimal visibility in various conditions. The light features a convenient USB rechargeable battery, which provides up to 210 hours of runtime on a single charge. Additionally, the Hotshot Pro 150 includes an ambient light sensor that automatically adjusts the light output based on the surrounding environment, further enhancing its functionality and usability.
- Pros: High brightness, multiple light modes, long battery life, USB rechargeable, ambient light sensor, and durable construction.
- Cons: Some users may find the light slightly bulky, and the mounting system may require adjustments for a secure fit on some seat posts.
CatEye Volt 800 USB Front Light
The CatEye Volt 800 is a high-performance front light that delivers an impressive 800 lumens of brightness, making it an excellent option for nighttime cycling. The light features five different light modes, including a daytime hyper constant mode, ensuring optimal visibility in various conditions. The Volt 800 includes a convenient USB rechargeable battery, which provides up to 100 hours of runtime on a single charge. Additionally, the light features a tool-free flexible mounting system, making it easy to attach and remove the light from your bike.
- Pros: High brightness, multiple light modes, long battery life, USB rechargeable, tool-free flexible mounting system, and durable construction.
- Cons: Some users may find the light slightly heavy, and the beam pattern may not be as focused as other high-end front lights.
By carefully considering the features and performance of these top blinking lights for bikes, you can choose the one that best suits your needs and preferences, ensuring optimal visibility and safety while cycling on the road.
How to Install a Blinking Light on Your Bike
Installing a blinking light on your bike is a straightforward process that can significantly enhance your visibility and safety on the road. Follow these steps to ensure proper installation and secure mounting:
Step 1: Choose the Right Mounting Location
For a tail light, position it on the back of your bike’s seat post or rear rack, ensuring it’s level and centered. For a headlight, attach it to the handlebars or stem, positioning it slightly below eye level for optimal visibility without blinding oncoming traffic.
Step 2: Secure the Mounting Bracket
Most blinking lights come with a mounting bracket or clip that attaches to your bike. Secure the bracket using the provided screws or clips, ensuring it’s tight and stable. Avoid overtightening, as this may damage your bike or the light.
Step 3: Attach the Light to the Mounting Bracket
Slide the light into the mounting bracket, ensuring it’s properly aligned and secure. Some lights feature a quick-release mechanism, allowing you to easily attach and remove the light as needed.
Step 4: Test the Light
Once the light is installed, test it to ensure it’s functioning correctly. Check the brightness levels, light modes, and battery life indicator. Make any necessary adjustments to the positioning or mounting for optimal visibility and security.
Step 5: Regularly Check and Adjust the Light
Periodically check the light’s positioning and secureness, especially after long rides or in adverse weather conditions. Tighten any loose screws or clips, and make adjustments as needed to maintain optimal visibility and safety.
By following these steps, you can ensure a proper installation of your blinking light for bike, maximizing its effectiveness and ensuring a safer and more enjoyable cycling experience.

Blinking Light Maintenance and Care
Regular maintenance and care for your blinking light for bike are essential for ensuring optimal performance, longevity, and safety. By following these simple tips, you can keep your light in excellent condition and maximize its effectiveness:
Cleaning
Clean your blinking light regularly using a soft cloth and mild detergent. Avoid using abrasive materials or solvents, as these may damage the light’s housing or lens. Gently remove any dirt, debris, or moisture from the light, ensuring it remains free from obstructions and damage.
Charging
Charge your blinking light regularly, following the manufacturer’s instructions for optimal battery life and performance. Avoid letting the battery fully deplete, as this may shorten its lifespan. Use the provided charger or a compatible alternative, and ensure the light is fully charged before each use.
Storage
Store your blinking light in a cool, dry place, away from direct sunlight and extreme temperatures. If possible, remove the light from your bike when not in use, as this can help prevent damage or theft. Ensure the light is turned off and disconnected from any power sources before storing it.
Inspection
Periodically inspect your blinking light for any signs of damage, wear, or malfunction. Check the lens, housing, mounting bracket, and wiring for any issues, and address them promptly to maintain optimal performance and safety. Tighten any loose screws or clips, and replace any damaged or worn-out components as needed.
By following these maintenance and care tips, you can ensure your blinking light for bike remains in excellent condition, providing reliable visibility and safety for your cycling adventures. Regular upkeep not only extends the life of your light but also helps maintain its effectiveness and efficiency, ensuring a safer and more enjoyable riding experience.

Blinking Light Laws and Regulations
Understanding the legal requirements and regulations regarding bike lights is essential for ensuring your safety and compliance with local laws while cycling on the road. These regulations vary by region, so it’s crucial to familiarize yourself with the specific rules in your area.
Front and Rear Light Requirements
In most regions, bikes are required to have both a front and rear light when riding during low-light conditions or at night. The front light should emit a white or yellow light, while the rear light should emit a red light. These lights should be visible from a certain distance, typically around 150 to 500 meters, depending on the region.
Additional Lighting Requirements
Some regions may also require additional lighting, such as side visibility lights or reflectors. These requirements aim to increase your visibility from all angles, reducing the risk of accidents and ensuring a safer riding experience.
Flashing vs. Steady Lights
While both flashing and steady lights are generally allowed, some regions may have specific rules regarding their use. Flashing lights can be more attention-grabbing, but steady lights provide a more consistent and visible beam. In some cases, using both flashing and steady lights may be recommended for optimal visibility.
Illegal Light Colors
Using certain light colors on your bike may be illegal in some regions. For example, blue lights are often reserved for emergency vehicles, and using them on your bike could result in fines or other penalties. Stick to white, yellow, or red lights for your bike to ensure compliance with local laws.
By understanding and adhering to the blinking light laws and regulations in your region, you can help ensure your safety and compliance while cycling on the road. Always check with your local transportation or public safety department for the most up-to-date information on bike light requirements and regulations in your area.

Maximizing Visibility: Additional Tips for Safe Cycling
While blinking lights for bikes are crucial for ensuring visibility and safety, there are additional measures you can take to further enhance your visibility while cycling on the road. By combining these tips with high-quality blinking lights, you can create a safer and more enjoyable riding experience.
Wear Reflective Clothing
Reflective clothing can significantly increase your visibility, especially in low-light conditions. Look for clothing items with integrated reflective materials, such as jackets, vests, pants, or shoes. Additionally, consider adding reflective tape or stickers to your helmet, bike, or backpack for added visibility.
Use Hand Signals
Using hand signals is essential for communicating your intentions to other road users. Familiarize yourself with standard hand signals for turning, stopping, and changing lanes, and use them consistently to ensure other drivers, cyclists, and pedestrians are aware of your actions.
Choose Appropriate Routes
When possible, choose routes with dedicated bike lanes, bike paths, or low-traffic roads. These routes often provide a safer and more enjoyable riding experience, with better visibility and fewer hazards. If you must ride on busy roads, stick to well-lit areas and avoid riding in blind spots or near large vehicles.
Stay Alert and Aware
Maintaining situational awareness is crucial for safe cycling. Regularly scan your surroundings, anticipate potential hazards, and adjust your riding behavior accordingly. Avoid distractions, such as using your phone or listening to loud music, and stay focused on the road and your surroundings.
Ride Predictably
Riding predictably and following traffic rules can help increase your visibility and reduce the risk of accidents. Maintain a consistent speed, use proper lane positioning, and follow traffic signals and signs. By riding predictably, you can help other road users understand your intentions and react appropriately.
By incorporating these additional tips for maximizing visibility and following best practices for safe cycling, you can create a safer and more enjoyable riding experience. Remember, blinking lights for bikes are just one part of a comprehensive approach to cycling safety. By combining high-quality lights with these additional measures, you can significantly reduce the risk of accidents and enjoy your time on the road.