
Why Knowing How to Change a Bike Tire is Essential
For cyclists, knowing how to change a bike tire is a vital skill that can make all the difference in ensuring a safe and enjoyable ride. Not only can it save you money by avoiding costly repairs, but it can also provide a sense of independence and confidence on the road. Changing a bike tire may seem like a daunting task, but with the right knowledge and practice, it can become a straightforward process. In fact, learning how to change a bike tire can be a valuable investment for any cyclist, whether you’re a seasoned pro or just starting out.

Click Image to Find eBike Products
One of the primary benefits of knowing how to change a bike tire is the safety aspect. A flat tire can be a serious hazard, especially if you’re riding at high speeds or in heavy traffic. By knowing how to change a bike tire quickly and efficiently, you can minimize the risk of an accident and get back on the road in no time. Additionally, being able to change a bike tire can also save you money in the long run. Instead of relying on a bike shop or repair service, you can do it yourself and avoid costly labor fees.
Furthermore, knowing how to change a bike tire can also provide a sense of independence and confidence on the road. When you’re able to handle basic bike repairs, you’re more likely to feel self-assured and prepared for any situation that may arise. This can be especially important for long-distance cyclists or those who ride in remote areas where bike shops may be scarce. By knowing how to change a bike tire, you can ride with confidence, knowing that you have the skills and knowledge to handle any situation that may come your way.
In addition to the safety and financial benefits, knowing how to change a bike tire can also be a valuable skill for any cyclist. It can help you develop a deeper understanding of your bike and its mechanics, which can lead to better maintenance and performance. By learning how to change a bike tire, you can also develop a sense of self-sufficiency and resourcefulness, which can be applied to other areas of your life.
Overall, knowing how to change a bike tire is an essential skill for any cyclist. It can provide a sense of safety, independence, and confidence on the road, while also saving you money and helping you develop a deeper understanding of your bike. Whether you’re a seasoned pro or just starting out, learning how to change a bike tire is a valuable investment that can pay dividends for years to come.
Preparing for a Tire Change: Gathering the Necessary Tools and Equipment
Before attempting to change a bike tire, it’s essential to gather the necessary tools and equipment to ensure a smooth and efficient process. Having the right tools on hand can make all the difference in getting back on the road quickly and safely. Here are the essential tools and equipment you’ll need to change a bike tire:
Tire levers are a crucial tool for changing a bike tire. These levers are used to pry the tire off the rim and can be purchased at most bike shops or online. It’s recommended to have at least two tire levers on hand, as they can be prone to breaking. Spare tubes are also a must-have when changing a bike tire. Make sure to purchase tubes that are compatible with your bike’s tire size and type.
A pump or CO2 cartridges are necessary for inflating the new tube or tire. If you have a pump, make sure it’s compatible with your bike’s valve type. CO2 cartridges are a convenient alternative to pumps and can be used to inflate tires quickly. However, they can be more expensive than pumps and may not be as environmentally friendly.
Other essential tools and equipment include a wheel nut wrench (for bolt-on wheels), a quick-release wrench (for quick-release wheels), and a set of Allen wrenches (for adjusting the brakes and other components). It’s also a good idea to have a spare tire or tube on hand, in case the new one is damaged or punctured during the installation process.
In addition to the necessary tools and equipment, it’s also important to have a clean and well-lit workspace. This will help you to see what you’re doing and prevent any accidents or injuries. A bike stand or repair stand can also be useful for holding the bike in place while you work on it.
By gathering the necessary tools and equipment, you’ll be well-prepared to change your bike tire quickly and efficiently. Remember to always refer to your bike’s owner’s manual for specific instructions on how to change a tire for your particular bike model.

How to Remove the Wheel and Tire: A Step-by-Step Guide
Removing the wheel and tire is the first step in changing a bike tire. This process can seem intimidating, but with the right tools and a bit of practice, it can become a straightforward process. Here’s a step-by-step guide on how to remove the wheel and tire:
Step 1: Release the Brakes
Before removing the wheel, it’s essential to release the brakes. This will ensure that the wheel can be removed safely and without any damage to the brake system. To release the brakes, simply turn the barrel adjuster counterclockwise until the brake pads are no longer touching the rim.
Step 2: Remove the Quick-Release Mechanism
If your bike has a quick-release mechanism, you’ll need to remove it before taking off the wheel. To do this, simply turn the quick-release lever counterclockwise until it comes loose. You may need to use a bit of force to remove the quick-release mechanism, but be careful not to damage the wheel or the bike frame.
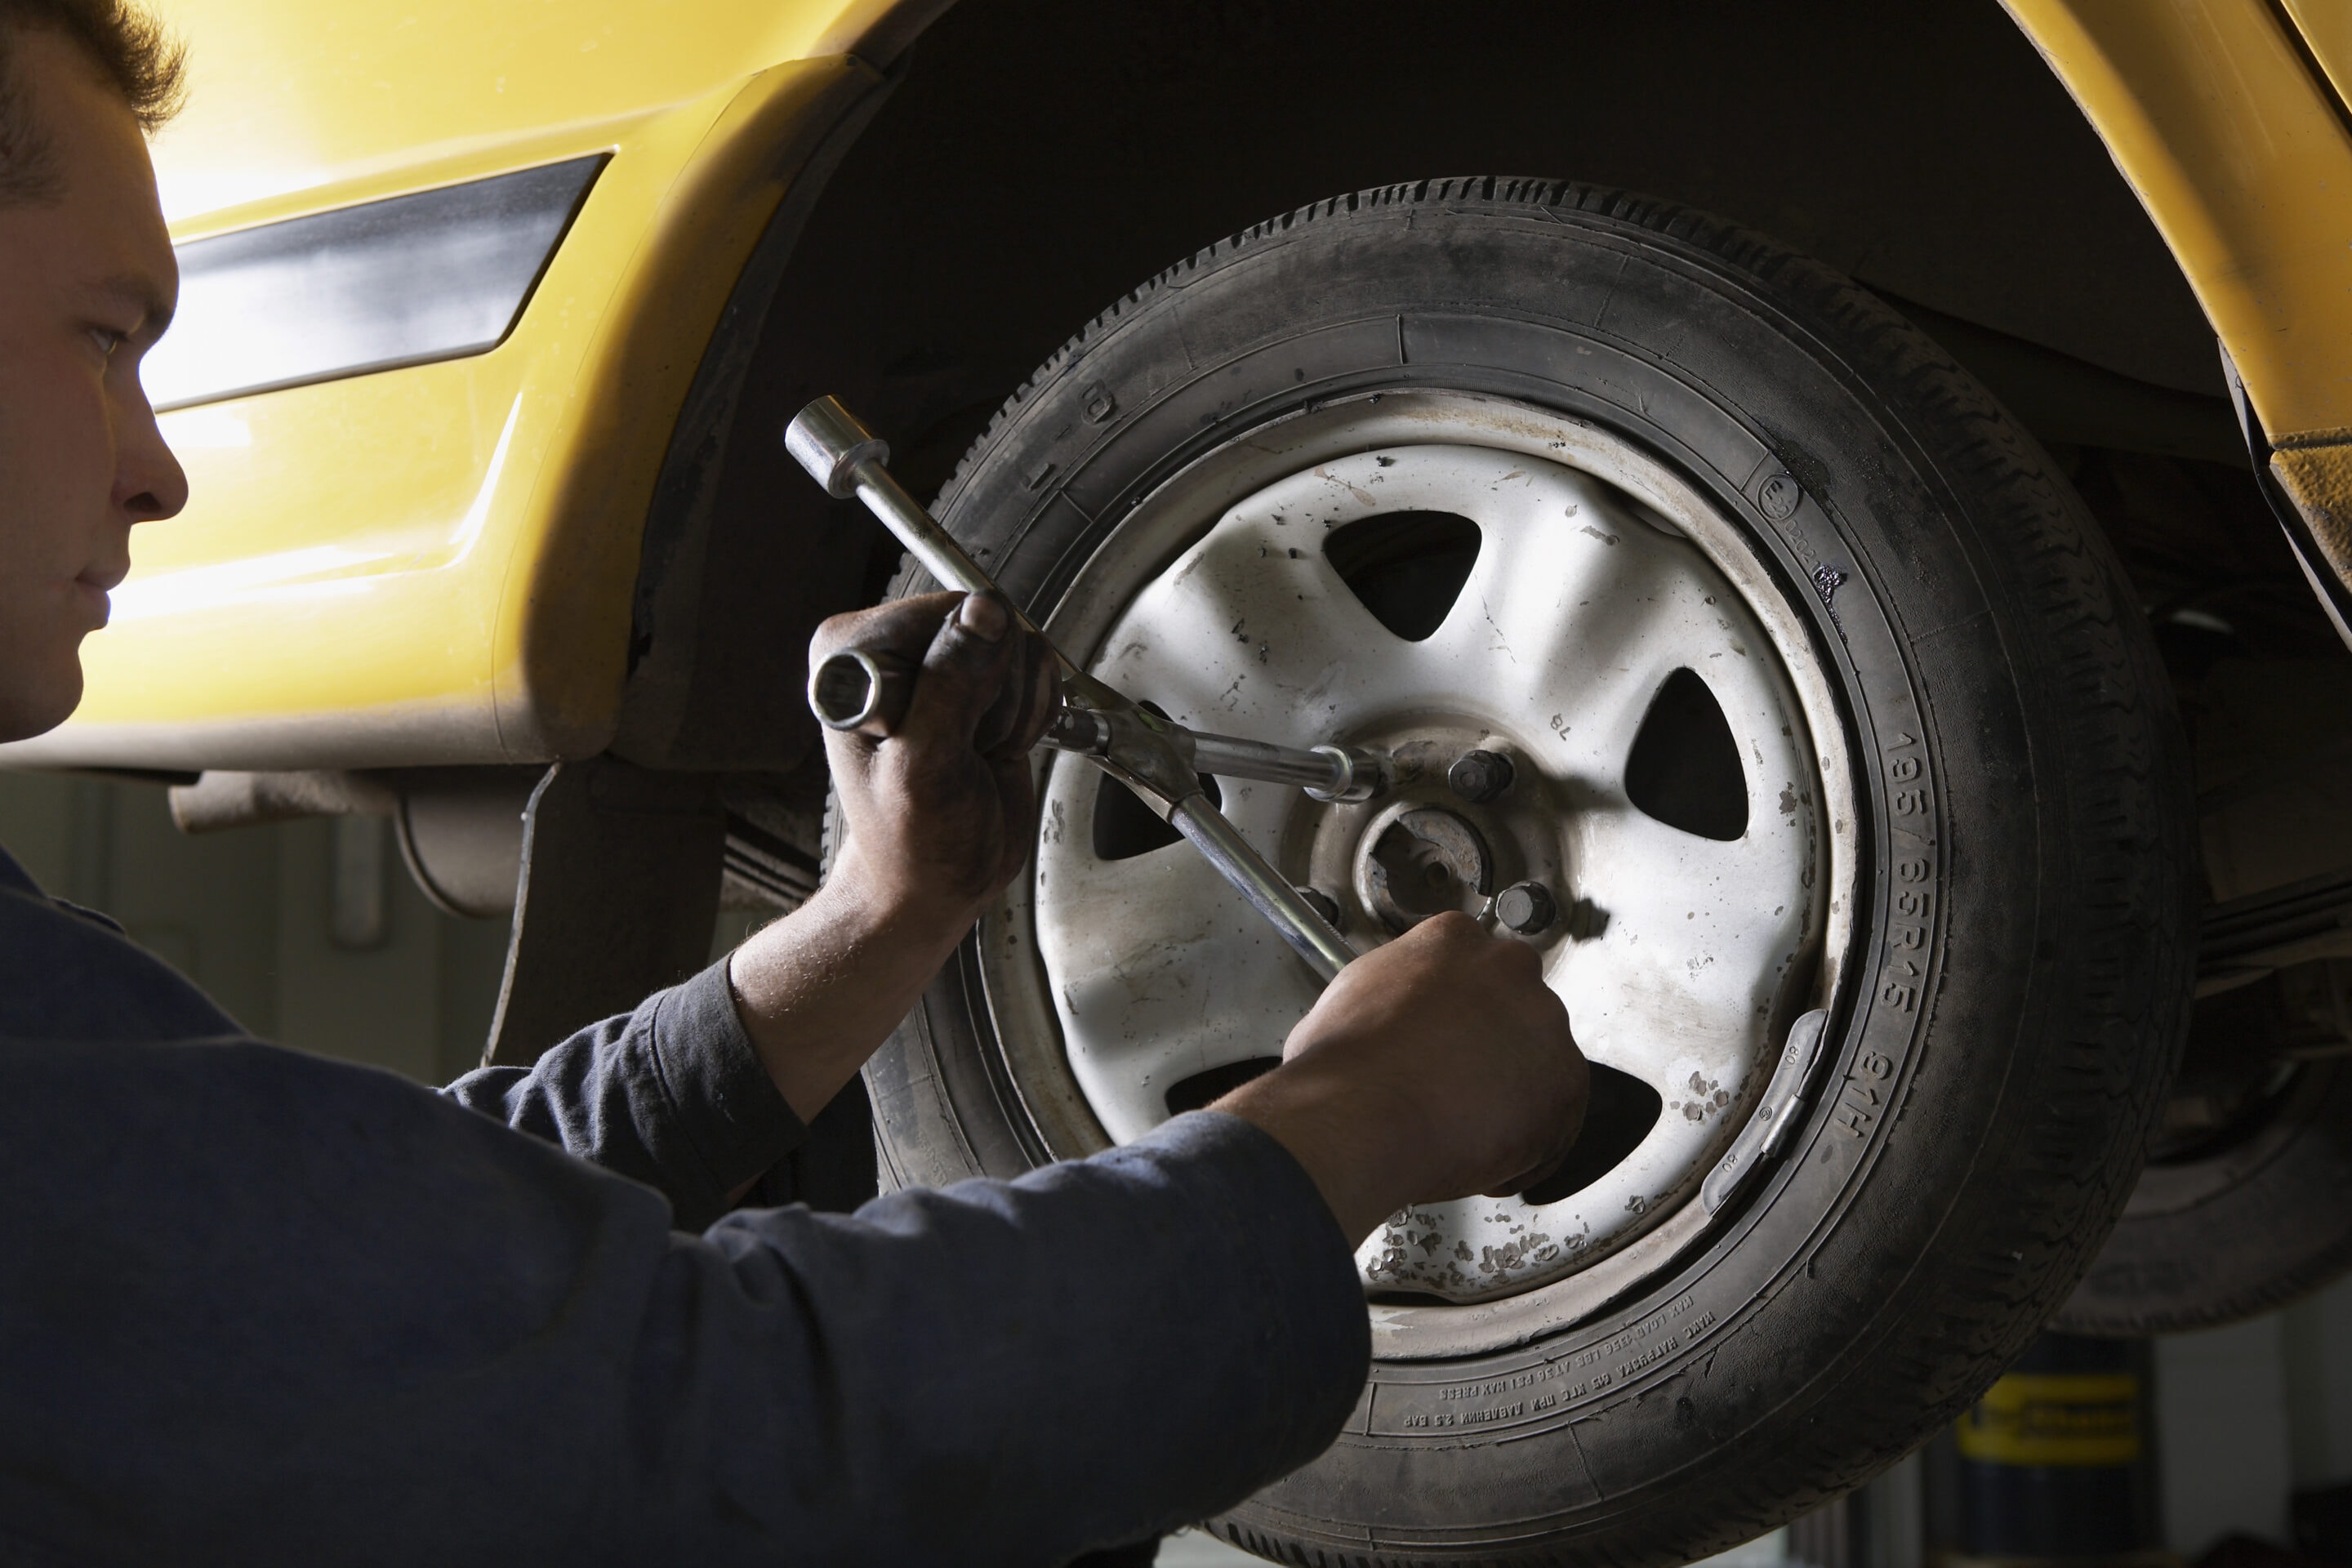
Step 3: Remove the Wheel Nuts
If your bike has bolt-on wheels, you’ll need to remove the wheel nuts before taking off the wheel. To do this, use a wrench to loosen the nuts by turning them counterclockwise. Once the nuts are loose, you should be able to remove the wheel by lifting it off the bike.
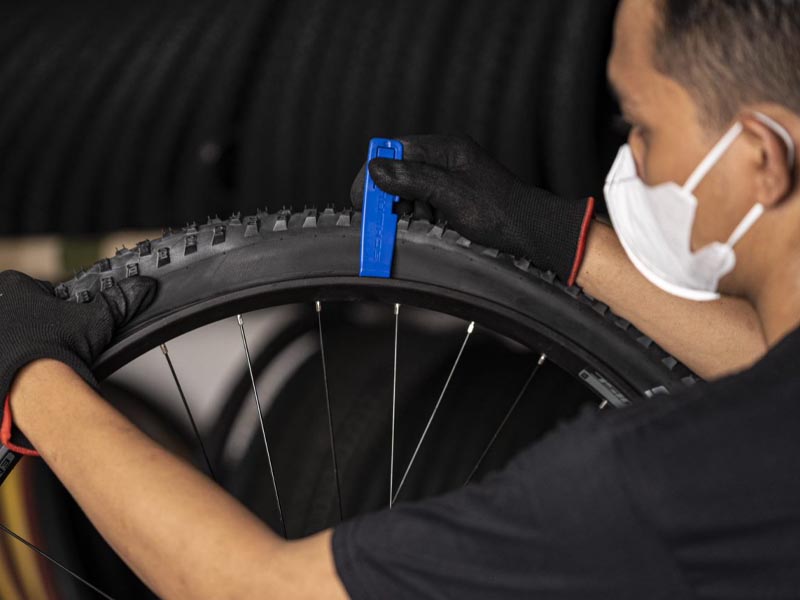
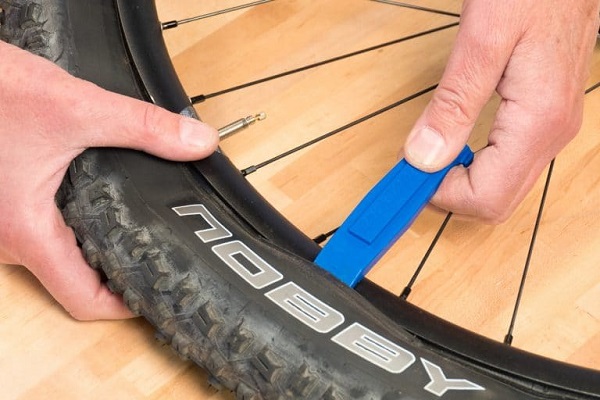
Step 4: Remove the Tire
Once the wheel is removed, you can take off the tire. To do this, use tire levers to pry the tire off the rim. Start by inserting the tire lever between the tire and the rim, and then working your way around the tire until it’s completely removed.
Step 5: Inspect the Rim
Before installing a new tire, it’s essential to inspect the rim for any damage or debris. Check the rim for any sharp edges or burrs, and clean it with a rag if necessary. This will ensure that the new tire is installed safely and securely.
By following these steps, you should be able to remove the wheel and tire safely and efficiently. Remember to always refer to your bike’s owner’s manual for specific instructions on how to remove the wheel and tire for your particular bike model.

Inspecting and Repairing the Tire: Finding and Fixing Punctures
Once the tire is removed, it’s essential to inspect it for punctures or damage. This step is crucial in determining whether the tire can be repaired or if it needs to be replaced. Here’s how to inspect the tire and repair or replace it if necessary:
Inspecting the Tire
Start by inspecting the tire for any visible signs of damage, such as cuts, tears, or punctures. Check the tire’s sidewalls and tread for any signs of wear or damage. If the tire is damaged beyond repair, it’s best to replace it with a new one.
Finding Punctures
If the tire is not damaged beyond repair, the next step is to find the puncture. To do this, inflate the tire to the recommended pressure and submerge it in a bucket of water. If there’s a puncture, air bubbles will escape from the tire, indicating the location of the puncture.
Repairing the Tire
If the puncture is minor, it can be repaired using a tire patch kit. These kits usually include a patch, glue, and instructions. Apply the glue to the patch and attach it to the tire, making sure to center it over the puncture. Allow the glue to dry completely before inflating the tire.
Replacing the Tire
If the puncture is too large to repair or the tire is damaged beyond repair, it’s best to replace it with a new one. When replacing the tire, make sure to choose a tire that’s compatible with your bike’s rim size and type. Follow the manufacturer’s instructions for installing the new tire.
Tips for Repairing and Replacing Tires
When repairing or replacing a tire, it’s essential to follow some basic tips to ensure a safe and successful repair. Always make sure the tire is properly inflated before riding, and check the tire regularly for signs of wear or damage. Additionally, always carry a spare tube and tire levers with you when riding, in case of a puncture.
By following these steps and tips, you’ll be able to inspect and repair or replace your bike tire with confidence. Remember to always refer to your bike’s owner’s manual for specific instructions on how to inspect and repair or replace the tire for your particular bike model.
Installing a New Tube or Tire: Tips and Tricks
Installing a new tube or tire is a crucial step in changing a bike tire. It requires attention to detail and a bit of finesse to ensure proper seating and inflation. Here are some tips and tricks to help you install a new tube or tire with confidence:
Preparing the Rim
Before installing a new tube or tire, make sure the rim is clean and free of debris. Use a rag to wipe down the rim and remove any dirt or grime. This will ensure a smooth installation process and prevent any damage to the new tube or tire.
Installing the New Tube
To install a new tube, start by inserting the valve stem into the rim’s valve hole. Make sure the tube is properly seated on the rim by ensuring the valve stem is pointing in the correct direction. Use tire levers to ensure the tube is securely attached to the rim.
Installing the New Tire
To install a new tire, start by placing the tire on the rim and ensuring it’s properly seated. Use tire levers to ensure the tire is securely attached to the rim. Make sure the tire is properly inflated before riding.
Ensuring Proper Seating and Inflation
Proper seating and inflation are crucial when installing a new tube or tire. Make sure the tube or tire is properly seated on the rim by checking for any signs of uneven wear or damage. Use a tire pressure gauge to ensure the tire is properly inflated to the recommended pressure.
Tips for a Smooth Installation
Here are some additional tips to ensure a smooth installation process:
Use tire levers to ensure the tube or tire is securely attached to the rim.
Make sure the rim is clean and free of debris before installing a new tube or tire.
Use a tire pressure gauge to ensure the tire is properly inflated to the recommended pressure.
Check the tire for any signs of uneven wear or damage before riding.
By following these tips and tricks, you’ll be able to install a new tube or tire with confidence and ensure a smooth ride. Remember to always refer to your bike’s owner’s manual for specific instructions on how to install a new tube or tire for your particular bike model.

Reinstalling the Wheel and Tire: Getting Back on the Road
Now that you’ve successfully installed a new tube or tire, it’s time to reinstall the wheel and tire. This process is essentially the reverse of removing the wheel and tire, but with a few additional steps to ensure everything is properly secured. Here’s a step-by-step guide on how to reinstall the wheel and tire:
Step 1: Reattach the Wheel
Start by reattaching the wheel to the bike frame. Make sure the wheel is properly seated and centered on the frame. If your bike has a quick-release mechanism, make sure it’s securely tightened.
Step 2: Tighten the Brakes
Next, tighten the brakes to ensure they’re properly secured. Make sure the brake pads are properly aligned and not rubbing against the tire or wheel.
Step 3: Reinflate the Tire
Reinflate the tire to the recommended pressure. Make sure the tire is properly seated on the rim and not leaking air.
Step 4: Check the Quick-Release Mechanism
If your bike has a quick-release mechanism, check to make sure it’s properly tightened. Make sure the mechanism is securely locked in place to prevent the wheel from coming loose while riding.
Step 5: Test the Brakes
Finally, test the brakes to ensure they’re properly functioning. Make sure the brakes are not rubbing against the tire or wheel and are properly aligned.
Tips for a Smooth Reinstallation
Here are some additional tips to ensure a smooth reinstallation process:
Make sure the wheel is properly seated and centered on the frame.
Tighten the brakes to ensure they’re properly secured.
Reinflate the tire to the recommended pressure.
Check the quick-release mechanism to ensure it’s properly tightened.
Test the brakes to ensure they’re properly functioning.
By following these steps and tips, you’ll be able to reinstall the wheel and tire with confidence and get back on the road in no time. Remember to always refer to your bike’s owner’s manual for specific instructions on how to reinstall the wheel and tire for your particular bike model.
Troubleshooting Common Issues: Tips for a Smooth Ride
When changing a bike tire, it’s not uncommon to encounter some common issues that can affect the smoothness of the ride. Here are some troubleshooting tips to help you overcome these issues and ensure a smooth ride:
Issue 1: Tire Not Seating Properly
If the tire is not seating properly on the rim, it can cause uneven wear and affect the smoothness of the ride. To troubleshoot this issue, make sure the tire is properly inflated and the rim is clean and free of debris. Also, check the tire’s bead for any signs of damage or wear.
Issue 2: Brake Pads Rubbing Against the Tire
If the brake pads are rubbing against the tire, it can cause friction and affect the smoothness of the ride. To troubleshoot this issue, adjust the brake pads to ensure they are not rubbing against the tire. Also, check the brake calipers for any signs of damage or wear.
Issue 3: Quick-Release Mechanism Not Tightening Properly
If the quick-release mechanism is not tightening properly, it can cause the wheel to come loose while riding. To troubleshoot this issue, make sure the quick-release mechanism is properly tightened and the wheel is securely attached to the bike frame.
Issue 4: Tire Pressure Too Low
If the tire pressure is too low, it can cause uneven wear and affect the smoothness of the ride. To troubleshoot this issue, check the tire pressure regularly and adjust it to the recommended level.
Tips for Troubleshooting
Here are some additional tips for troubleshooting common issues when changing a bike tire:
Always refer to the bike’s owner’s manual for specific instructions on how to troubleshoot common issues.
Use a tire pressure gauge to ensure the tire is properly inflated.
Check the tire’s bead for any signs of damage or wear.
Adjust the brake pads to ensure they are not rubbing against the tire.
Make sure the quick-release mechanism is properly tightened and the wheel is securely attached to the bike frame.
By following these troubleshooting tips, you’ll be able to overcome common issues and ensure a smooth ride when changing a bike tire. Remember to always practice caution and safety when working with bike tires.
Conclusion: The Confidence to Change a Bike Tire
Changing a bike tire can seem like a daunting task, but with the right knowledge and practice, it can become a straightforward process. By following the steps outlined in this article, you’ll be able to change a bike tire with confidence and independence.
Remember, the key to mastering the art of bike tire replacement is practice. Don’t be discouraged if it takes a few attempts to get it right – with time and patience, you’ll become a pro at changing bike tires.
In addition to the practical skills outlined in this article, it’s also important to remember the safety benefits of knowing how to change a bike tire. By being able to change a tire quickly and efficiently, you’ll be able to get back on the road faster and avoid any potential safety hazards.
So, the next time you get a flat tire, don’t panic. Instead, take a deep breath, grab your tools, and get to work. With the confidence and independence that comes with knowing how to change a bike tire, you’ll be able to tackle any road or trail that comes your way.
By following the tips and techniques outlined in this article, you’ll be well on your way to becoming a bike tire-changing pro. Happy cycling!