
Why Regular Brake Pad Replacement is Crucial
Regular brake pad replacement is essential for ensuring safety, preventing accidents, and maintaining optimal bike performance. Worn-out brake pads can lead to reduced stopping power, increased risk of accidents, and costly repairs. In fact, according to the National Highway Traffic Safety Administration (NHTSA), brake-related problems are a leading cause of bicycle crashes. By replacing brake pads regularly, cyclists can significantly reduce the risk of accidents and ensure a smoother, more controlled ride.

Click Image to Find eBike Products
Changing disc brake pads on a bike is a relatively simple process that can be done at home with the right tools and knowledge. However, it’s essential to understand the importance of proper brake pad replacement to avoid compromising safety and performance. Brake pads should be replaced every 500 to 1,000 miles, depending on riding conditions and brake usage. Failure to replace brake pads regularly can result in premature wear on other brake components, leading to costly repairs and potentially catastrophic consequences.
In addition to safety concerns, regular brake pad replacement can also improve bike performance. New brake pads provide better stopping power, improved modulation, and increased confidence on the road or trail. By staying on top of brake pad maintenance, cyclists can enjoy a more responsive and predictable braking system, allowing them to focus on the ride rather than worrying about their brakes.
Furthermore, regular brake pad replacement can also help prevent damage to other brake components, such as the brake rotor and caliper. Worn-out brake pads can cause excessive wear on these components, leading to costly repairs and potentially requiring replacement of the entire brake system. By replacing brake pads regularly, cyclists can help extend the life of their brake components and avoid unnecessary expenses.
In conclusion, regular brake pad replacement is crucial for ensuring safety, preventing accidents, and maintaining optimal bike performance. By understanding the importance of proper brake pad replacement and staying on top of maintenance, cyclists can enjoy a safer, more responsive, and more predictable braking system. Whether you’re a seasoned pro or a casual rider, regular brake pad replacement is essential for getting the most out of your bike.
Preparing for the Job: Essential Tools and Materials
Before starting the process of changing disc brake pads on your bike, it’s essential to gather the necessary tools and materials. Having the right tools and materials will ensure a smooth and efficient process, and help you avoid any potential complications. Here’s a list of the essential tools and materials you’ll need:
Tools:
- Allen wrenches (3, 4, 5, and 6 mm)
- Torque wrench
- Brake pad spacers (if required)
- Clean rags
- Brake cleaner (if necessary)
Materials:
- New disc brake pads ( compatible with your bike’s brake system)
- Brake pad retaining clips (if required)
- Brake fluid (if you’re bleeding the brakes)
When choosing new brake pads, make sure to select pads that are compatible with your bike’s brake system. Consult your bike’s manual or manufacturer’s website to find the correct brake pad specifications. It’s also essential to choose brake pads that meet your riding style and conditions. For example, if you’re a frequent downhill rider, you may want to choose brake pads with a higher friction rating.
In addition to the tools and materials listed above, it’s also a good idea to have a clean and well-lit workspace, as well as a pair of gloves to protect your hands from brake fluid and other chemicals. By having all the necessary tools and materials, you’ll be able to complete the brake pad replacement process efficiently and effectively.
How to Remove the Old Brake Pads: A Step-by-Step Process
Removing the old brake pads is a crucial step in the process of changing disc brake pads on your bike. It’s essential to follow the correct procedure to avoid damaging the brake caliper, rotor, or other components. Here’s a step-by-step guide on how to remove the old brake pads:
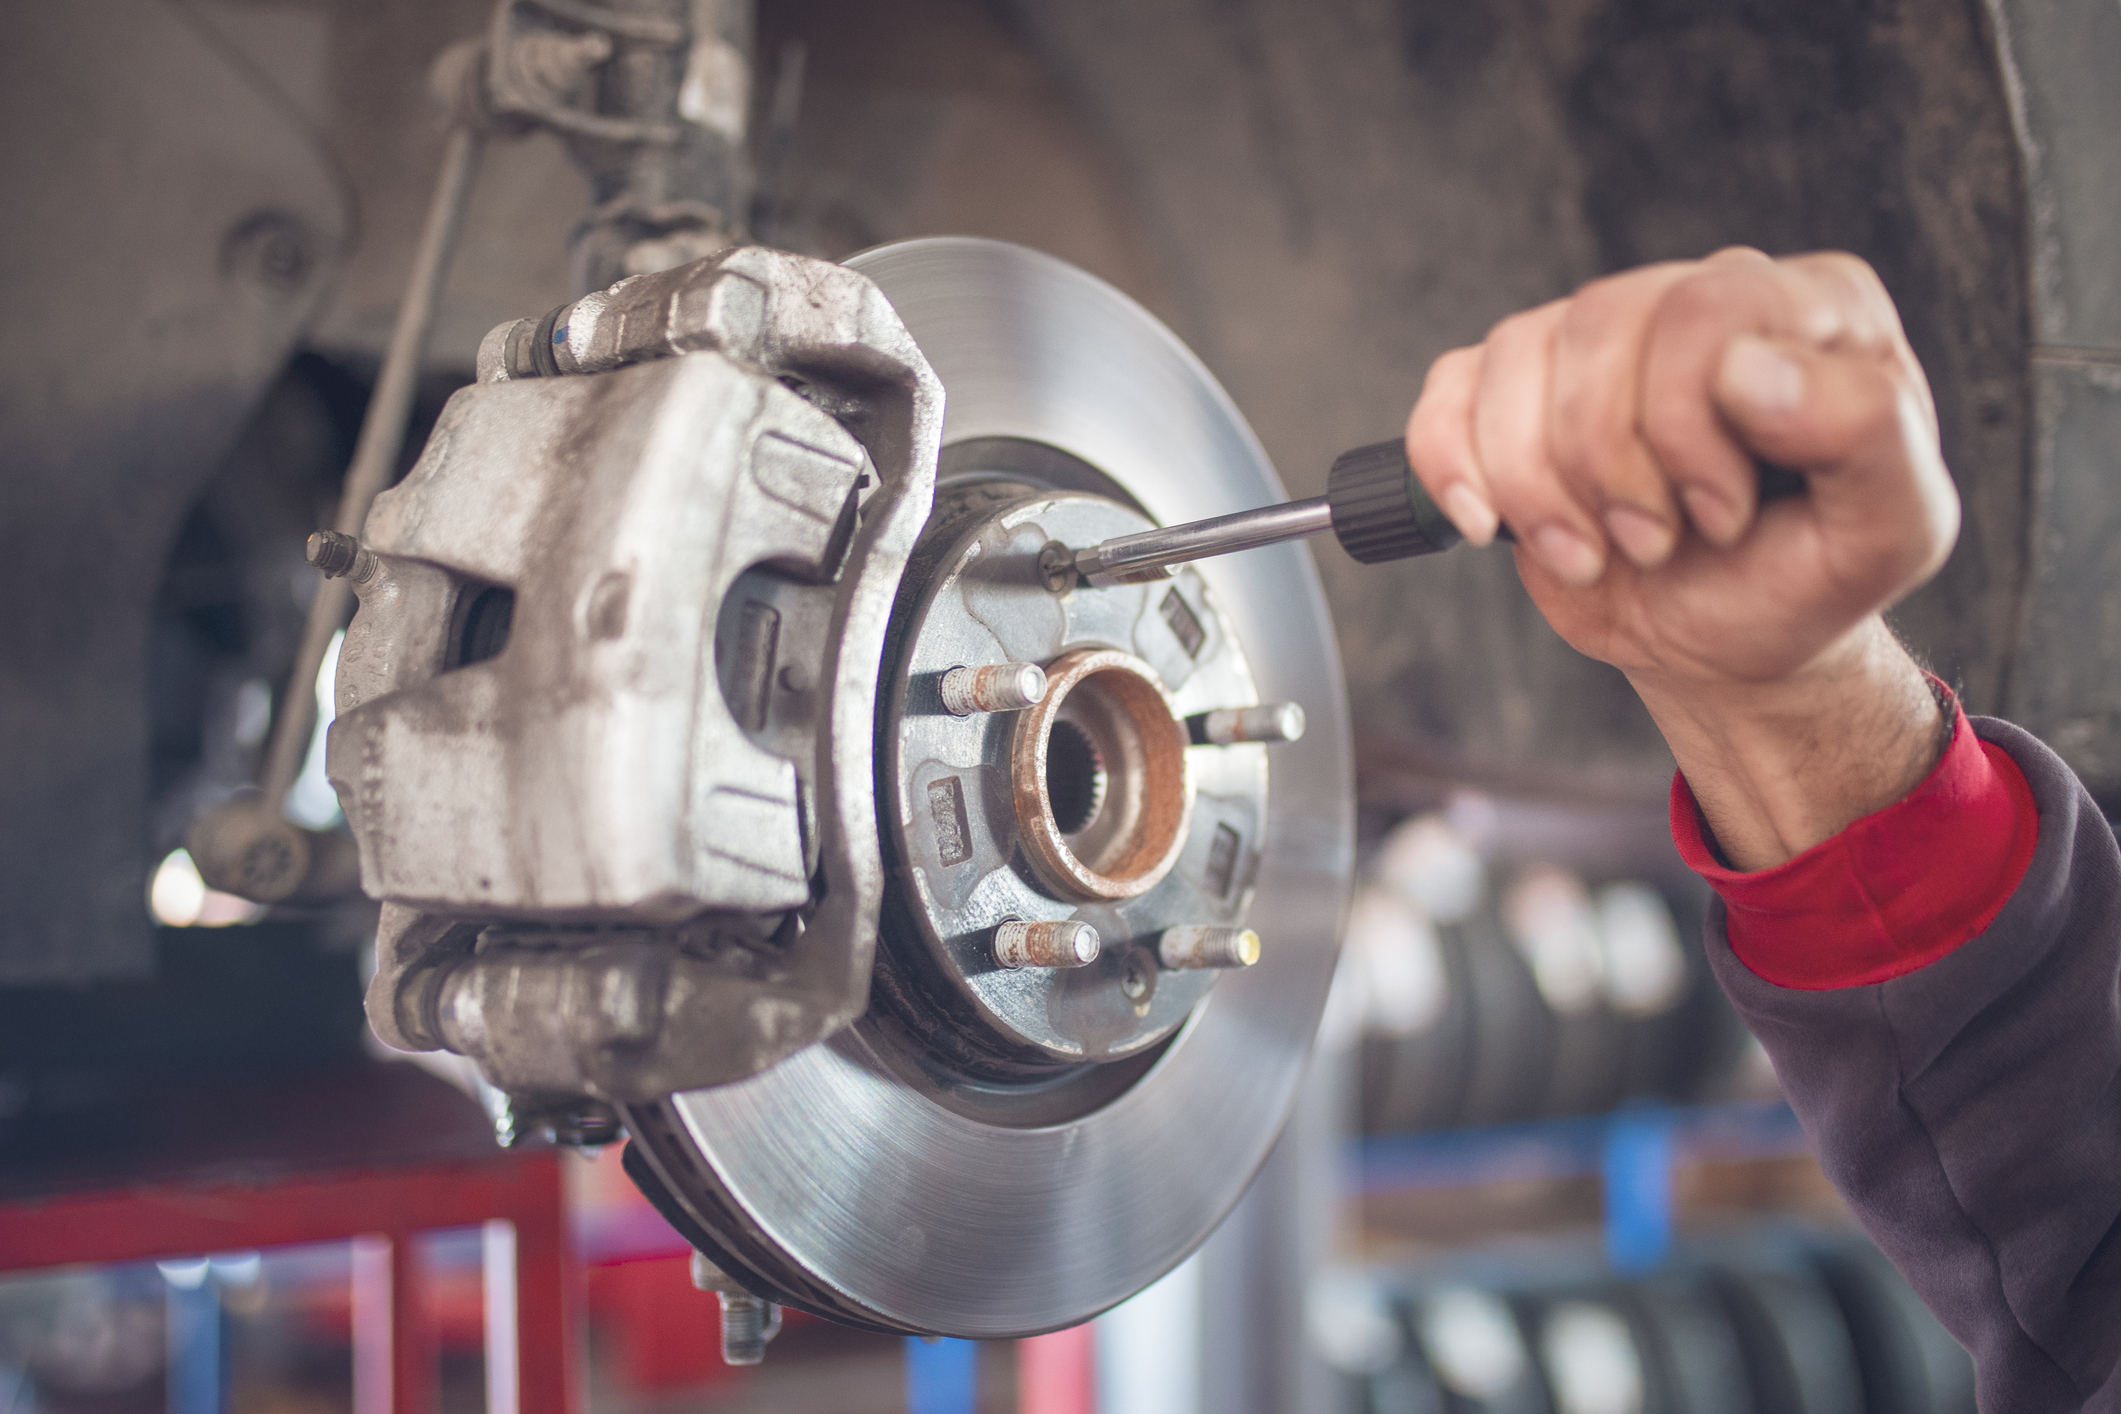
Step 1: Disconnect the Brake Caliper
Start by disconnecting the brake caliper from the brake rotor. Use an Allen wrench to loosen the caliper bolts, then slide the caliper off the rotor. Be careful not to damage the brake hose or other components.
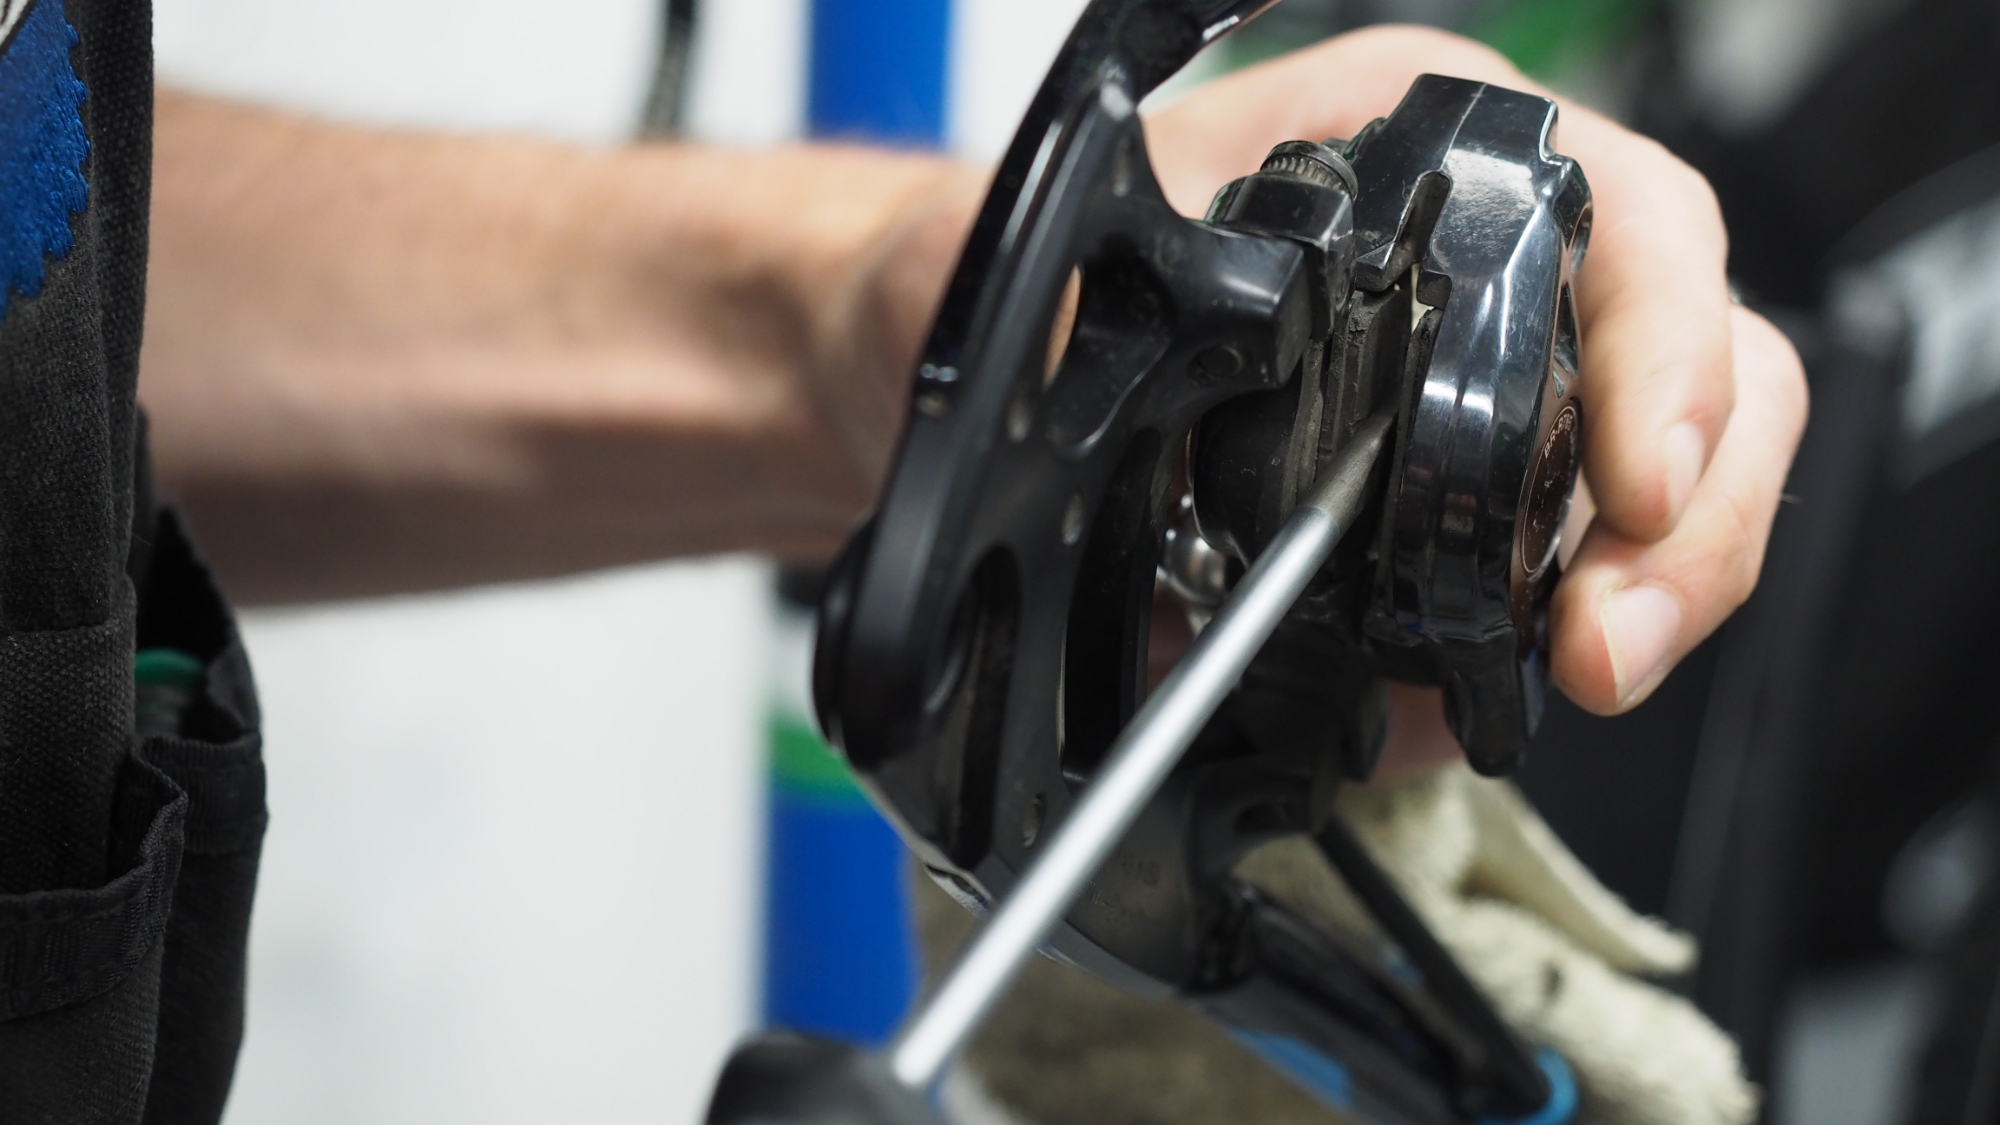
Step 2: Remove the Old Brake Pads
Once the caliper is removed, you can access the old brake pads. Use a pair of needle-nose pliers to pull out the old pads from the caliper. Be careful not to touch the brake rotor or other components with the pliers.
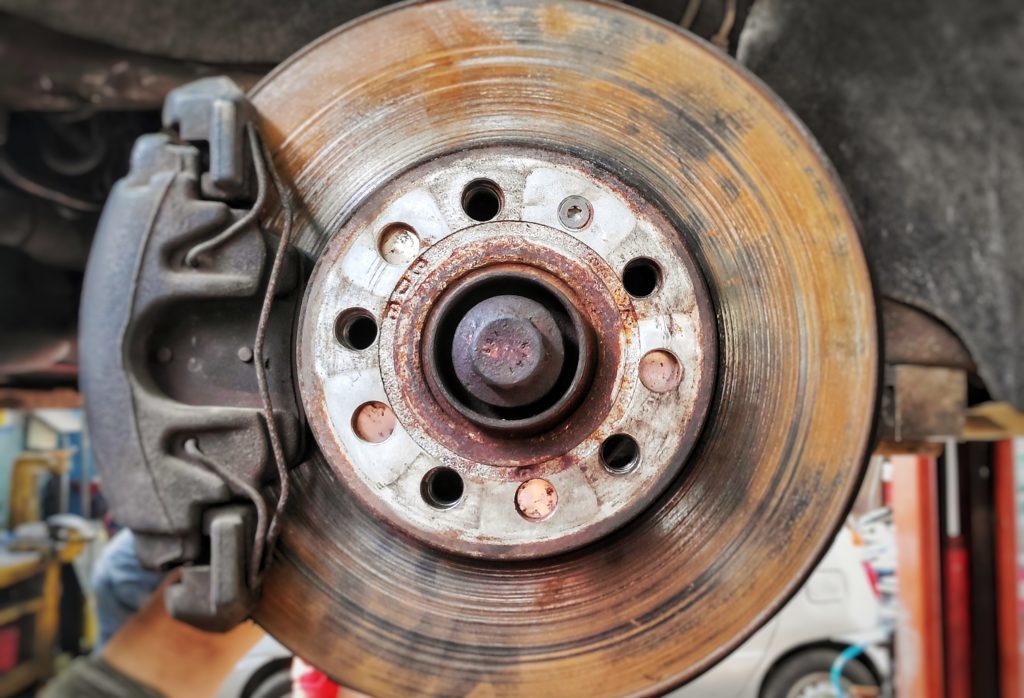
Step 3: Clean the Brake Rotor
Use a clean rag and some brake cleaner to wipe down the brake rotor. Remove any dirt, grime, or old brake pad material from the rotor. This will ensure a clean surface for the new brake pads.
Step 4: Inspect the Brake Caliper and Rotor
Before installing the new brake pads, inspect the brake caliper and rotor for any damage or wear. Check for any signs of corrosion, scoring, or excessive wear on the rotor. If you find any damage, consider replacing the caliper or rotor before installing the new brake pads.
Step 5: Prepare the Brake Caliper for New Pads
Use a clean rag to wipe down the brake caliper and remove any dirt or debris. Apply a small amount of brake lubricant to the caliper’s pivot points and bolts. This will ensure smooth operation and prevent corrosion.
By following these steps, you’ll be able to remove the old brake pads and prepare your bike’s brake system for the new pads. Remember to handle the brake components with care and avoid touching the brake rotor or other components with your bare hands.
Installing the New Brake Pads: Tips and Tricks
Installing the new brake pads is a critical step in the process of changing disc brake pads on your bike. It’s essential to follow the correct procedure to ensure proper pad alignment, secure the caliper, and avoid brake noise. Here’s a step-by-step guide on how to install the new brake pads:
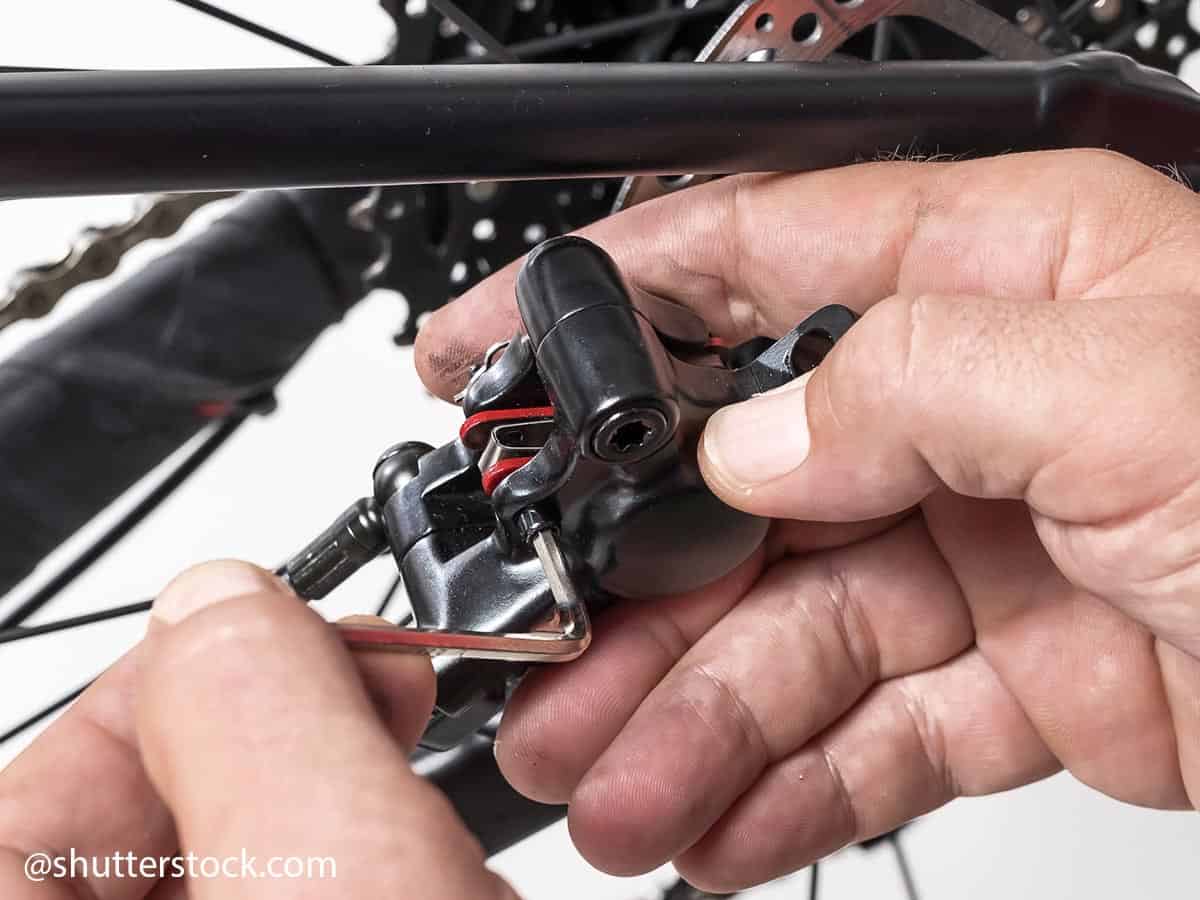
Step 1: Align the Brake Pads
Start by aligning the new brake pads with the brake rotor. Make sure the pads are properly seated and aligned with the rotor’s surface. Use a pair of needle-nose pliers to adjust the pad’s position if necessary.
Step 2: Secure the Brake Caliper
Once the pads are aligned, secure the brake caliper to the rotor. Use the caliper bolts to tighten the caliper in place. Make sure the caliper is properly seated and aligned with the rotor.
Step 3: Tighten the Bolts
Tighten the caliper bolts in a star pattern to ensure even pressure on the brake pads. Use a torque wrench to tighten the bolts to the recommended specification.
Step 4: Check the Brake Pads
After installing the new brake pads, check the pads for proper alignment and seating. Make sure the pads are not touching the rotor’s surface or any other components.
Tips and Tricks:
Use a brake pad spacer to ensure proper pad alignment and prevent brake noise.
Apply a small amount of brake lubricant to the caliper’s pivot points and bolts to ensure smooth operation.
Use a torque wrench to tighten the caliper bolts to the recommended specification.
By following these steps and tips, you’ll be able to install the new brake pads correctly and ensure optimal brake performance. Remember to always refer to your bike’s manual for specific instructions and recommendations for your particular brake system.

Bleeding the Brakes: A Crucial Step for Optimal Performance
Bleeding the brakes is a crucial step in the process of changing disc brake pads on your bike. It’s essential to remove any air that may have entered the brake system during the pad replacement process to ensure proper brake function. Here’s a step-by-step guide on how to bleed the brakes:
Step 1: Prepare the Brake System
Start by preparing the brake system for bleeding. Make sure the brake caliper is properly secured and the brake pads are in place. Use a clean rag to wipe down the brake lever and caliper to remove any dirt or debris.
Step 2: Remove Air from the Brake System
Use a brake bleeding kit to remove air from the brake system. Attach the kit to the brake lever and caliper, and then pump the lever to remove any air that may be present in the system.
Step 3: Check the Brake Fluid Level
Check the brake fluid level to ensure it’s at the recommended level. If the level is low, add brake fluid as needed.
Step 4: Test the Brakes
Test the brakes to ensure they’re functioning properly. Squeeze the brake lever and check for any air bubbles or leaks in the system.
Importance of Bleeding the Brakes:
Bleeding the brakes is essential to ensure proper brake function and prevent any potential safety issues. Air in the brake system can cause the brakes to feel spongy or soft, which can lead to reduced stopping power and increased risk of accidents.
Tips and Tricks:
Use a brake bleeding kit specifically designed for your bike’s brake system.
Make sure to follow the manufacturer’s instructions for bleeding the brakes.
Use a clean rag to wipe down the brake lever and caliper to remove any dirt or debris.
By following these steps and tips, you’ll be able to bleed the brakes correctly and ensure optimal brake performance. Remember to always refer to your bike’s manual for specific instructions and recommendations for your particular brake system.

Testing and Adjusting the Brakes: Final Checks
After changing the brake pads, it’s essential to test and adjust the brakes to ensure proper function and performance. Here’s a step-by-step guide on how to test and adjust the brakes:
Step 1: Test the Brakes
Test the brakes by squeezing the brake lever and checking for any air bubbles or leaks in the system. Make sure the brakes are functioning properly and that there are no unusual noises or vibrations.
Step 2: Adjust the Brake Caliper
Adjust the brake caliper to ensure proper alignment and clearance. Make sure the caliper is properly seated and that the brake pads are not touching the rotor.
Step 3: Check the Brake Fluid Level
Check the brake fluid level to ensure it’s at the recommended level. If the level is low, add brake fluid as needed.
Step 4: Test the Brakes Again
Test the brakes again to ensure they’re functioning properly. Make any necessary adjustments to the brake caliper or brake fluid level.
Tips and Tricks:
Use a brake testing tool to ensure the brakes are functioning properly.
Make sure to follow the manufacturer’s instructions for testing and adjusting the brakes.
Use a clean rag to wipe down the brake lever and caliper to remove any dirt or debris.
By following these steps and tips, you’ll be able to test and adjust the brakes correctly and ensure optimal brake performance. Remember to always refer to your bike’s manual for specific instructions and recommendations for your particular brake system.
Common Issues and Solutions:
If the brakes are not functioning properly, check for any air bubbles or leaks in the system.
If the brake pads are not properly aligned, adjust the brake caliper to ensure proper alignment and clearance.
If the brake fluid level is low, add brake fluid as needed.
By troubleshooting common issues and making any necessary adjustments, you’ll be able to ensure optimal brake performance and extend the life of your brake pads.
Troubleshooting Common Issues: Brake Pad Replacement FAQs
Changing disc brake pads on your bike can be a straightforward process, but sometimes issues can arise. Here are some common issues and questions that may arise during the brake pad replacement process, along with some troubleshooting tips:
Q: What if the brake pads don’t fit?
A: If the brake pads don’t fit, check to make sure you have the correct pads for your bike’s brake system. Consult your bike’s manual or manufacturer’s website for specifications. If the pads still don’t fit, try adjusting the brake caliper or seeking assistance from a professional mechanic.
Q: How do I fix brake noise?
A: Brake noise can be caused by a variety of factors, including worn-out brake pads, misaligned brake calipers, or dirty brake rotors. Try cleaning the brake rotors and adjusting the brake caliper to ensure proper alignment. If the noise persists, consider replacing the brake pads or seeking assistance from a professional mechanic.
Q: How do I troubleshoot brake problems?
A: If you’re experiencing brake problems, start by checking the brake fluid level and adding fluid as needed. Next, check the brake pads for wear and replace them if necessary. If the problem persists, try bleeding the brakes to remove any air from the system. If none of these steps resolve the issue, consider seeking assistance from a professional mechanic.
Tips and Tricks:
Always refer to your bike’s manual for specific instructions and recommendations for your particular brake system.
Use a brake testing tool to ensure the brakes are functioning properly.
Keep a record of your brake maintenance and repairs to track any issues and ensure optimal performance.
By troubleshooting common issues and addressing any problems that arise, you’ll be able to ensure optimal brake performance and extend the life of your brake pads.
Maintenance and Inspection: Keeping Your Brakes in Top Condition
Regular maintenance and inspection are crucial to ensuring optimal brake performance and extending the life of your brake pads. Here are some tips on how to maintain and inspect your brakes:
Regular Brake Checks:
Regular brake checks can help identify any potential issues before they become major problems. Check your brakes every 100-200 miles, or as recommended by your bike’s manufacturer.
Inspect the Brake Pads:
Inspect the brake pads for wear and damage. Check for any signs of excessive wear, such as scoring or excessive wear on the brake rotor.
Check the Brake Fluid Level:
Check the brake fluid level to ensure it’s at the recommended level. If the level is low, add brake fluid as needed.
Inspect the Brake Caliper:
Inspect the brake caliper for any signs of damage or wear. Check for any signs of excessive wear on the caliper’s pivot points or bolts.
Tips and Tricks:
Use a brake testing tool to ensure the brakes are functioning properly.
Keep a record of your brake maintenance and repairs to track any issues and ensure optimal performance.
Consider upgrading to high-performance brake pads for improved stopping power and durability.
By following these tips and performing regular maintenance and inspections, you’ll be able to keep your brakes in top condition and ensure optimal performance. Remember to always refer to your bike’s manual for specific instructions and recommendations for your particular brake system.