What Are Aero Bars and Why Do You Need Them?
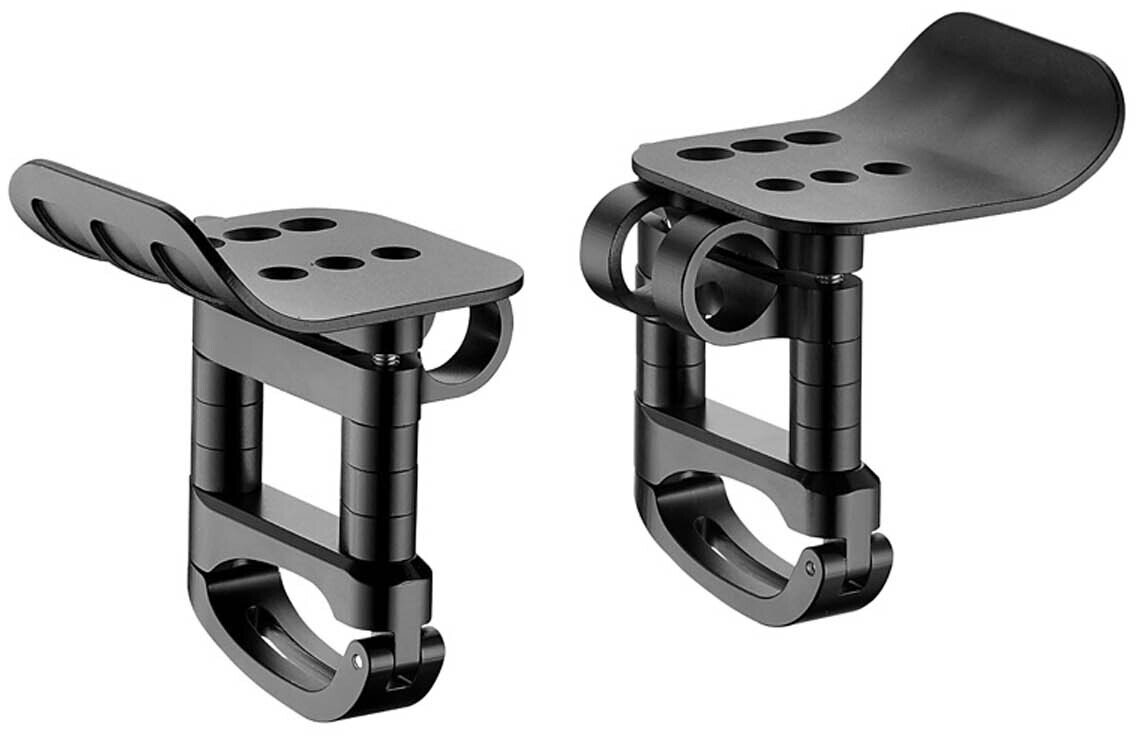
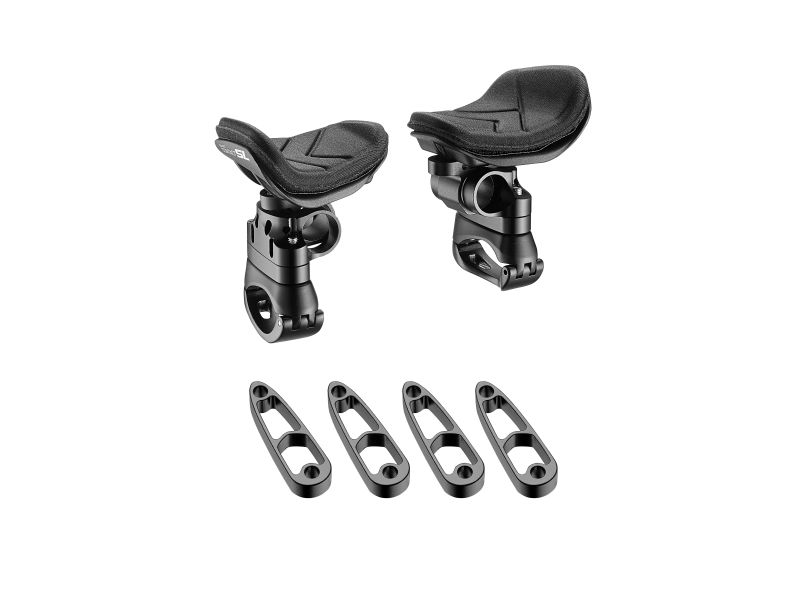
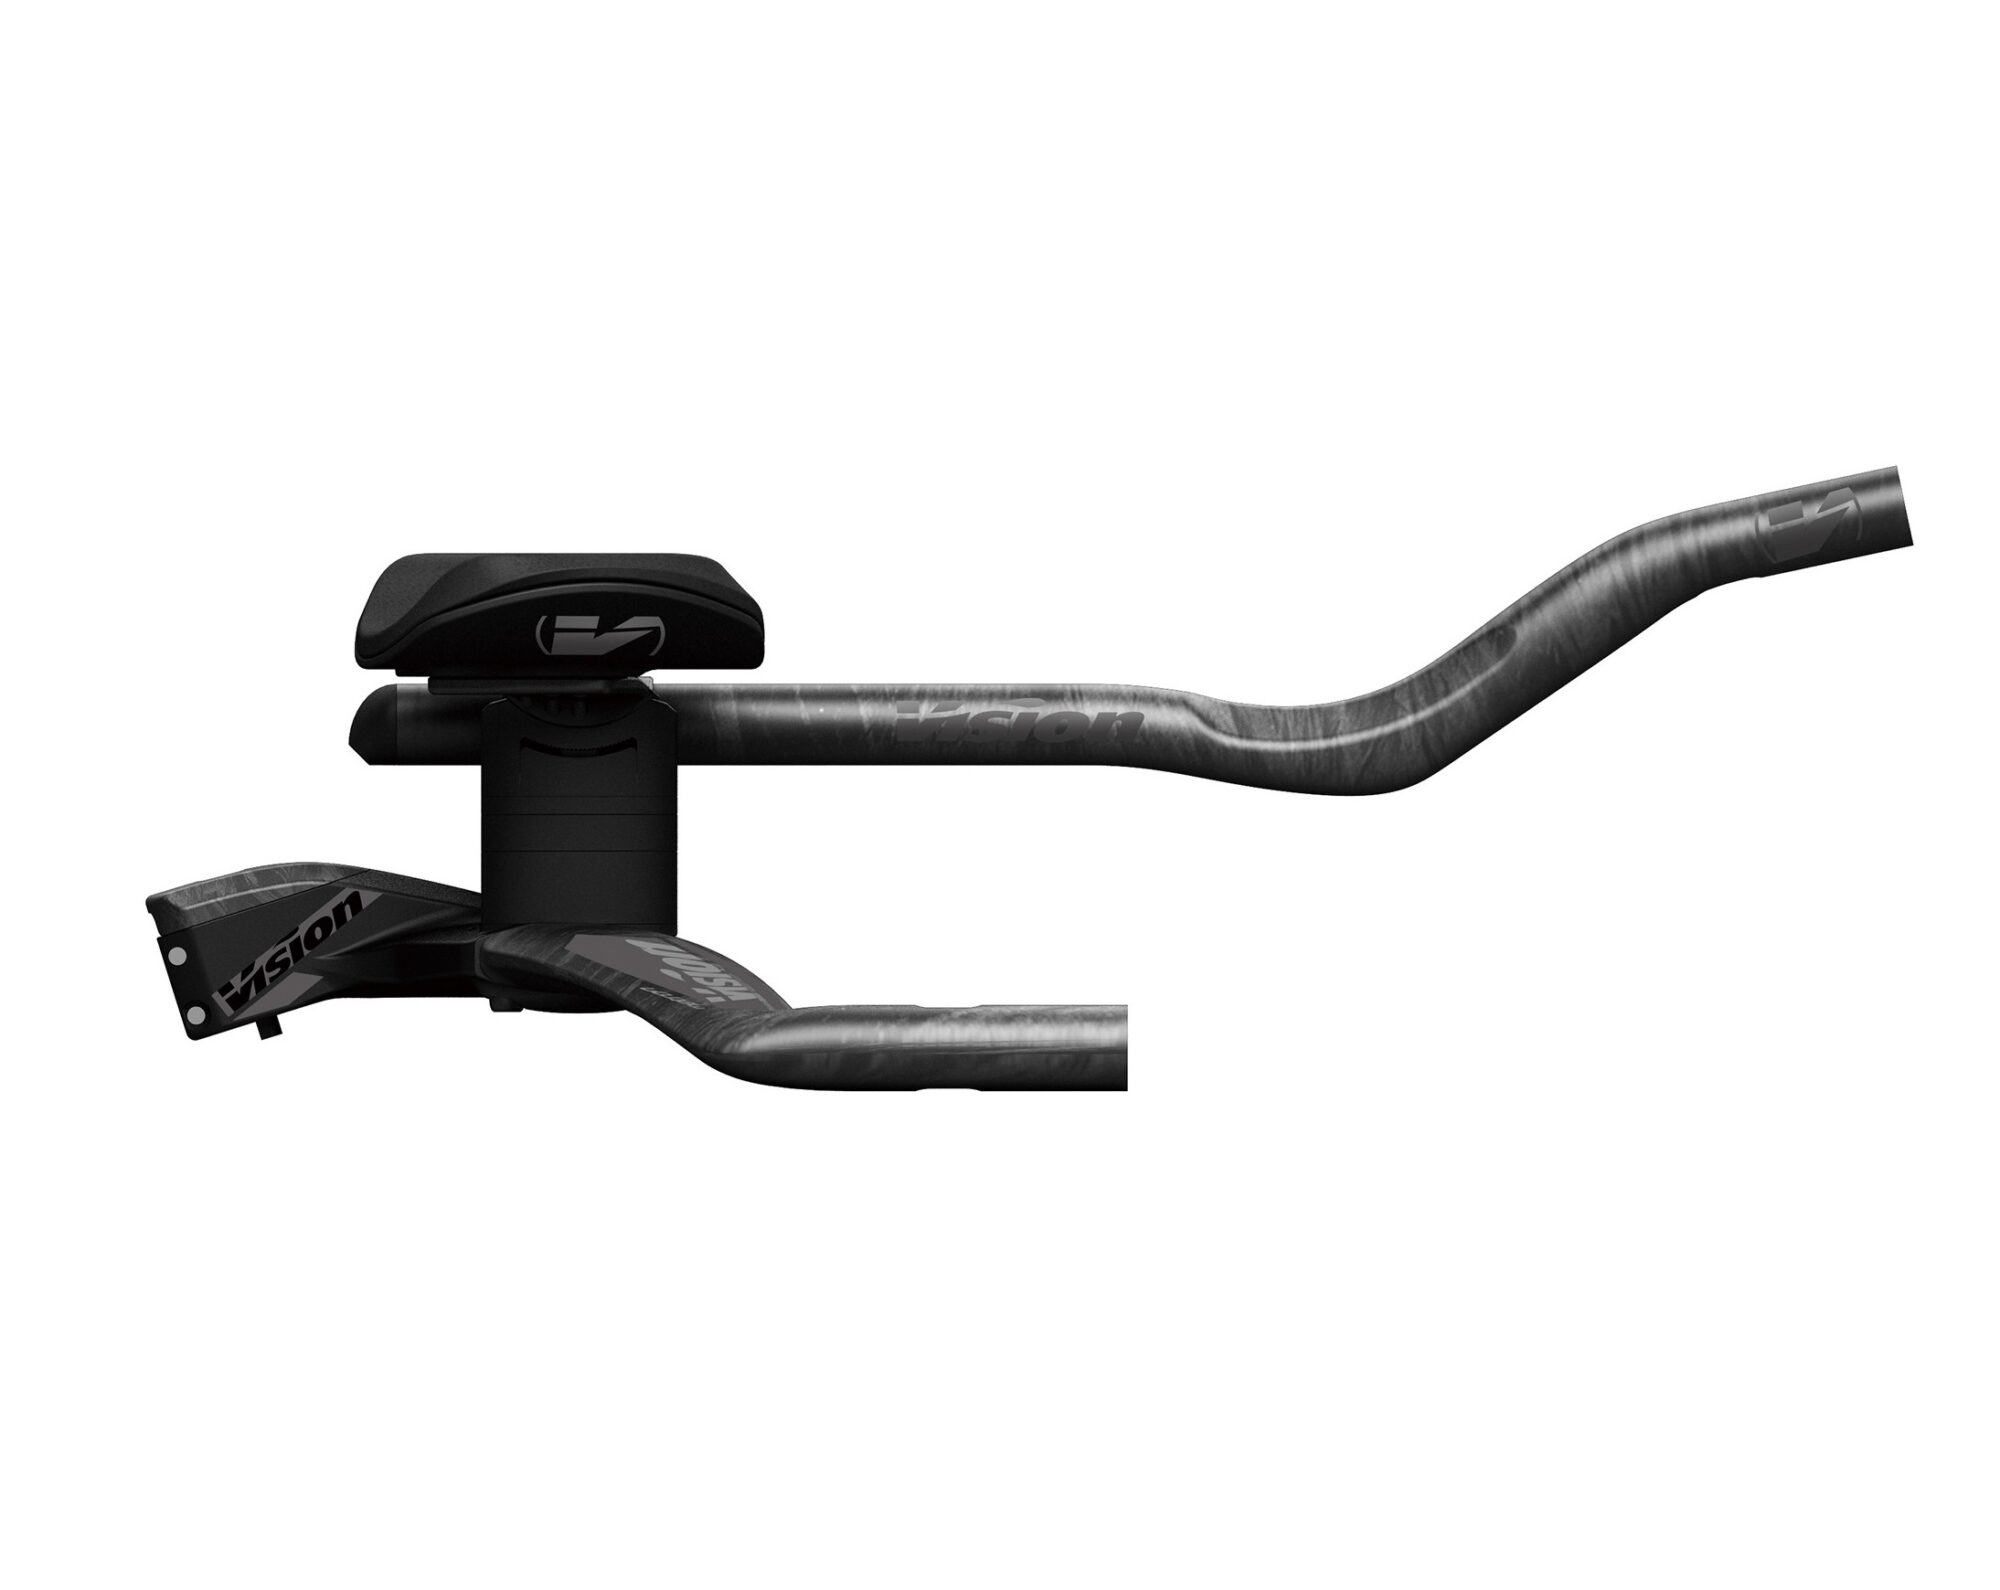
In the world of competitive cycling, every second counts. That’s why aero bars have become an essential component for serious cyclists and triathletes. These aerodynamic handlebars are designed to reduce air resistance, allowing riders to cut through the wind with ease. By attaching a clip on aero bar to your road or triathlon bike, you can experience a significant increase in speed and efficiency.
The primary purpose of aero bars is to improve aerodynamics, which is critical in competitive cycling. By reducing air resistance, cyclists can conserve energy, maintain a higher speed, and gain a competitive edge. Aero bars achieve this by allowing riders to adopt a more aerodynamic position, with their arms extended and their body lowered. This streamlined position enables cyclists to slice through the air with greater ease, resulting in improved performance and faster times.
In addition to their aerodynamic benefits, aero bars also offer improved comfort and control. By providing an alternative hand position, aero bars can help reduce fatigue and discomfort in the hands, wrists, and shoulders. This can be particularly beneficial for cyclists who spend extended periods in the saddle, such as triathletes and long-distance riders.
Whether you’re a professional cyclist or a serious enthusiast, incorporating an aero bar into your setup can have a significant impact on your performance. By understanding the benefits and purpose of aero bars, you can unlock your full potential and take your cycling to the next level.
Choosing the Right Aero Bar for Your Bike
When it comes to selecting an aero bar, cyclists are faced with a multitude of options. With various types of aero bars available, including clip-on, integrated, and bolt-on options, it’s essential to consider several factors to ensure you choose the right one for your bike and riding style.
Clip-on aero bars are a popular choice among triathletes and time trialists, as they offer a high level of adjustability and can be easily installed on most road and triathlon bikes. Integrated aero bars, on the other hand, are designed to be used with specific bike models and offer a more streamlined, aerodynamic design. Bolt-on aero bars provide a more permanent solution, requiring a threaded stem or handlebar to attach.
When selecting an aero bar, bike compatibility is a critical factor to consider. Ensure the aero bar is compatible with your bike’s make and model, as well as its stem and handlebar configuration. Riding style is also an important consideration, as different aero bars are designed to accommodate various riding positions and techniques.
Budget is another key factor to consider, as aero bars can range in price from a few hundred to several thousand dollars. Set a budget and stick to it, ensuring you find an aero bar that meets your needs without breaking the bank. Additionally, consider the weight, durability, and adjustability of the aero bar, as well as its aerodynamic features and benefits.
By considering these factors and weighing the pros and cons of each type of aero bar, you can make an informed decision and find the perfect aero bar for your bike and riding style. Whether you’re a professional cyclist or a serious enthusiast, the right aero bar can help you unlock your full potential and take your cycling to the next level.
How to Install a Clip-On Aero Bar for Maximum Efficiency
Installing a clip-on aero bar can seem daunting, but with the right guidance, you can ensure a secure and efficient setup. Follow these step-by-step instructions to get the most out of your clip-on aero bar:
Step 1: Prepare Your Bike – Before installing your clip-on aero bar, ensure your bike is clean and free of any debris. Remove any existing handlebars or accessories to provide a clear surface for installation.
Step 2: Attach the Clamp – The clamp is the foundation of your clip-on aero bar, providing a secure attachment to your bike’s handlebars. Follow the manufacturer’s instructions to attach the clamp, ensuring it is tightened to the recommended torque specification.
Step 3: Position the Aero Bar – Place the clip-on aero bar onto the clamp, ensuring it is centered and evenly spaced. Adjust the bar to your desired height and angle, taking into account your riding style and comfort preferences.
Step 4: Adjust the Armrests – The armrests of your clip-on aero bar should be adjusted to provide optimal comfort and support. Experiment with different heights and angles to find the perfect position for your arms and hands.
Step 5: Fine-Tune the Extension – The extension of your clip-on aero bar should be adjusted to provide a comfortable and aerodynamic riding position. Experiment with different extension lengths to find the perfect fit for your body and riding style.
Step 6: Final Check – Once your clip-on aero bar is installed, perform a final check to ensure all components are securely attached and properly adjusted. Take your bike for a test ride to ensure the aero bar is comfortable and efficient.
By following these steps, you can ensure a secure and efficient installation of your clip-on aero bar. Remember to always refer to the manufacturer’s instructions and take necessary safety precautions when installing any new bike components.
A properly installed clip-on aero bar can significantly improve your cycling performance, providing a more aerodynamic and comfortable riding position. By following these steps and fine-tuning your setup, you can unlock the full potential of your clip-on aero bar and take your cycling to the next level.
Top-Rated Clip-On Aero Bars for Road and Triathlon Bikes
When it comes to choosing a clip-on aero bar, cyclists are faced with a multitude of options. To help you make an informed decision, we’ve reviewed and compared some of the top-rated clip-on aero bars for road and triathlon bikes.
Profile Design Aeria Ultimate – This clip-on aero bar is designed for triathletes and time trialists, offering a sleek and aerodynamic design. The Aeria Ultimate features a adjustable armrest and extension, allowing for a customizable fit. Weighing in at just 420g, this aero bar is both lightweight and durable. Pros: adjustable armrest and extension, lightweight, durable. Cons: expensive, limited compatibility with certain bike models.
Zipp Vuka Alumina – The Vuka Alumina is a popular choice among professional cyclists, offering a high level of adjustability and customization. This clip-on aero bar features a unique “flip-up” design, allowing for easy storage and transportation. Weighing in at 440g, the Vuka Alumina is both lightweight and durable. Pros: high level of adjustability, unique “flip-up” design, durable. Cons: expensive, may require additional accessories for certain bike models.
Other top-rated clip-on aero bars include the Easton Aerofoil, the 3T Brezza, and the Profile Design T4+ Clip-On. When selecting a clip-on aero bar, consider factors such as bike compatibility, riding style, and budget. By choosing the right clip-on aero bar for your needs, you can unlock the full potential of your bike and take your cycling to the next level.
In addition to these top-rated clip-on aero bars, there are many other options available on the market. When making a decision, consider factors such as weight, durability, and adjustability. A high-quality clip-on aero bar can make a significant difference in your cycling performance, providing a more aerodynamic and comfortable riding position.
By investing in a top-rated clip-on aero bar, you can improve your speed, efficiency, and overall cycling performance. Whether you’re a professional cyclist or a serious enthusiast, a clip-on aero bar can help you unlock your full potential and take your cycling to new heights.
Maximizing the Benefits of Your Clip-On Aero Bar
To get the most out of a clip-on aero bar, it’s essential to focus on proper hand positioning, body alignment, and pedaling technique. By optimizing these elements, cyclists can unlock the full potential of their clip-on aero bar and achieve improved speed, efficiency, and overall performance.
Proper Hand Positioning – When using a clip-on aero bar, it’s crucial to maintain a comfortable and aerodynamic hand position. This can be achieved by adjusting the armrests to a height that allows for a relaxed wrist and forearm position. Additionally, cyclists should focus on keeping their hands in a neutral position, with their wrists straight and their fingers curled around the bar.
Body Alignment – Maintaining proper body alignment is critical when using a clip-on aero bar. Cyclists should focus on keeping their back straight, their shoulders relaxed, and their hips aligned with the saddle. This will help to reduce air resistance and improve overall aerodynamics.
Pedaling Technique – A smooth and efficient pedaling technique is essential when using a clip-on aero bar. Cyclists should focus on maintaining a high cadence, with a smooth and circular pedaling motion. This will help to reduce energy expenditure and improve overall speed and efficiency.
In addition to these key elements, cyclists should also focus on maintaining a relaxed and comfortable riding position. This can be achieved by adjusting the clip-on aero bar to a height that allows for a comfortable arm and hand position, and by taking regular breaks to stretch and relax.
By focusing on these key elements, cyclists can maximize the benefits of their clip-on aero bar and achieve improved performance. Whether you’re a professional cyclist or a serious enthusiast, a clip-on aero bar can help you unlock your full potential and take your cycling to new heights.
Remember, the key to getting the most out of a clip-on aero bar is to focus on proper technique and training. By combining a high-quality clip-on aero bar with a focus on proper hand positioning, body alignment, and pedaling technique, cyclists can achieve improved speed, efficiency, and overall performance.
Common Mistakes to Avoid When Using a Clip-On Aero Bar
When it comes to using a clip-on aero bar, there are several common mistakes that cyclists make that can hinder their performance and reduce the benefits of this innovative technology. By avoiding these mistakes, cyclists can ensure they get the most out of their clip-on aero bar and achieve optimal performance.
Incorrect Installation – One of the most common mistakes cyclists make is incorrect installation of their clip-on aero bar. This can lead to poor aerodynamics, reduced comfort, and even safety issues. To avoid this, cyclists should follow the manufacturer’s instructions carefully and ensure the bar is properly secured to the bike.
Poor Body Positioning – Poor body positioning is another common mistake cyclists make when using a clip-on aero bar. This can lead to reduced aerodynamics, discomfort, and even injury. To avoid this, cyclists should focus on maintaining a comfortable and aerodynamic body position, with their back straight, shoulders relaxed, and hips aligned with the saddle.
Inadequate Training – Inadequate training is a common mistake cyclists make when using a clip-on aero bar. This can lead to poor technique, reduced performance, and even injury. To avoid this, cyclists should focus on building their endurance, strength, and technique through regular training and practice.
Insufficient Adjustments – Insufficient adjustments to the clip-on aero bar is another common mistake cyclists make. This can lead to poor aerodynamics, discomfort, and reduced performance. To avoid this, cyclists should focus on making regular adjustments to the bar, including adjusting the armrests, extension, and tilt.
Ignoring Bike Compatibility – Ignoring bike compatibility is a common mistake cyclists make when using a clip-on aero bar. This can lead to poor aerodynamics, reduced performance, and even safety issues. To avoid this, cyclists should ensure their clip-on aero bar is compatible with their bike, and make any necessary adjustments to ensure a secure and comfortable fit.
By avoiding these common mistakes, cyclists can ensure they get the most out of their clip-on aero bar and achieve optimal performance. Whether you’re a professional cyclist or a serious enthusiast, a clip-on aero bar can help you unlock your full potential and take your cycling to new heights.
The Science Behind Aero Bars: How They Improve Performance
Aero bars are designed to reduce air resistance, improve speed, and increase efficiency, but how do they actually work? To understand the science behind aero bars, it’s essential to delve into the aerodynamic principles that make them so effective.
Air resistance, also known as drag, is the primary force that slows down a cyclist. When a cyclist moves through the air, they create a disturbance in the airflow, which generates drag. The shape and size of the cyclist, as well as the bike, contribute to this drag. Aero bars are designed to reduce this drag by streamlining the cyclist’s position and minimizing the frontal area exposed to the air.
The key to reducing drag is to create a smooth, aerodynamic shape that allows air to flow around the cyclist with minimal disturbance. Aero bars achieve this by providing a narrow, curved profile that directs air around the cyclist’s body. This reduces the amount of air that hits the cyclist directly, resulting in less drag and increased speed.
In addition to reducing drag, aero bars also improve efficiency by allowing cyclists to adopt a more aerodynamic position. By providing a comfortable and ergonomic platform for the hands, aero bars enable cyclists to maintain a low, streamlined position, which reduces air resistance and improves speed.
Furthermore, aero bars can also improve pedaling efficiency by allowing cyclists to adopt a more aerodynamic pedaling technique. By providing a stable and comfortable platform for the hands, aero bars enable cyclists to focus on their pedaling, resulting in a more efficient and powerful stroke.
In conclusion, the science behind aero bars is rooted in aerodynamic principles that reduce air resistance, improve speed, and increase efficiency. By understanding how aero bars work, cyclists can unlock their full potential and achieve optimal performance. Whether you’re a professional cyclist or a serious enthusiast, a clip-on aero bar can help you take your cycling to new heights.
Conclusion: Unlocking Your Full Potential with a Clip-On Aero Bar
In conclusion, a clip-on aero bar is a game-changing accessory for any serious cyclist. By providing a comfortable and aerodynamic platform for the hands, a clip-on aero bar can help cyclists reduce air resistance, improve speed, and increase efficiency. Whether you’re a professional cyclist or a serious enthusiast, a clip-on aero bar can help you unlock your full potential and take your cycling to new heights.
To get the most out of a clip-on aero bar, it’s essential to focus on proper installation, training, and technique. By following the tips and techniques outlined in this guide, cyclists can ensure they’re getting the maximum benefits from their clip-on aero bar. From proper hand positioning and body alignment to fine-tuning the extension and armrests, every detail counts when it comes to optimizing performance.
By investing in a high-quality clip-on aero bar and following the best practices outlined in this guide, cyclists can experience a significant improvement in their performance. Whether you’re competing in a triathlon or simply looking to improve your cycling efficiency, a clip-on aero bar is an essential accessory that can help you achieve your goals.
Remember, a clip-on aero bar is not just a accessory, it’s a key component of a cyclist’s arsenal. By understanding how to use it effectively, cyclists can unlock their full potential and achieve optimal performance. So why wait? Invest in a clip-on aero bar today and start experiencing the benefits of improved speed, efficiency, and performance.


