
Fixed Gear Bike Braking Techniques: An Overview
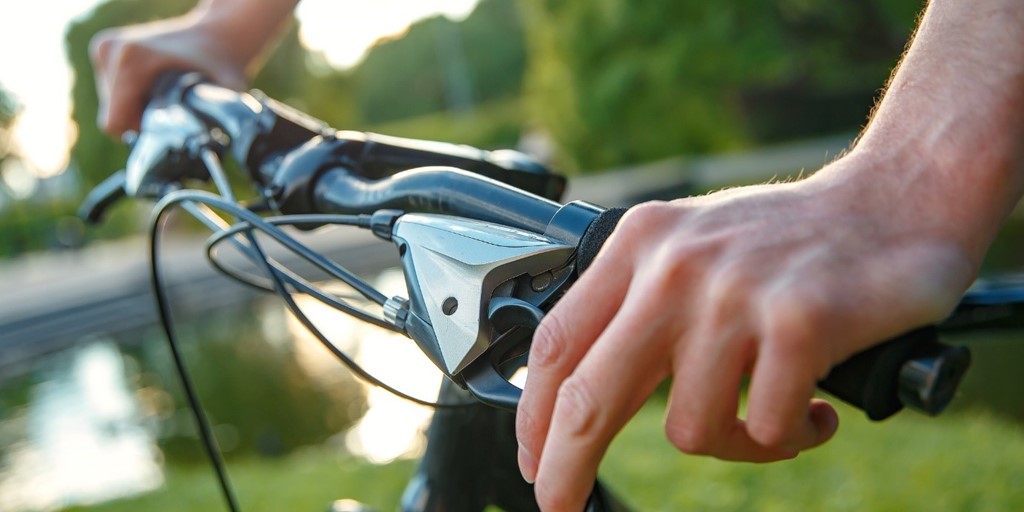
Fixed gear bikes, also known as fixies, are single-speed bicycles with a direct drivetrain, meaning the pedals are always in motion when the bike is moving. Unlike traditional bicycles, fixies do not have multiple gears or coaster brakes, which significantly impacts their braking system. Mastering alternative braking techniques is crucial for safe and effective riding. This article will explore various stopping methods for fixed gear bikes, focusing on the main keyword “fixed gear bike how to stop.”

Click Image to Find eBike Products
Skid Stop: The Classic Fixed Gear Braking Method
The skid stop is a popular braking technique among fixed gear bike enthusiasts. To perform a skid stop, riders must apply backward pressure on the pedals while resisting the forward motion of the bike with their legs and core. This action locks the rear wheel, causing it to skid and slow down the bike. Here’s a step-by-step guide on how to execute a skid stop safely and effectively:
- Gain some momentum: Start pedaling forward with a comfortable cadence to build up speed.
- Prepare for the skid: As you approach the point where you want to stop, rotate your hips and position your dominant foot on the forward pedal.
- Apply backward pressure: Push backward on the pedal with your dominant foot, applying enough force to lock the rear wheel.
- Resist forward motion: Engage your core and legs to resist the bike’s forward momentum, maintaining balance and control.
- Gradually release pressure: Once you’ve slowed down sufficiently, gently release the backward pressure on the pedal, allowing the wheel to regain traction and roll smoothly.
The skid stop offers several benefits, such as quick deceleration and the ability to maintain a fixed position while stopped. However, it also has limitations. Skid stops can be challenging to execute smoothly, especially for beginners, and may wear out the rear tire quickly. Additionally, excessive use of skid stops can compromise the bike’s integrity and safety. Therefore, it’s essential to practice this technique cautiously and consider alternative stopping methods depending on the riding situation.

Emergency Stop: When Quickness Takes Priority
An emergency stop is an essential skill for any fixed gear bike rider, as it allows for quick and efficient deceleration in unexpected situations. To perform an emergency stop, follow these steps:
- Shift your weight: As you begin to slow down, move your body weight back over the rear wheel to maintain balance and control.
- Apply backward pressure: Apply firm backward pressure on the pedals, engaging the braking force of the fixed gear drivetrain.
- Firmly grip the handlebars: Maintain a firm yet relaxed grip on the handlebars, using your arms and core to absorb any shocks or vibrations from the sudden braking force.
- Prepare for a potential skid: Depending on the road conditions and the amount of force applied, your rear wheel may skid. Be prepared to regain control and balance if this occurs.
- Gradually release pressure: Once you’ve come to a safe stop, gently release the backward pressure on the pedals, allowing the wheel to regain traction and roll smoothly.
The emergency stop method focuses on rider safety and bike control, ensuring that you can quickly and effectively stop the bike in unforeseen circumstances. However, it may not be the best choice for all situations, as excessive use can wear out the rear tire and compromise the bike’s integrity. Consider the riding conditions and your skill level when deciding which stopping method to use.

Foot Down Stop: A Balanced Approach
The foot down stop is a versatile braking technique that can be particularly useful in heavy traffic or crowded areas. This method allows riders to maintain balance and control while stopping, making it an excellent option for urban environments. To execute a foot down stop, follow these steps:
- Prepare to stop: As you approach the desired stopping point, scan the area for potential hazards and ensure a stable, balanced position on the bike.
- Place your dominant foot: As you begin to slow down, gently place your dominant foot on the ground, keeping it close to the pedal for a quick release.
- Maintain balance: Shift your weight to your dominant foot while keeping the bike upright and stable. Use your non-dominant foot to continue pedaling slowly, maintaining forward momentum.
- Complete the stop: Once you’ve come to a complete stop, gently lift your dominant foot off the ground and resume a normal riding position.
The foot down stop offers several advantages, such as maintaining balance and control in congested areas and reducing wear on the bike’s components. However, it may not be the best choice for high-speed situations or when quick deceleration is necessary. Consider the riding conditions and your skill level when deciding which stopping method to use.
Choosing the Right Stopping Method: Factors to Consider
Selecting the appropriate stopping method for fixed gear bikes depends on various factors, including rider skill level, road conditions, and traffic situations. Here are some tips for choosing the most suitable technique for different scenarios:
- Rider skill level: Inexperienced riders may find the foot down stop or emergency stop more accessible, while skid stops and advanced techniques require more practice and expertise.
- Road conditions: Slippery or uneven surfaces may affect the effectiveness of certain braking methods, making it essential to consider the road conditions when deciding which technique to use.
- Traffic situations: In heavy traffic or crowded areas, the foot down stop can be a valuable tool for maintaining balance and control. Meanwhile, in high-speed or open road situations, the skid stop or emergency stop may be more appropriate.
Ultimately, mastering multiple stopping methods will enable riders to adapt to various situations and environments, ensuring a safer and more enjoyable riding experience. By understanding the factors that influence the choice of stopping method, fixed gear bike enthusiasts can enhance their control skills and navigate different scenarios with confidence.
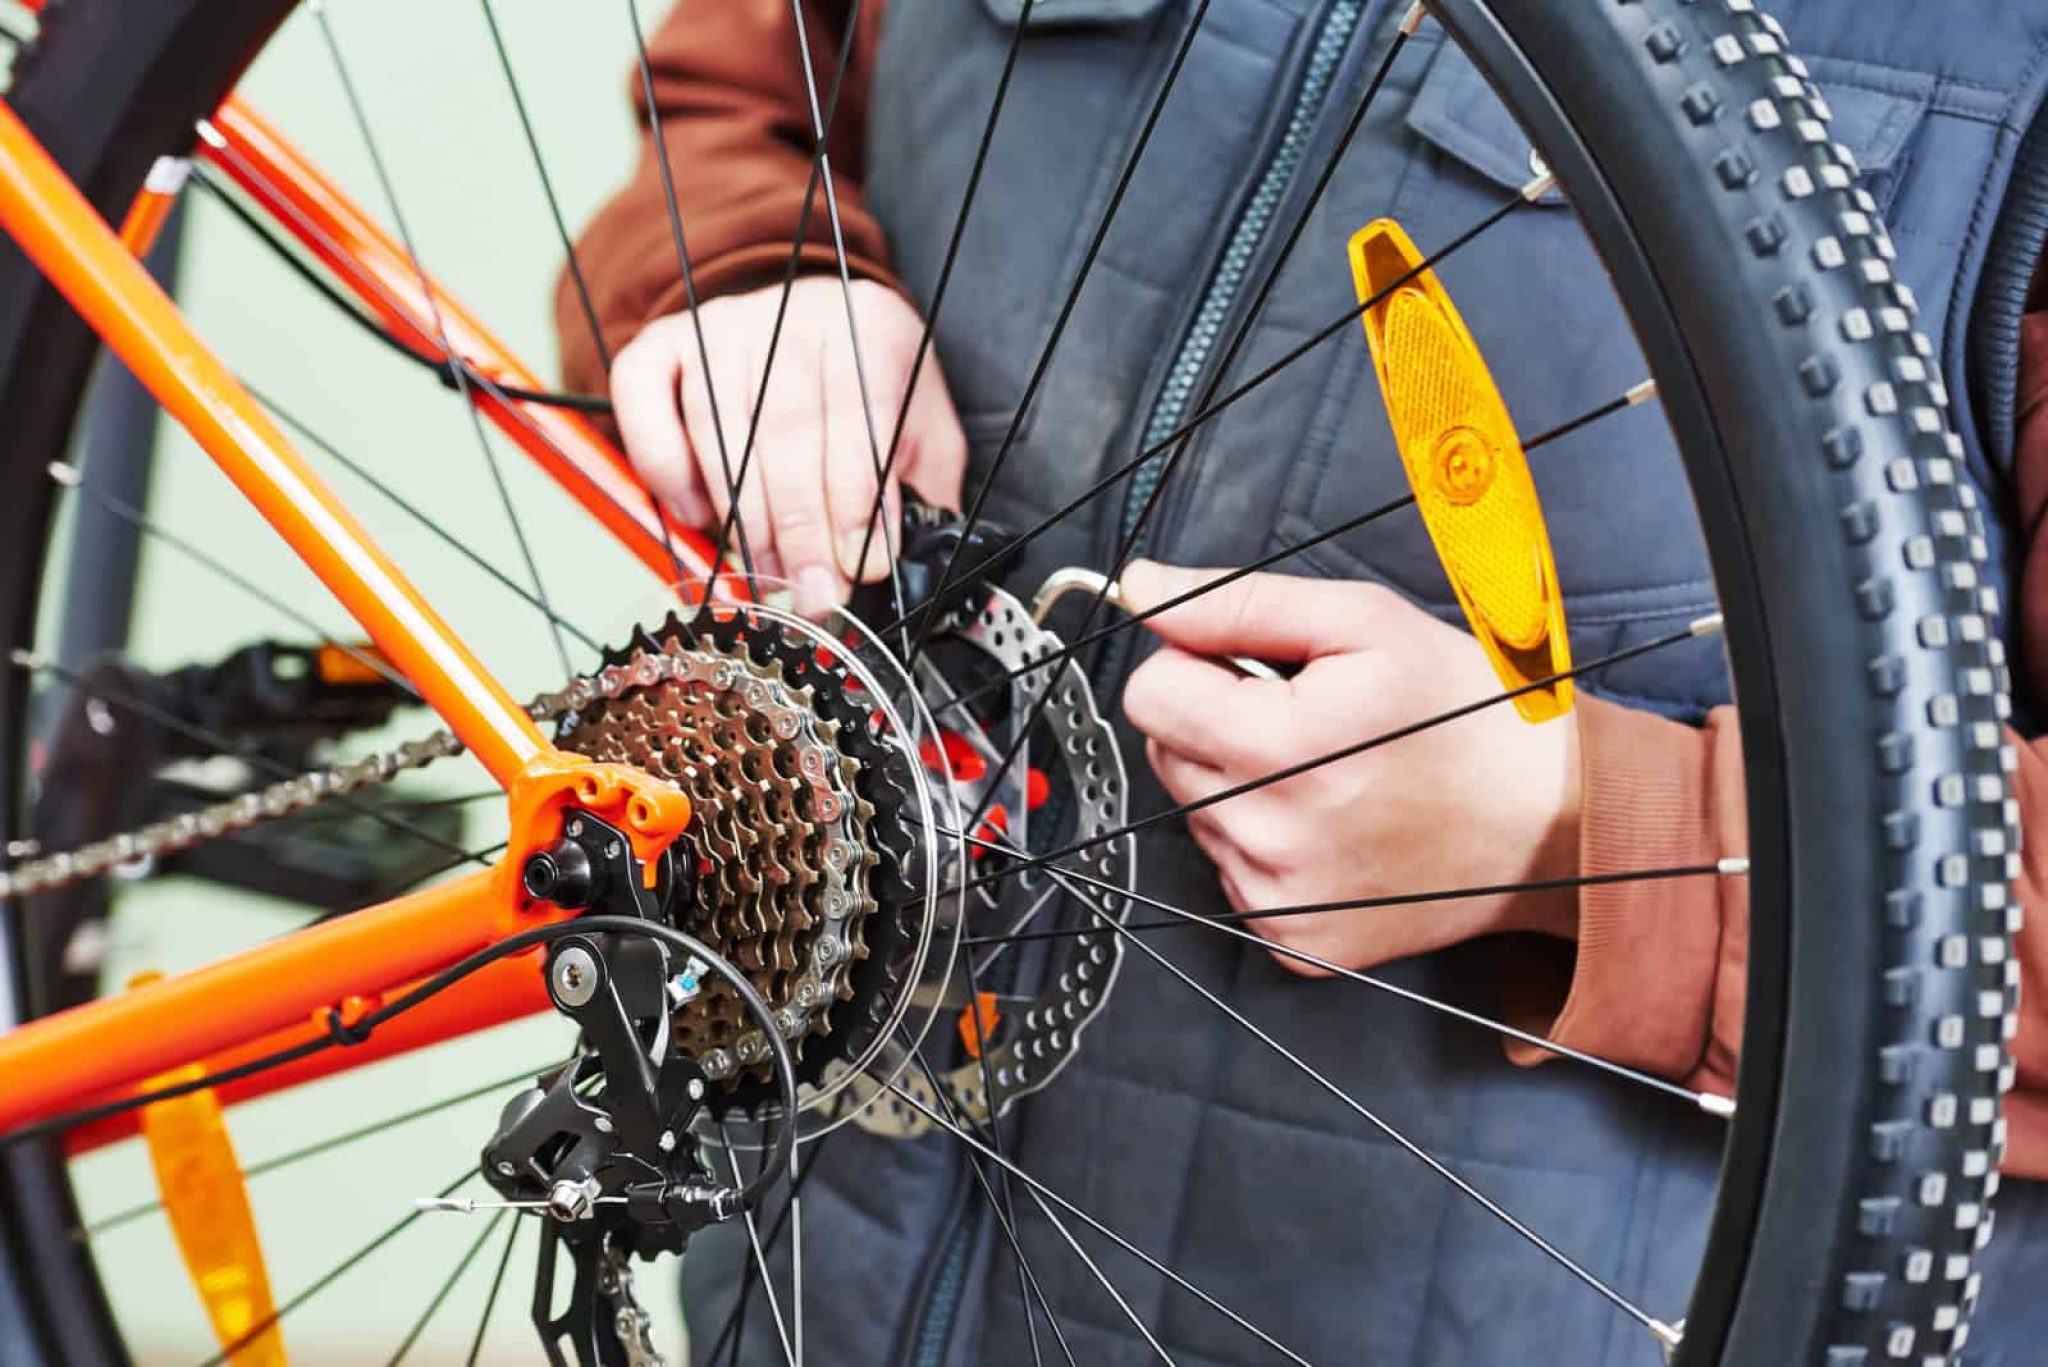
Maintenance and Safety Tips for Fixed Gear Bike Brakes
Proper maintenance and adjustment of fixed gear bike brakes are crucial for optimal performance and rider safety. Here are some essential maintenance tips:
- Check brake pad wear: Regularly inspect your brake pads for wear. Replace them if they become too thin or show signs of uneven wear. Thin or worn-out brake pads can compromise your stopping ability and potentially cause accidents.
- Adjust cable tension: Ensure that your brake cables have the correct tension. Loose cables may result in reduced braking power, while overly tight cables can cause excessive strain on the brake system and affect the bike’s handling.
- Align the wheel: Proper wheel alignment is vital for effective braking. A misaligned wheel can lead to uneven brake pad wear and reduced braking efficiency. Inspect your wheel alignment regularly and make adjustments as needed.
By following these maintenance and safety tips, you can help ensure that your fixed gear bike’s brakes perform optimally and contribute to a safer riding experience. Regularly inspecting and maintaining your bike’s brakes is an essential aspect of responsible fixed gear bike ownership and operation.

Legal and Insurance Considerations for Fixed Gear Bikes
When riding fixed gear bikes, it’s essential to be aware of local regulations and insurance considerations, particularly regarding braking requirements and liability in accidents. Here’s what you need to know:
- Local regulations: Familiarize yourself with local traffic laws and regulations related to fixed gear bikes. Some jurisdictions may have specific requirements for brakes or riding etiquette. Ignorance of the law is not a valid defense in case of accidents or traffic violations.
- Insurance coverage: Check whether your homeowner’s or renter’s insurance policy covers your fixed gear bike. If not, consider purchasing separate insurance to protect your bike in case of theft, damage, or accidents. Additionally, consider whether your health or auto insurance policy covers injuries or damages resulting from fixed gear bike accidents.
- Liability in accidents: In case of an accident, the rider may be held liable for damages or injuries caused to others, regardless of whether the accident was caused by a malfunctioning brake or human error. Ensure that you have adequate insurance coverage to protect yourself financially in such situations.
By understanding the legal and insurance aspects of riding fixed gear bikes, you can help protect yourself, your bike, and others on the road. Always prioritize safety and adhere to local regulations to minimize the risk of accidents and legal issues.
Advanced Stopping Techniques: Taking Fixed Gear Bike Control to the Next Level
For experienced fixed gear bike riders seeking to enhance their control skills, advanced stopping techniques such as track stands and hop stops can be both challenging and rewarding. These methods require a high level of balance, coordination, and bike handling skills. Here, we provide detailed instructions and safety precautions for attempting these advanced methods.
Track Stand: The Art of Balancing
A track stand is a technique where a rider maintains a stationary position by balancing on the bike without putting a foot down. To perform a track stand, follow these steps:
- Approach a stop at a slow, controlled pace.
- As you slow down, gently apply the brakes and shift your weight backward.
- Unclip one foot from the pedal and place it on the ground, ready to support your balance.
- Use small, subtle movements of your handlebars, pedals, and body weight to maintain balance without putting your foot down.
- Practice in a safe, open area until you become comfortable with the technique.
Hop Stop: The Playful Approach
A hop stop is a technique where a rider quickly hops the bike forward, bringing it to a stop in a short distance. To perform a hop stop, follow these steps:
- Ride at a moderate speed.
- As you approach the desired stopping point, crouch down and apply force to the pedals, using your legs and core to lift the front wheel off the ground.
- Simultaneously, use your body weight and handlebars to guide the bike backward, causing the rear wheel to skid and stop the bike.
- Practice in a safe, open area until you become comfortable with the technique.
Please note that these advanced techniques carry inherent risks and should only be attempted by experienced riders with proper safety equipment. Always prioritize safety and practice in a controlled environment to minimize the risk of injury or damage to your bike.
