
What Causes Tubeless Mountain Bike Tire Leaks?
Tubeless mountain bike tires can develop leaks due to several factors. Punctures and cuts are common causes, often resulting from encounters with sharp objects such as rocks, thorns, or broken glass. These injuries can penetrate the tire’s protective layers, allowing air to escape. Poor tire seating is another culprit, as an improperly seated tire may not form a tight seal with the rim, leading to air leaks.

Click Image to Find eBike Products
Before attempting to fix a tubeless mountain bike tire, it is essential to identify the root cause of the leak. This will ensure that the repair is effective and prevent future issues. A visual inspection of the tire, in combination with a soap and water solution to locate bubbles, can help pinpoint the exact location of the leak.
Gathering Essential Tools and Materials
Fixing a tubeless mountain bike tire requires specific tools and materials to ensure a successful repair. Here is a list of essential items and their purposes:
- Tire levers: These tools help pry the tire bead off the rim, making it easier to remove the tire and access the interior for repairs.
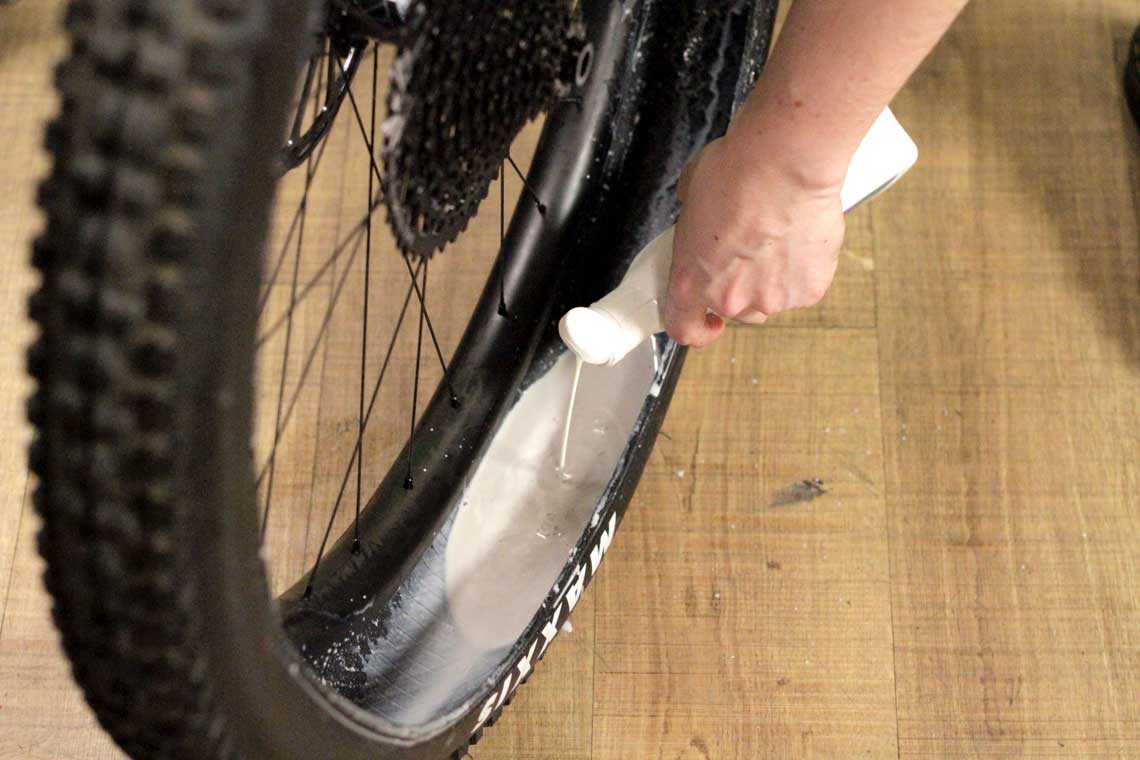
- Sealant: Tubeless sealant is designed to quickly fill and seal punctures in tubeless tires. It is crucial for re-sealing the tire after a repair.
- Inflation device: A device to re-inflate the tire, such as a floor pump, CO2 cartridge, or compressor, is necessary to seat the tire properly and ensure a tight seal.
- Rags: Cleaning rags are helpful for wiping away excess sealant and debris during the repair process.
Having these tools and materials on hand before starting the repair process will make the job more manageable and increase the likelihood of a successful fix. It is also essential to ensure that the sealant is fresh and not past its expiration date, as older sealant may not seal punctures effectively.

Preparing the Tire for Repair: Removing the Wheel
Before fixing a tubeless mountain bike tire, it is essential to safely remove the wheel from the bike. This process includes the following steps:
- Release the brake: Start by releasing the brake caliper to allow the wheel to spin freely. For mechanical brakes, simply pull the quick-release lever. For hydraulic brakes, locate the small lever on the brake caliper and pull it towards the handlebar to disengage the brake.
- Loosen the quick-release or thru-axle: Depending on your bike’s design, you will have either a quick-release skewer or a thru-axle holding the wheel in place. To remove the wheel, loosen the quick-release skewer by turning the lever or, for a thru-axle, use a wrench to unscrew it partially.
- Remove the wheel: With the brake released and the quick-release or thru-axle loosened, carefully lift the wheel out of the bike’s dropouts. Be cautious not to damage the derailleur or any other components during this process.
Proper wheel removal is crucial for successful tubeless mountain bike tire repair. It allows for easier tire manipulation and ensures that no other components are accidentally damaged during the repair process.
How to Fix a Tubeless Mountain Bike Tire: Step-by-Step Instructions
To fix a tubeless mountain bike tire, follow these detailed steps:
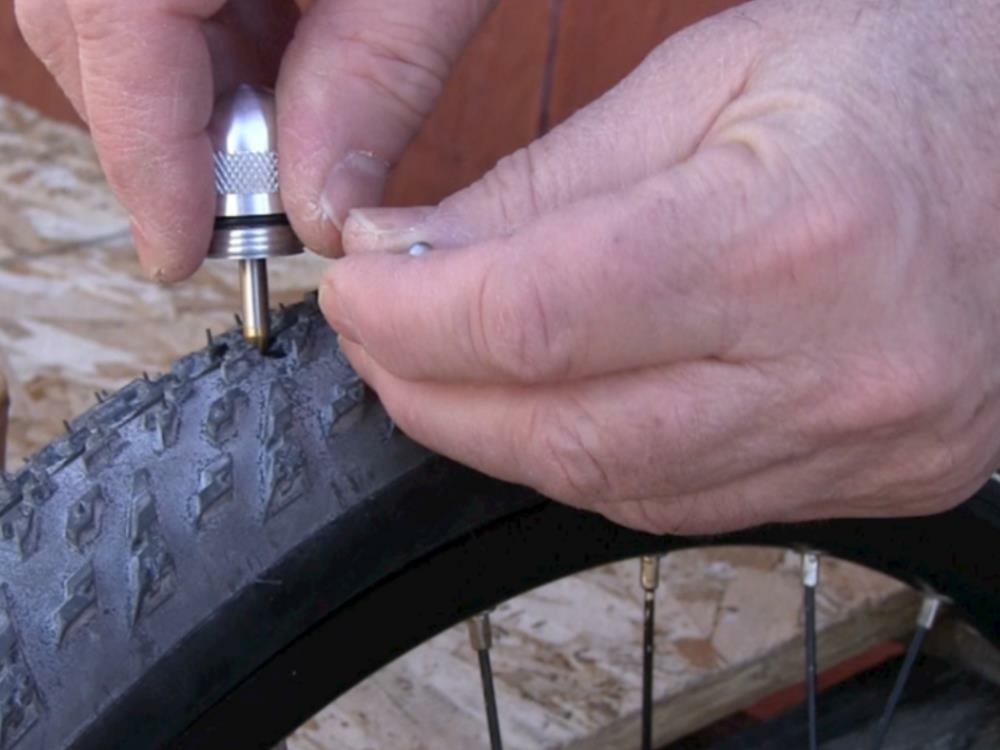
- Deflate the tire: If the tire still has air, use the valve core tool to remove the valve core, allowing the air to escape. This step makes it easier to remove the tire from the rim.
- Remove the sealant: Use a tire lever to pry one side of the tire bead off the rim. Once you have access to the interior of the tire, carefully scoop out the old sealant and set it aside. Be prepared for a messy process, as sealant can be sticky and difficult to remove from surfaces.
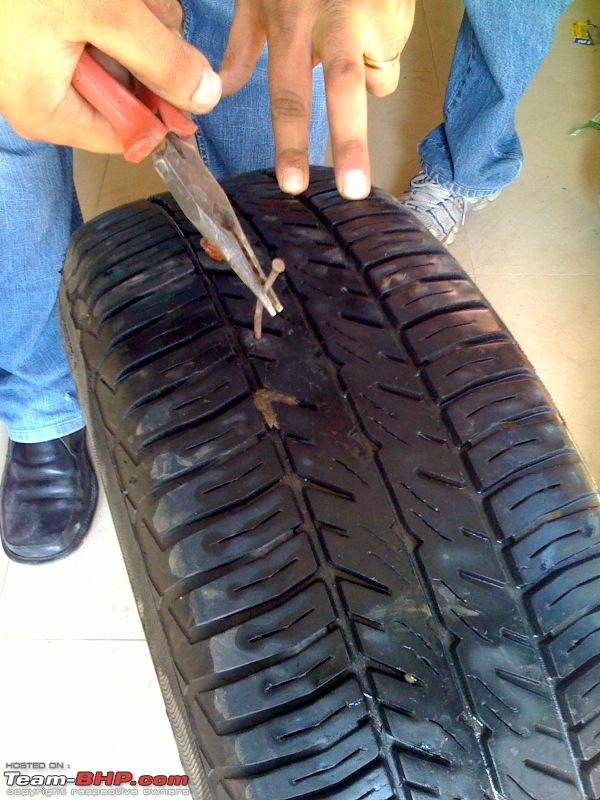
- Locate the leak: Inspect the tire’s interior and exterior for visible punctures, cuts, or tears. If you cannot find the leak, use a soap and water solution to help locate bubbles, which indicate the location of the leak.
- Repair the leak: For small punctures, use a tire plug kit to insert a plug into the hole. For larger cuts or tears, you may need to apply a tire patch or replace the tire entirely. Ensure that the plug or patch is securely in place and that the sealant covers the repair area.
- Re-install the tire: Carefully place the tire bead back onto the rim, ensuring that it is properly seated. Use your hands or tire levers to avoid damaging the rim or tire.
- Re-inflate the tire: Use an inflation device, such as a floor pump, CO2 cartridge, or compressor, to re-inflate the tire. It is crucial to inflate the tire to the recommended pressure to ensure proper seating and prevent future leaks.
- Inspect the tire: After inflating the tire, visually inspect it for any signs of leaks or improper seating. Spin the wheel to ensure that it rotates smoothly and evenly.
By following these step-by-step instructions, you can successfully fix a tubeless mountain bike tire. Remember to include images or diagrams to illustrate each step, making the process easier to understand for readers.

Re-inflating and Seating the Tire Properly
Re-inflating and seating the tire correctly is crucial for preventing future tubeless mountain bike tire leaks. Follow these steps to ensure proper tire seating:
- Use a high-pressure floor pump: A floor pump with a built-in pressure gauge is the best option for re-inflating tubeless mountain bike tires. Start by inflating the tire to a low pressure, such as 20 psi, to ensure that the tire bead seats properly.
- Seat the tire bead: While inflating the tire, use your hands to press the tire bead into the rim’s center channel. This action helps the tire bead pop into place, ensuring a tight seal. Be cautious not to overinflate the tire, as this can cause damage to the tire or rim.
- Inspect the tire: After inflating the tire, visually inspect it for any signs of leaks or improper seating. Spin the wheel to ensure that it rotates smoothly and evenly.
- Add sealant: If the tire has been successfully seated, deflate it partially and add fresh sealant to the tire’s interior. This step helps maintain the tire’s seal and prevents future leaks.
- Re-inflate the tire: Slowly re-inflate the tire to the recommended pressure. Ensure that the tire bead remains seated during this process.
Alternatively, you can use a CO2 cartridge or compressor to re-inflate the tire. However, a floor pump is the most reliable and cost-effective option for most riders. Proper tire seating is essential for preventing future leaks and ensuring a safe and enjoyable riding experience.
Testing the Repaired Tubeless Mountain Bike Tire
After repairing a tubeless mountain bike tire, it is essential to test the tire to ensure that the repair was successful. Follow these steps to properly test the repaired tire:
- Visual inspection: Carefully inspect the repaired area for any signs of sealant leakage or improper seating. Look for bubbles or streams of escaping air, which would indicate a failed repair.
- Re-inflate the tire: If the visual inspection shows no signs of leaks, re-inflate the tire to the recommended pressure. Ensure that the tire bead remains seated during this process.
- Short ride: Take the bike for a short, slow ride on smooth terrain. This ride allows you to monitor the tire’s performance and check for any unusual noises or vibrations that may indicate a failed repair.
- Leak detection: If the tire continues to leak after repair, use a soap and water solution to help locate bubbles, which indicate the location of the leak. Repeat the repair process, focusing on the area where the bubbles appear.
If the tire continues to leak after multiple repair attempts, it may be time to consider replacing the tire entirely. Persistent leaks can compromise the safety and performance of the tire, putting the rider at risk during off-road adventures. Regularly checking tire pressure, inspecting the tire for damage, and maintaining proper sealant levels can help prevent future tubeless mountain bike tire leaks and ensure a safe and enjoyable riding experience.
Preventing Future Tubeless Mountain Bike Tire Leaks
Regular maintenance and proper care can help prevent future tubeless mountain bike tire leaks, ensuring a safe and enjoyable riding experience. Follow these tips and best practices to maintain your tire’s integrity:
- Check tire pressure: Regularly check the tire pressure before every ride. Use a tire pressure gauge to ensure that the tire is inflated to the recommended pressure, which can typically be found on the tire’s sidewall. Properly inflated tires help prevent pinch flats and reduce the risk of tire leaks.
- Inspect the tire: Regularly inspect the tire for any signs of damage, such as cuts, punctures, or embedded objects. Remove any debris and assess whether the tire can be safely repaired or if it needs to be replaced.
- Maintain proper sealant levels: Sealant is a crucial component of tubeless tire systems, as it helps to quickly seal punctures and maintain tire pressure. Check the sealant levels every few months and top up as necessary. The recommended amount of sealant can typically be found in the tire or rim manufacturer’s instructions.
- Clean the tire: Regularly clean the tire and rim with a damp cloth to remove any dirt, mud, or debris that could compromise the tire’s seal. Be sure to dry the tire thoroughly before re-inflating.
- Replace the tire: If the tire shows signs of significant wear, such as cracking or bald spots, it may be time to replace the tire. Worn-out tires are more susceptible to leaks and can compromise the rider’s safety.
By following these tips and best practices, you can help prevent future tubeless mountain bike tire leaks and ensure a safe and enjoyable riding experience. Regular maintenance and care are essential for any cyclist looking to get the most out of their tubeless tire setup.
