
Why Proper Saddle Height Matters for Comfort and Performance
Proper saddle height is crucial for comfortable and efficient cycling. When the saddle is too high or too low, it can lead to a range of issues, including back pain, numbness, and decreased performance. In fact, a saddle that is not adjusted correctly can put unnecessary strain on the muscles and joints, leading to discomfort and fatigue. This is why it’s essential to understand how high a bike saddle should be to ensure a comfortable and enjoyable ride.

Click Image to Find eBike Products
One of the primary reasons proper saddle height is important is that it allows for efficient energy transfer. When the saddle is at the correct height, the rider can maintain a comfortable position and generate power with each pedal stroke. This not only improves performance but also reduces the risk of injury. On the other hand, a saddle that is too high or too low can disrupt the rider’s biomechanics, leading to decreased efficiency and increased discomfort.
In addition to performance and comfort, proper saddle height also plays a critical role in preventing injuries. When the saddle is too high, it can put excessive strain on the knees and hips, leading to issues such as tendonitis and bursitis. Conversely, a saddle that is too low can cause the rider to overstretch, leading to back and neck pain. By adjusting the saddle to the correct height, riders can reduce the risk of injury and enjoy a more comfortable ride.
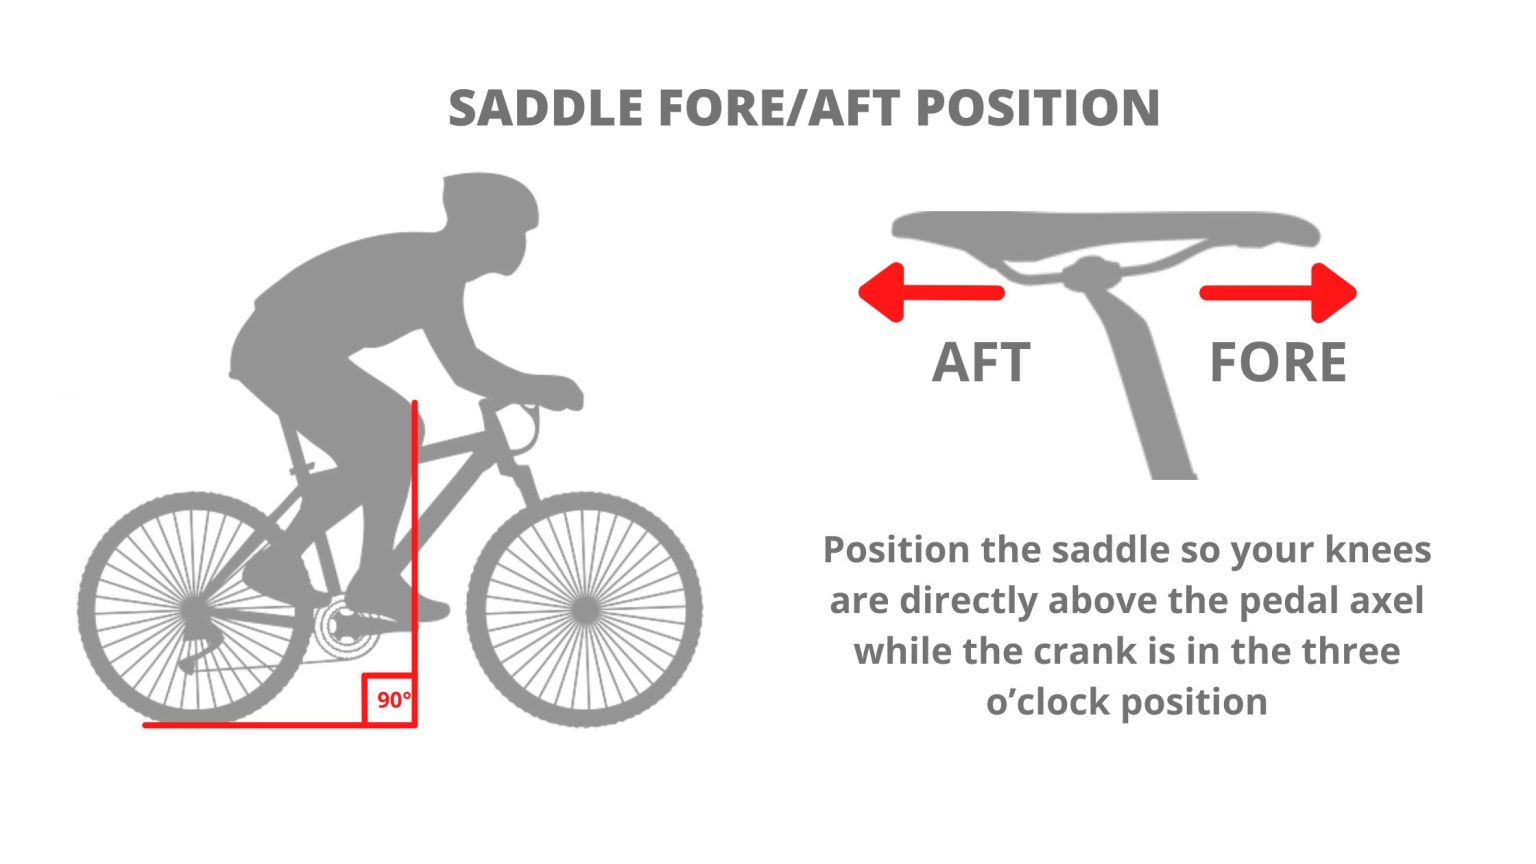
So, how high should a bike saddle be? The answer depends on a range of factors, including the rider’s leg length, hip flexibility, and riding style. In general, the saddle should be adjusted so that the rider’s leg is almost fully extended when the pedal is in its lowest position. This allows for efficient energy transfer and reduces the risk of discomfort and injury. By understanding the importance of proper saddle height and making adjustments accordingly, riders can enjoy a more comfortable and efficient ride.
Understanding the Key Factors that Influence Saddle Height
When it comes to determining the ideal saddle height, there are several key factors to consider. These factors can be broadly categorized into three main areas: leg length, hip flexibility, and riding style. By understanding how these factors interact and affect saddle height, cyclists can make informed adjustments to optimize their bike fit.
Leg length is a critical factor in determining saddle height. Cyclists with longer legs require a higher saddle height to maintain proper pedaling form, while those with shorter legs require a lower saddle height. To measure leg length, cyclists can use a simple technique such as standing against a wall with their feet shoulder-width apart and measuring the distance from the floor to the top of their thigh. This measurement can then be used to determine the ideal saddle height.
Hip flexibility is another important factor to consider when determining saddle height. Cyclists with greater hip flexibility can maintain a more aggressive riding position, which requires a lower saddle height. Conversely, those with less hip flexibility may require a higher saddle height to maintain comfort and avoid discomfort. To assess hip flexibility, cyclists can perform a simple test such as the “hip flexion test,” which involves standing with their feet shoulder-width apart and bending forward at the hips.
Riding style is also a critical factor in determining saddle height. Different riding styles, such as road, mountain, or hybrid, require different saddle heights. For example, road cyclists typically require a lower saddle height to maintain an aerodynamic position, while mountain cyclists require a higher saddle height to maintain control and stability. By understanding the specific demands of their riding style, cyclists can make informed adjustments to their saddle height.
By considering these key factors, cyclists can determine their ideal saddle height and make adjustments to optimize their bike fit. Remember, the goal is to find a saddle height that allows for comfortable and efficient pedaling, while also minimizing the risk of discomfort and injury. By taking the time to understand and address these factors, cyclists can enjoy a more comfortable and enjoyable ride.
How to Measure Your Ideal Saddle Height: A Step-by-Step Guide
Measuring your ideal saddle height is a straightforward process that requires a few simple tools and some basic knowledge of bike geometry. Here’s a step-by-step guide to help you determine your ideal saddle height:
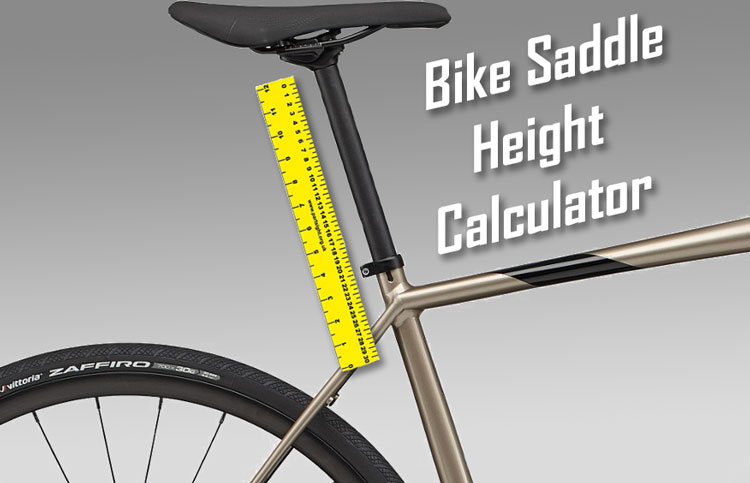
Step 1: Gather the necessary tools and information. You’ll need a bike with a adjustable saddle height, a ruler or measuring tape, and a calculator. You’ll also need to know your leg length, which can be measured from the floor to the top of your thigh.
Step 2: Determine your saddle height range. Most bikes have a recommended saddle height range, which can be found in the owner’s manual or on the manufacturer’s website. This range is usually expressed in terms of the distance from the center of the bottom bracket to the top of the saddle.
Step 3: Measure your leg length and calculate your ideal saddle height. Using the formula: Ideal Saddle Height = (Leg Length x 0.885) + (Bottom Bracket Height x 0.115), you can calculate your ideal saddle height. For example, if your leg length is 43 inches and your bottom bracket height is 11 inches, your ideal saddle height would be: Ideal Saddle Height = (43 x 0.885) + (11 x 0.115) = 37.5 inches.
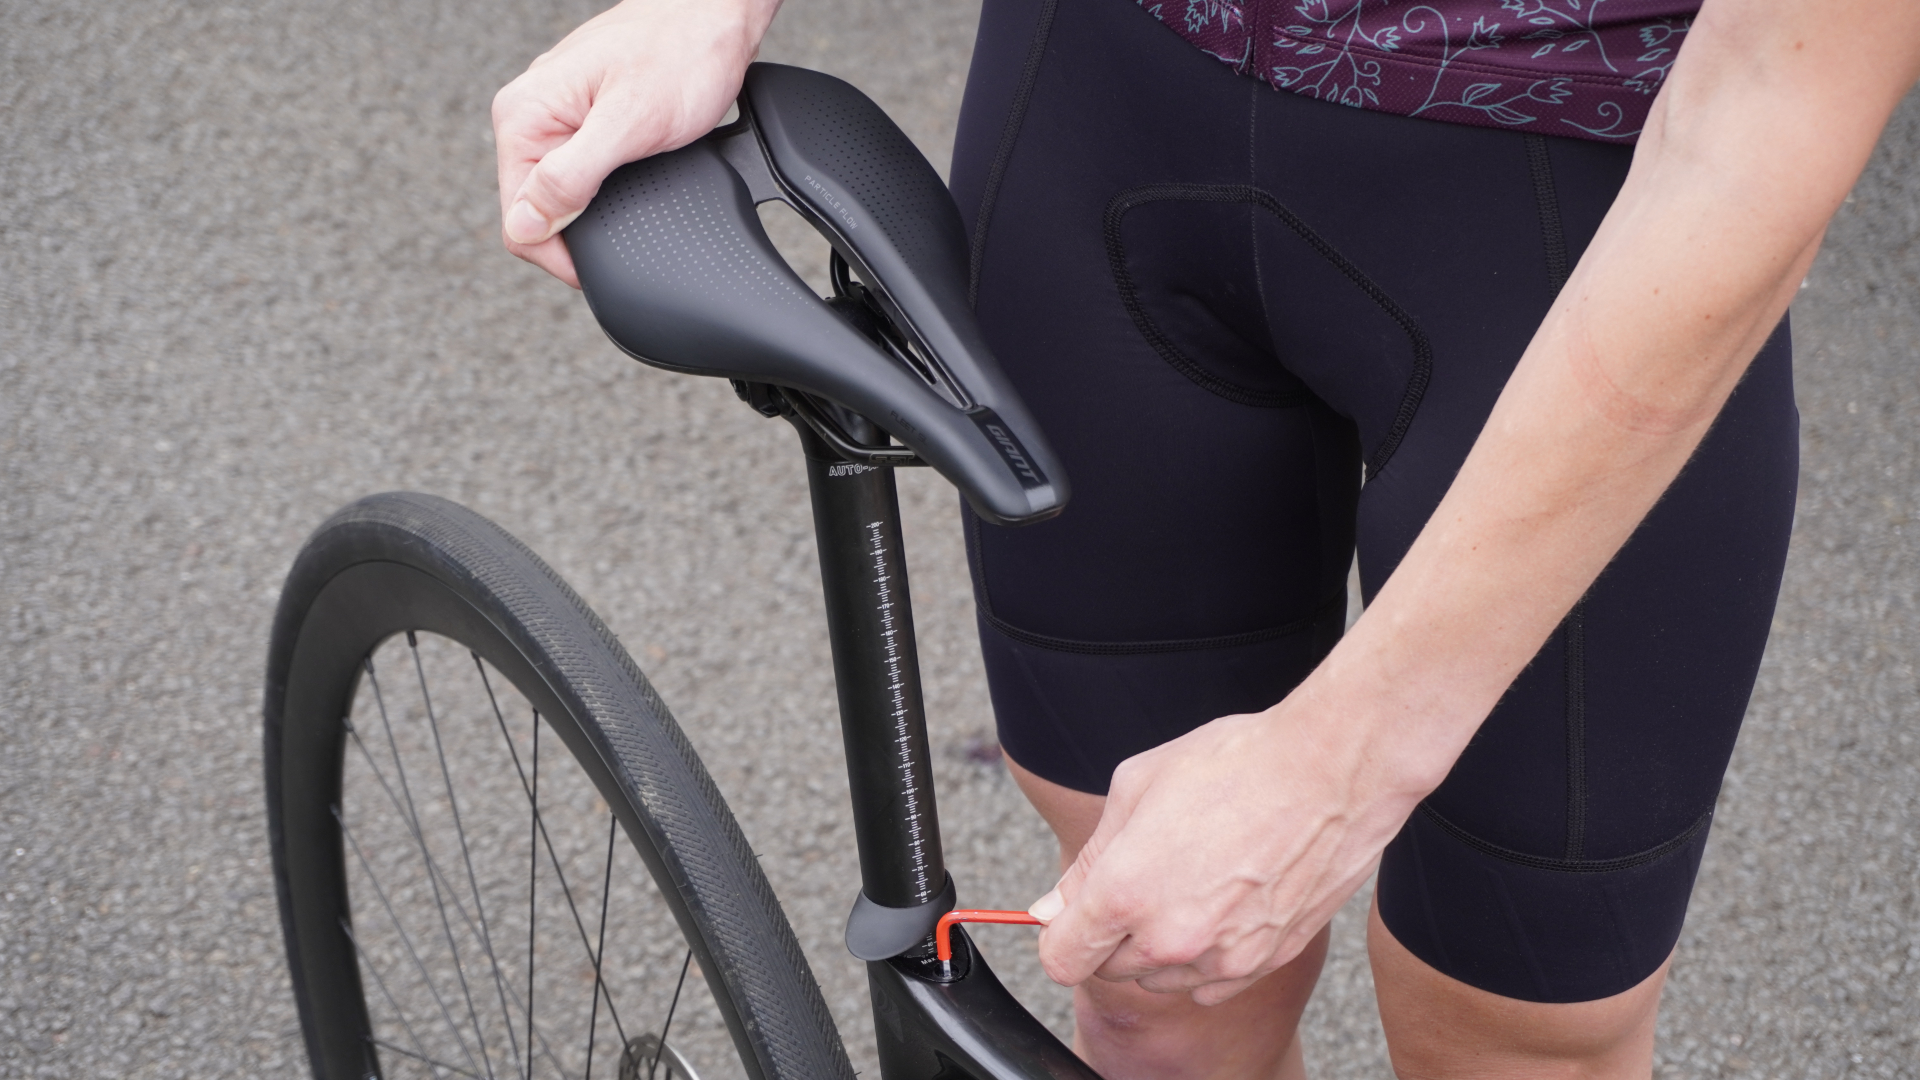
Step 4: Adjust your saddle height to the calculated value. Use the adjustable saddle height mechanism on your bike to set the saddle height to the calculated value. Make sure to tighten the saddle height adjustment mechanism securely to prevent the saddle from moving during riding.
Step 5: Check your saddle height and make adjustments as needed. Once you’ve set your saddle height, check to make sure it feels comfortable and natural. If you experience any discomfort or numbness, you may need to make adjustments to your saddle height or other bike fit parameters.
By following these steps, you can determine your ideal saddle height and optimize your bike fit for comfort and performance. Remember, the key to finding the perfect saddle height is to experiment and find what works best for you. Don’t be afraid to try different saddle heights and make adjustments as needed to find your ideal position.

The Role of Bike Type and Riding Style in Determining Saddle Height
When it comes to determining the ideal saddle height, the type of bike and riding style play a significant role. Different types of bikes, such as road, mountain, and hybrid, have unique geometry and design features that affect the saddle height requirements. Additionally, riding styles, such as upright, aggressive, and recreational, also influence the ideal saddle height.
For example, road bikes typically require a lower saddle height to maintain an aerodynamic position, while mountain bikes require a higher saddle height to provide more clearance and control. Hybrid bikes, on the other hand, often require a saddle height that is somewhere in between.
Riding style also plays a crucial role in determining the ideal saddle height. Aggressive riders who spend most of their time in the drops may require a lower saddle height to maintain a more aerodynamic position, while upright riders who prefer a more comfortable position may require a higher saddle height.
Here are some general guidelines for adjusting saddle height based on bike type and riding style:
Road bikes: Saddle height should be set so that the rider’s leg is almost fully extended when the pedal is in its lowest position.
Mountain bikes: Saddle height should be set so that the rider’s leg is slightly bent when the pedal is in its lowest position.
Hybrid bikes: Saddle height should be set so that the rider’s leg is almost fully extended when the pedal is in its lowest position, but with a slightly more upright position.
Aggressive riding style: Saddle height should be set lower to maintain an aerodynamic position.
Upright riding style: Saddle height should be set higher to provide more comfort and control.
By considering the type of bike and riding style, cyclists can make informed adjustments to their saddle height to optimize their bike fit and performance.

Common Mistakes to Avoid When Setting Your Saddle Height
When setting your saddle height, there are several common mistakes to avoid. These mistakes can lead to discomfort, decreased performance, and even injury. Here are some of the most common mistakes to watch out for:
1. Relying solely on manufacturer recommendations: While manufacturer recommendations can be a good starting point, they may not take into account your individual factors, such as leg length and hip flexibility.
2. Neglecting to consider individual factors: Failing to consider your individual factors, such as leg length and hip flexibility, can lead to a saddle height that is not optimized for your body.
3. Not adjusting for different riding styles: Different riding styles, such as road, mountain, and hybrid, require different saddle heights. Failing to adjust for these differences can lead to discomfort and decreased performance.
4. Not using proper measurement techniques: Using improper measurement techniques, such as measuring from the floor to the top of the saddle, can lead to inaccurate saddle height settings.
5. Not considering the type of bike: Different types of bikes, such as road, mountain, and hybrid, have unique geometry and design features that affect the saddle height requirements. Failing to consider these differences can lead to discomfort and decreased performance.
To avoid these mistakes, it’s essential to take a comprehensive approach to setting your saddle height. This includes considering your individual factors, riding style, and bike type, as well as using proper measurement techniques.
By avoiding these common mistakes, you can ensure that your saddle height is optimized for comfort and performance. Remember, finding the perfect saddle height is a process that requires patience, experimentation, and attention to detail.
Real-World Examples: How to Apply Saddle Height Principles to Popular Bike Models
To illustrate the principles of saddle height adjustment, let’s consider some real-world examples of popular bike models. We’ll examine how to apply the principles of saddle height adjustment to each model, taking into account factors such as bike type, riding style, and individual factors.
Trek Road Bike: For a Trek road bike, the saddle height should be set so that the rider’s leg is almost fully extended when the pedal is in its lowest position. This will allow for efficient energy transfer and minimize the risk of discomfort and injury.
Specialized Mountain Bike: For a Specialized mountain bike, the saddle height should be set slightly higher than for a road bike, to provide more clearance and control on technical terrain. The rider’s leg should be slightly bent when the pedal is in its lowest position.
Cannondale Hybrid Bike: For a Cannondale hybrid bike, the saddle height should be set so that the rider’s leg is almost fully extended when the pedal is in its lowest position. This will allow for efficient energy transfer and minimize the risk of discomfort and injury.
By applying the principles of saddle height adjustment to these popular bike models, cyclists can optimize their bike fit and performance. Remember to consider individual factors, such as leg length and hip flexibility, and to experiment with different saddle heights to find the perfect fit.
Here are some specific recommendations for each bike model:
Trek Road Bike:
- Saddle height: 72-75 cm (28-30 inches)
- Seat tube angle: 73-75 degrees
- Handlebar height: 5-7 cm (2-3 inches) below the saddle height
Specialized Mountain Bike:
- Saddle height: 75-80 cm (30-32 inches)
- Seat tube angle: 70-72 degrees
- Handlebar height: 7-10 cm (3-4 inches) below the saddle height
Cannondale Hybrid Bike:
- Saddle height: 72-75 cm (28-30 inches)
- Seat tube angle: 73-75 degrees
- Handlebar height: 5-7 cm (2-3 inches) below the saddle height
By following these recommendations and experimenting with different saddle heights, cyclists can optimize their bike fit and performance.

Troubleshooting Common Issues Related to Saddle Height
Despite the importance of proper saddle height, many cyclists experience issues related to saddle height, such as discomfort, numbness, or decreased performance. In this section, we’ll address some common issues related to saddle height and provide troubleshooting tips and solutions to help cyclists resolve these issues.
Discomfort or Pain:
If you’re experiencing discomfort or pain while cycling, it may be due to an incorrect saddle height. Check to ensure that your saddle height is set correctly, taking into account your leg length, hip flexibility, and riding style. If the issue persists, consider consulting a professional bike fitter or adjusting your saddle height slightly.
Numbness or Tingling:
Numbness or tingling in the hands, feet, or genital area can be a sign of an incorrect saddle height. Check to ensure that your saddle height is not too high or too low, and adjust accordingly. Additionally, consider adjusting your handlebar height or seat tube angle to alleviate pressure on sensitive areas.
Decreased Performance:
If you’re experiencing decreased performance or efficiency while cycling, it may be due to an incorrect saddle height. Check to ensure that your saddle height is set correctly, taking into account your leg length, hip flexibility, and riding style. If the issue persists, consider consulting a professional bike fitter or adjusting your saddle height slightly.
Troubleshooting Tips:
1. Check your saddle height regularly to ensure it’s set correctly.
2. Adjust your saddle height slightly to see if it alleviates any issues.
3. Consider consulting a professional bike fitter for a personalized bike fit.
4. Adjust your handlebar height or seat tube angle to alleviate pressure on sensitive areas.
By following these troubleshooting tips and solutions, cyclists can resolve common issues related to saddle height and optimize their bike fit for comfort and performance.

Final Check: Ensuring Your Saddle Height is Optimized for Comfort and Performance
Now that we’ve covered the key factors that influence saddle height, how to measure and calculate the ideal saddle height, and common mistakes to avoid, it’s time to put it all together. Here’s a final checklist to ensure your saddle height is optimized for comfort and performance:
1. Check your leg length and hip flexibility to determine your ideal saddle height.
2. Consider your riding style and bike type to adjust your saddle height accordingly.
3. Use a goniometer or saddle height calculator to measure and calculate your ideal saddle height.
4. Avoid common mistakes such as relying solely on manufacturer recommendations or neglecting to consider individual factors.
5. Experiment with different saddle heights to find the perfect fit for your body.
6. Consider consulting a professional bike fitter for a personalized bike fit.
By following this checklist, you can ensure that your saddle height is optimized for comfort and performance. Remember, finding the perfect saddle height is a process that requires patience, experimentation, and attention to detail.
Key Takeaways:
– Proper saddle height is crucial for comfortable and efficient cycling.
– Leg length, hip flexibility, and riding style are key factors that influence saddle height.
– Use a goniometer or saddle height calculator to measure and calculate your ideal saddle height.
– Avoid common mistakes such as relying solely on manufacturer recommendations or neglecting to consider individual factors.
Encouragement:
Don’t be afraid to experiment and try different saddle heights to find the perfect fit for your body. Remember, the key to finding the perfect saddle height is to be patient, persistent, and willing to make adjustments as needed. With a little practice and patience, you can optimize your saddle height for comfort and performance and enjoy a more enjoyable and efficient cycling experience.
