Why Regular Brake Pad Replacement is Crucial for Safe Cycling
Regular brake pad replacement is essential for safe cycling, as worn-out brake pads can lead to reduced stopping power and increased risk of accidents. When brake pads wear down, they can cause the brake caliper to rub against the rotor, leading to excessive heat buildup and potentially catastrophic consequences. Furthermore, worn-out brake pads can also lead to uneven brake wear, causing the brake pads to wear down faster and requiring more frequent replacements. By replacing brake pads regularly, cyclists can ensure their safety on the road, maintain optimal brake performance, and prevent costly repairs down the line. In fact, learning how to change bike disc brake pads is a crucial skill for any serious cyclist, as it allows them to take control of their bike’s maintenance and ensure optimal performance.

Click Image to Find eBike Products
Preparation is Key: Gathering the Essential Tools and Materials
Before diving into the process of how to change bike disc brake pads, it’s essential to gather the necessary tools and materials to ensure a smooth and successful replacement. The following items are required: new brake pads, a workstand, Allen wrenches, and a torque wrench. Additionally, it’s recommended to have a clean and well-lit workspace, as well as a pair of gloves to protect your hands from dirt and grime. Having all the necessary tools and materials at hand will save you time and frustration, and ensure that the job is done correctly. By being prepared, you’ll be able to focus on the task at hand and get back to riding your bike with confidence.
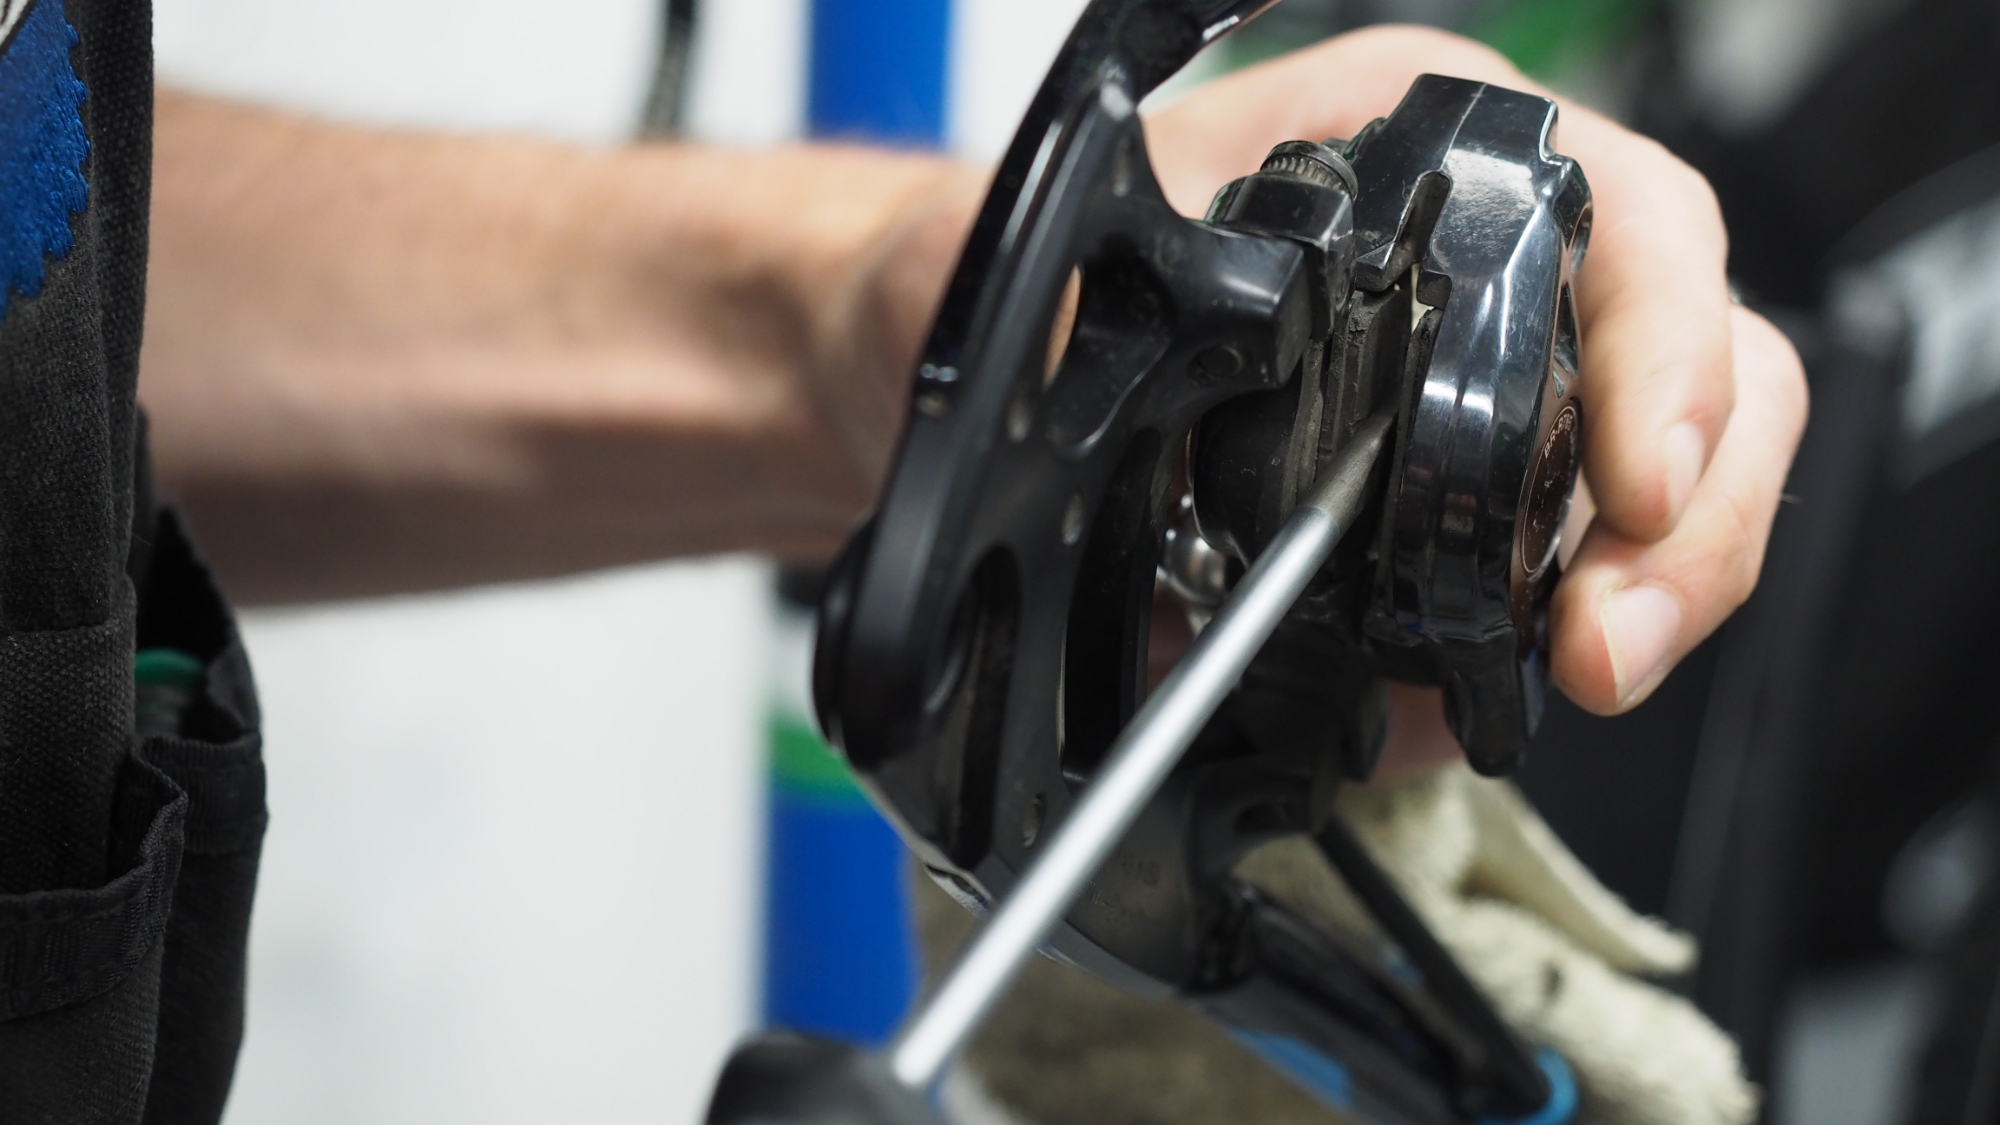
How to Remove the Old Brake Pads: A Step-by-Step Guide
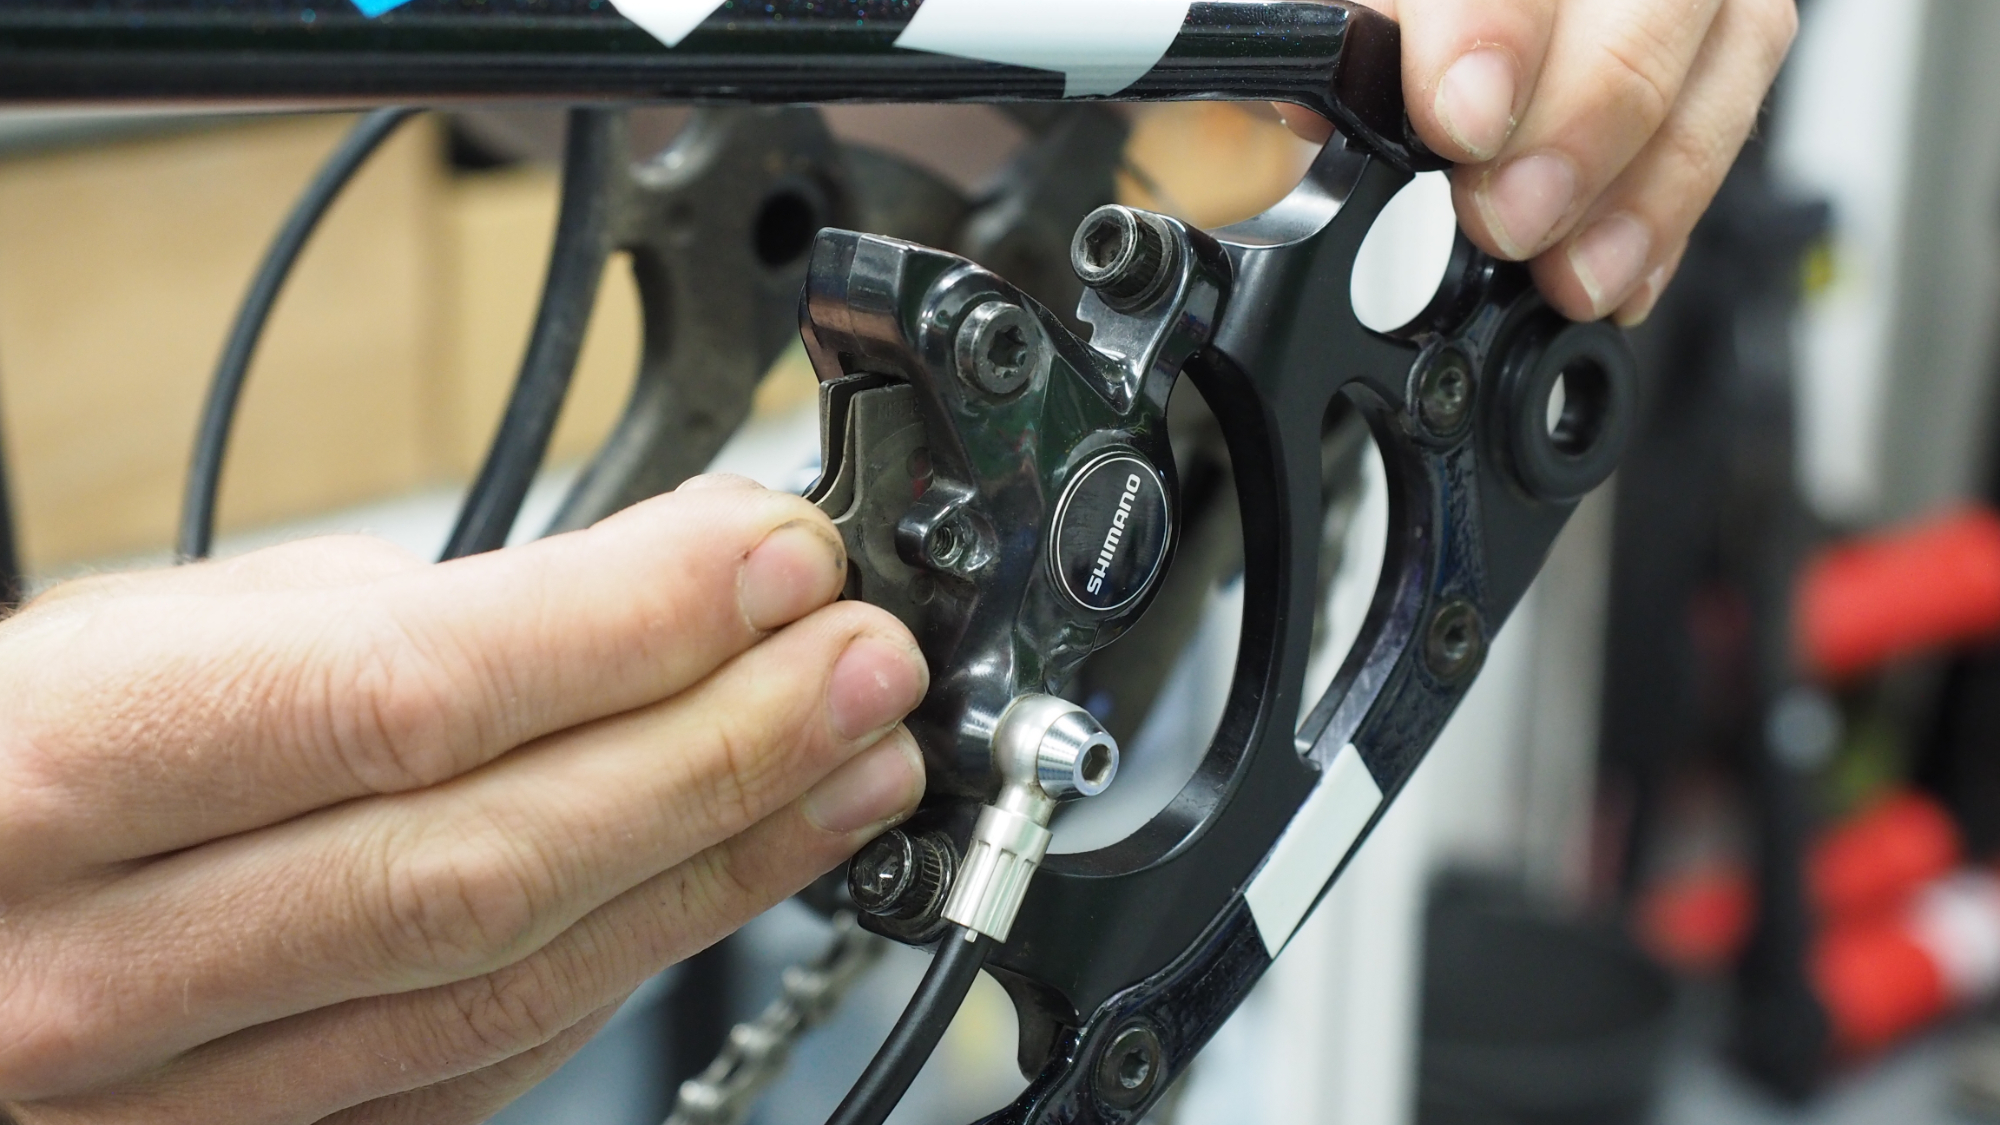
Removing the old brake pads is a crucial step in the process of how to change bike disc brake pads. To begin, loosen the caliper bolts using an Allen wrench, but do not remove them yet. Next, use a wrench to release the caliper from the rotor, taking care not to touch the rotor with your bare hands to prevent oil from your skin from damaging the surface. Once the caliper is released, remove the old brake pads from the caliper, taking note of their orientation and position. Be careful not to touch the brake pad surfaces, as the oils from your skin can affect brake performance. If the old brake pads are stuck, use a gentle prying motion to remove them, taking care not to damage the caliper or rotor. With the old brake pads removed, the caliper is now ready for inspection and cleaning before installing the new brake pads.
Inspecting and Cleaning the Brake Caliper: A Crucial Step
Before installing the new brake pads, it’s essential to inspect and clean the brake caliper to ensure a smooth and proper installation. Inspect the caliper for any signs of wear or damage, such as scoring or corrosion, and clean it thoroughly with a soft-bristled brush and a mild detergent. Remove any dirt, debris, or old brake pad material that may be lodged in the caliper, as this can affect the performance of the new brake pads. Pay particular attention to the caliper’s piston and seal areas, as these are critical components that require careful cleaning. By taking the time to inspect and clean the brake caliper, you’ll ensure a proper installation and optimal performance of the new brake pads, which is crucial when learning how to change bike disc brake pads.
Installing the New Brake Pads: Tips and Tricks
With the old brake pads removed and the caliper cleaned, it’s time to install the new brake pads. Begin by applying a small amount of brake pad lubricant to the back of the new pads, taking care not to get any on the pad surfaces. Next, align the new pads with the caliper, ensuring they are properly seated and the wear tabs are facing in the correct direction. Secure the pads in place using the caliper bolts, tightening them in a star pattern to avoid warping the caliper. Make sure the pads are properly aligned and the caliper is securely attached to the rotor. If you’re unsure about any part of the process, consult your bike’s manual or seek guidance from a professional mechanic. By following these steps, you’ll be well on your way to successfully learning how to change bike disc brake pads and ensuring your bike is safe to ride.

Bedding in the New Brake Pads: A Critical Step for Optimal Performance
After installing the new brake pads, it’s essential to bed them in to ensure optimal brake performance. Bedding in the brake pads involves a process of gradual heat buildup and cooling to transfer the pad material onto the rotor, creating a smooth, even surface. To bed in the brake pads, start by riding your bike at a moderate pace, applying gentle pressure to the brakes. Gradually increase the pressure and speed over the next few miles, allowing the pads to heat up and cool down several times. This process helps to burnish the pads and rotor, creating a smooth surface that will provide consistent braking performance. It’s crucial to bed in the brake pads correctly to avoid uneven wear and to ensure the brakes are functioning at their best. By following these steps, you’ll be able to successfully learn how to change bike disc brake pads and enjoy optimal braking performance on your next ride.
Troubleshooting Common Issues: Tips for a Smooth Brake Pad Replacement
While replacing disc brake pads is a relatively straightforward process, some common issues can arise. One of the most common problems is a stuck caliper, which can make it difficult to remove the old brake pads. To overcome this, try applying some penetrating oil to the caliper and letting it sit for a few minutes before attempting to remove the pads. Another common issue is misaligned brake pads, which can cause uneven wear and reduced braking performance. To avoid this, make sure to align the pads carefully during installation, following the manufacturer’s instructions. Additionally, if you encounter any issues with the brake pads not seating properly, try cleaning the rotor and caliper to ensure a smooth surface. By being aware of these potential issues and knowing how to troubleshoot them, you’ll be able to successfully learn how to change bike disc brake pads and ensure a smooth, hassle-free replacement process.
Maintenance After Replacement: How to Extend the Life of Your New Brake Pads
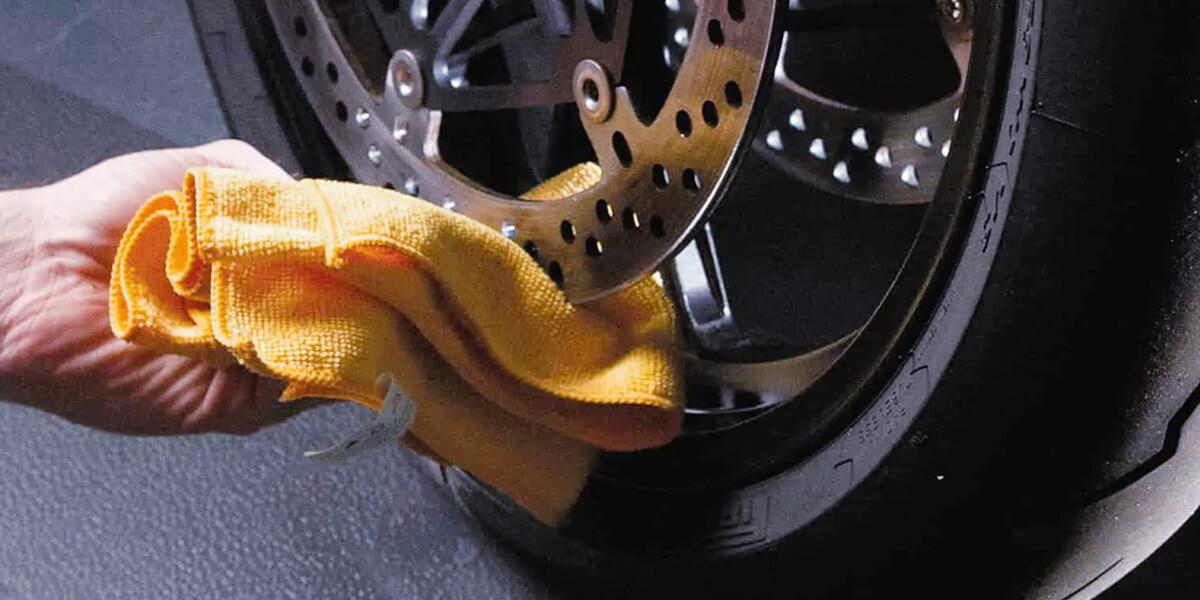
To ensure the new brake pads continue to perform optimally, regular maintenance is crucial. One of the most important steps is to clean the brake pads regularly, using a soft brush and mild soap solution to remove any dirt or debris that may accumulate. Additionally, inspect the brake pads regularly for signs of wear, such as uneven wear patterns or excessive wear on the pad surface. By catching any issues early, you can extend the life of your new brake pads and ensure they continue to provide reliable braking performance. It’s also essential to check the brake fluid level regularly, as low fluid levels can affect brake performance. By following these simple maintenance tips, you’ll be able to learn how to change bike disc brake pads and enjoy optimal braking performance for a longer period. Remember, regular maintenance is key to extending the life of your new brake pads and ensuring your safety on the road.