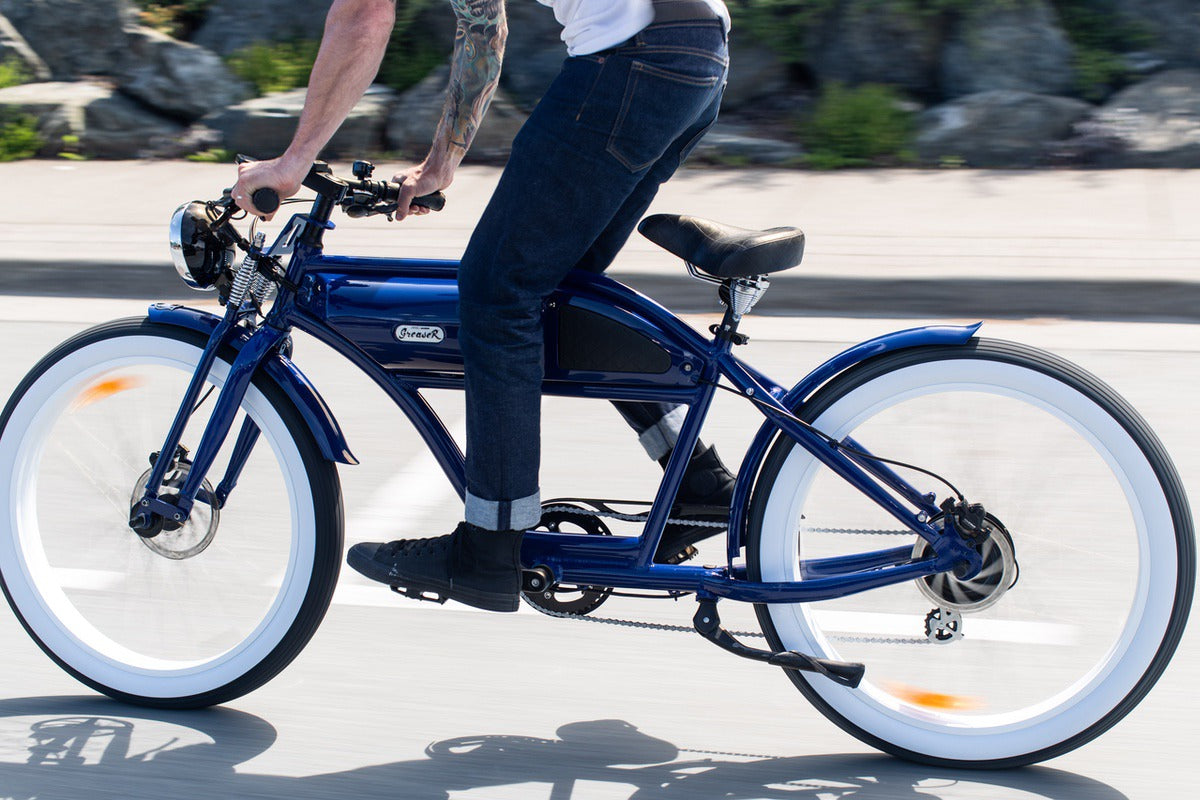
Why Go Electric: The Benefits of Converting Your Bike
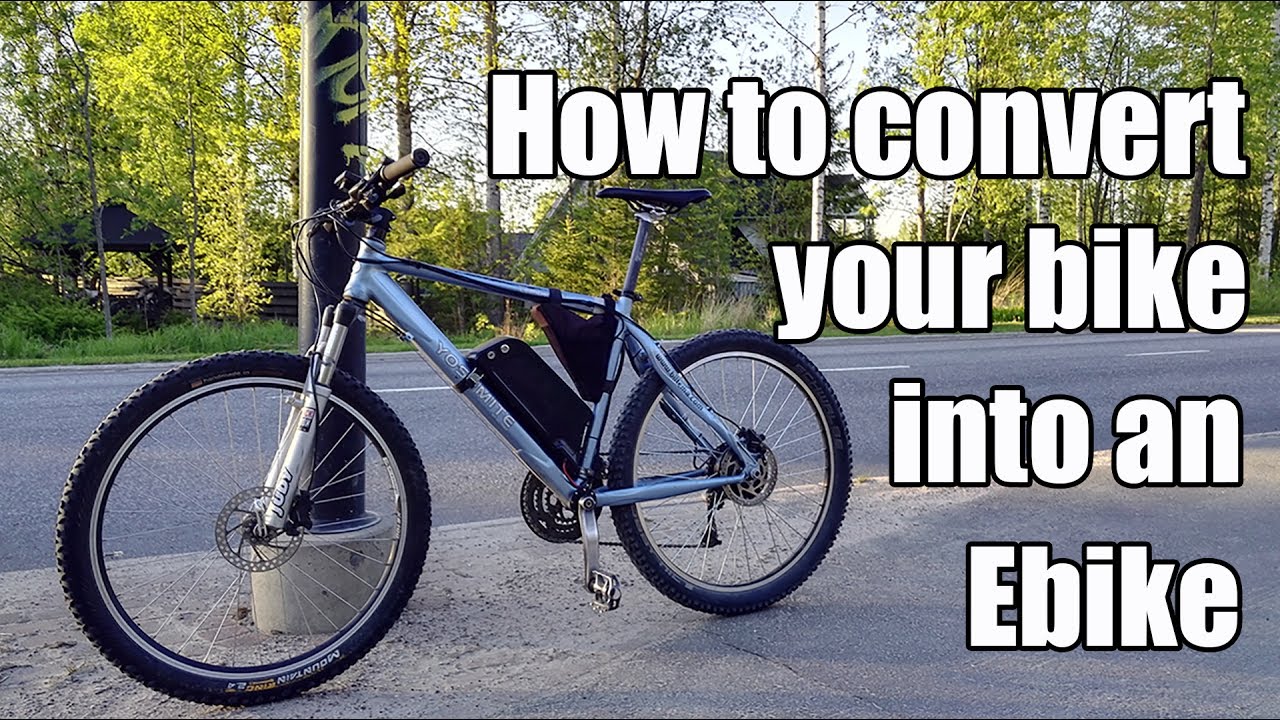
Converting a bicycle to electric can be a game-changer for cyclists who want to enjoy the benefits of motorized transportation without sacrificing the health benefits of pedaling. With an electric bike conversion, riders can experience increased speed, reduced effort, and environmental benefits. For instance, electric bikes produce zero emissions, making them an attractive option for commuters who want to reduce their carbon footprint. Moreover, electric bikes can help riders tackle challenging terrain, such as steep hills, with ease. Popular electric bike conversion kits like Bafang and Bosch offer a range of options for cyclists who want to electrify their ride.

Click Image to Find eBike Products
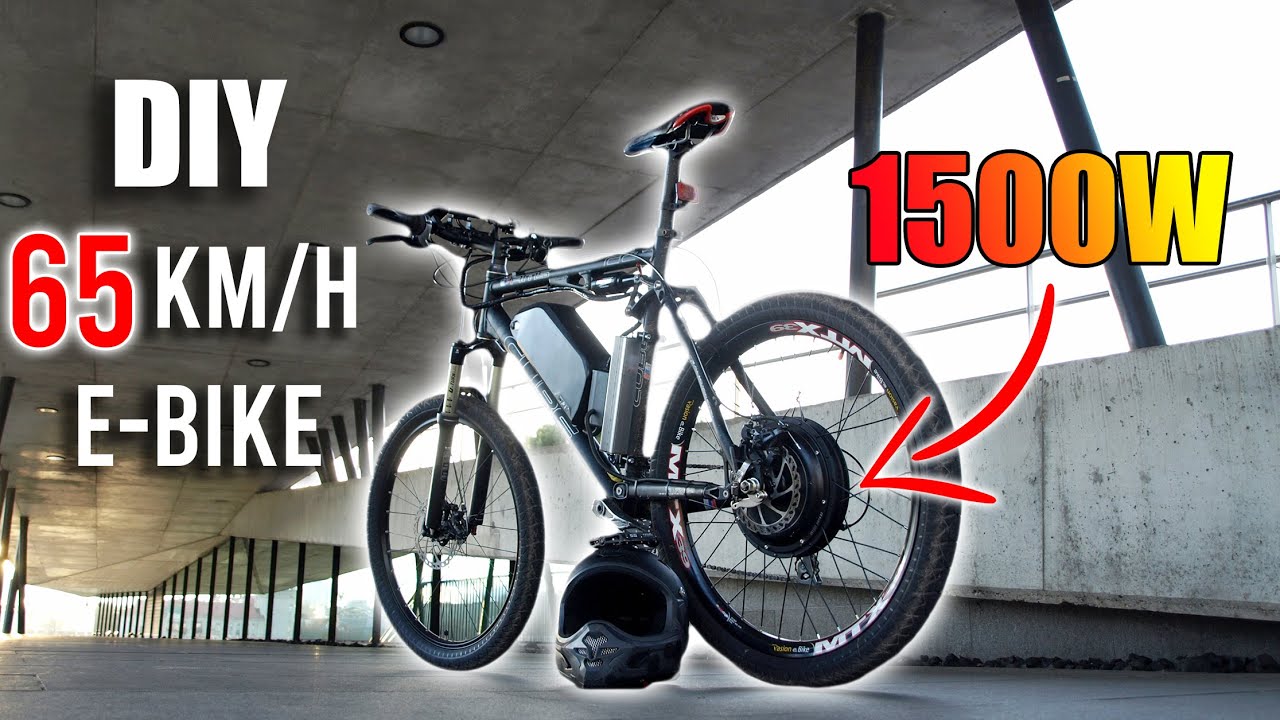
One of the primary advantages of converting a bicycle to electric is the increased speed. Electric bikes can reach speeds of up to 28 miles per hour, making them ideal for commuters who need to cover long distances quickly. Additionally, electric bikes can help riders reduce their effort, making it easier to pedal for extended periods. This is especially beneficial for riders who may not be as physically fit or those who want to enjoy a more leisurely ride.
Another significant benefit of electric bike conversion is the environmental benefits. Electric bikes produce zero emissions, making them an attractive option for cyclists who want to reduce their carbon footprint. Moreover, electric bikes can help reduce traffic congestion, as they provide an alternative mode of transportation that is both efficient and environmentally friendly.
When considering how to convert a bicycle to electric, it’s essential to research the different types of conversion kits available. Popular kits like Bafang and Bosch offer a range of options, including hub motors, mid-drive motors, and lithium-ion batteries. By choosing the right conversion kit, riders can ensure a smooth and efficient ride that meets their specific needs.
In conclusion, converting a bicycle to electric can be a great way to enhance the cycling experience. With increased speed, reduced effort, and environmental benefits, electric bikes offer a range of advantages that make them an attractive option for cyclists. By researching the different types of conversion kits available, riders can find the perfect solution for their needs and enjoy a more efficient, enjoyable, and environmentally friendly ride.
Choosing the Right Conversion Kit: A Guide to Electric Bike Motors and Batteries
When it comes to converting a bicycle to electric, choosing the right conversion kit is crucial for a successful and efficient ride. With various types of electric bike motors and batteries available, selecting the right kit can be overwhelming. In this section, we will explore the different types of electric bike motors and batteries, and provide tips on how to select the right kit for your bike and riding style.
Electric bike motors come in two main types: hub motors and mid-drive motors. Hub motors are installed in the front or rear wheel hub and provide a smooth and quiet ride. Mid-drive motors, on the other hand, are installed in the middle of the bike and provide more power and efficiency. When choosing a motor, consider the type of riding you will be doing, as well as the terrain and distance you will be covering.
Batteries are another critical component of an electric bike conversion kit. There are two main types of batteries: lead-acid and lithium-ion. Lead-acid batteries are less expensive but heavier and less efficient. Lithium-ion batteries, on the other hand, are more expensive but lighter and more efficient. When choosing a battery, consider the range and power you need, as well as the weight and size of the battery.
When selecting a conversion kit, consider the following factors:
- Power output: Consider the power output of the motor and battery, and choose a kit that meets your needs.
- Range: Consider the range you need, and choose a kit with a battery that can provide the necessary range.
- Weight: Consider the weight of the kit, and choose a kit that is lightweight and easy to handle.
- Compatibility: Consider the compatibility of the kit with your bike, and choose a kit that is designed for your bike type.
By considering these factors and choosing the right conversion kit, you can ensure a successful and efficient electric bike conversion. Remember to always follow proper safety protocols when working with electrical components, and consult a professional if you are unsure about any aspect of the conversion process.
Preparing Your Bike for Conversion: Essential Tools and Safety Precautions
Before starting the electric bike conversion process, it’s essential to prepare your bike and ensure you have the necessary tools and safety precautions in place. This section will outline the essential tools and safety precautions required for a successful conversion.
Tools Needed:
- Torque wrench: A torque wrench is necessary for tightening the motor and other components to the correct specification.
- Wire cutters: Wire cutters are required for cutting the electrical wires to the correct length.
- Pliers: Pliers are necessary for gripping and bending the electrical wires.
- Screwdrivers: Screwdrivers are required for removing the bike’s components and installing the electric bike motor.
- Protective gear: Protective gear, such as gloves and safety glasses, is essential for protecting yourself from electrical shock and other hazards.
Safety Precautions:
When working with electrical components, it’s essential to follow proper safety protocols to avoid electrical shock and other hazards. Here are some safety precautions to keep in mind:
- Always turn off the power to the electrical components before starting work.
- Use protective gear, such as gloves and safety glasses, to protect yourself from electrical shock and other hazards.
- Ensure the work area is well-ventilated and free from flammable materials.
- Never touch electrical components with your bare hands, as this can cause electrical shock.
- Always follow the manufacturer’s instructions for the electric bike motor and other components.
By following these safety precautions and using the essential tools, you can ensure a successful and safe electric bike conversion. Remember to always consult a professional if you are unsure about any aspect of the conversion process.
In addition to the tools and safety precautions, it’s also essential to prepare your bike for the conversion process. This includes removing the bike’s components, such as the pedals and chainrings, and cleaning the bike’s frame and wheels. By preparing your bike and following the safety precautions, you can ensure a successful and efficient electric bike conversion.
Installing the Electric Bike Motor: A Step-by-Step Guide
Installing the electric bike motor is a crucial step in the conversion process. This section will provide a detailed, step-by-step guide on how to install the electric bike motor, including mounting the motor, connecting the wiring, and securing the battery.
Step 1: Mounting the Motor
The first step is to mount the motor to the bike’s frame. This typically involves attaching the motor to the rear wheel hub or the bottom bracket. Make sure to follow the manufacturer’s instructions for the specific motor you are using.
Step 2: Connecting the Wiring
Once the motor is mounted, the next step is to connect the wiring. This includes connecting the motor to the controller, the battery, and the throttle. Make sure to use the correct gauge wire and to follow the manufacturer’s instructions for the specific wiring configuration.
Step 3: Securing the Battery
The final step is to secure the battery to the bike’s frame. This typically involves attaching the battery to the frame using a battery mount or a strap. Make sure to follow the manufacturer’s instructions for the specific battery you are using.
Additional Tips and Considerations
When installing the electric bike motor, there are several additional tips and considerations to keep in mind. These include:
- Make sure to follow the manufacturer’s instructions for the specific motor and battery you are using.
- Use the correct gauge wire and follow the manufacturer’s instructions for the specific wiring configuration.
- Make sure to secure the battery to the bike’s frame using a battery mount or a strap.
- Consider adding a battery management system (BMS) to protect the battery and ensure safe and efficient operation.
By following these steps and tips, you can ensure a successful and efficient installation of the electric bike motor. Remember to always consult a professional if you are unsure about any aspect of the installation process.
Images and Diagrams:
To illustrate the installation process, here are some images and diagrams:


Configuring the Electric Bike Controller and Battery: Tips and Tricks
Configuring the electric bike controller and battery is a crucial step in the conversion process. This section will provide tips and tricks on how to configure the controller and battery for maximum efficiency and performance.
Understanding the Controller Settings
The electric bike controller is the brain of the system, and it’s responsible for regulating the flow of power to the motor. The controller settings will vary depending on the specific controller and motor you are using, but here are some general tips to keep in mind:
- Voltage: The voltage setting determines the maximum voltage that the controller will output to the motor. Make sure to set the voltage to the recommended level for your motor.
- Current: The current setting determines the maximum current that the controller will output to the motor. Make sure to set the current to the recommended level for your motor.
- Power Limits: The power limits setting determines the maximum power that the controller will output to the motor. Make sure to set the power limits to the recommended level for your motor.
Configuring the Battery
The battery is the heart of the electric bike system, and it’s responsible for providing power to the motor. Here are some tips to keep in mind when configuring the battery:
- Capacity: The capacity of the battery determines how much power it can store. Make sure to choose a battery with a capacity that meets your needs.
- Voltage: The voltage of the battery determines the maximum voltage that it can output. Make sure to choose a battery with a voltage that matches the recommended voltage for your motor.
- Charging: The charging settings determine how the battery is charged. Make sure to set the charging settings to the recommended level for your battery.
Optimizing the Controller Settings
Once you have configured the controller and battery, you can optimize the controller settings for maximum efficiency and performance. Here are some tips to keep in mind:
- Monitor the battery state of charge: Make sure to monitor the battery state of charge to ensure that it’s not over-discharged or over-charged.
- Adjust the power limits: Adjust the power limits to optimize the performance of the motor.
- Adjust the voltage and current: Adjust the voltage and current settings to optimize the performance of the motor.
By following these tips and tricks, you can configure the electric bike controller and battery for maximum efficiency and performance. Remember to always consult a professional if you are unsure about any aspect of the configuration process.
Testing and Fine-Tuning Your Electric Bike Conversion
Once you have completed the electric bike conversion, it’s essential to test and fine-tune the system to ensure it’s working efficiently and safely. This section will describe the process of testing and fine-tuning the electric bike conversion, including checking the brakes, throttle, and electrical connections.
Testing the Brakes
The first step in testing the electric bike conversion is to check the brakes. Make sure to test the brakes in a safe and controlled environment, such as an empty parking lot. Check that the brakes are functioning properly and that the bike is stopping smoothly and consistently.
Testing the Throttle
Next, test the throttle to ensure it’s working correctly. Check that the throttle is responding smoothly and consistently, and that the bike is accelerating as expected.
Checking the Electrical Connections
Check the electrical connections to ensure they are secure and not loose. Make sure to check the connections between the motor, controller, and battery, as well as the connections to the brakes and throttle.
Troubleshooting Common Issues
During the testing phase, you may encounter some common issues. Here are some troubleshooting tips to help you resolve these issues:
- Motor not turning on: Check the electrical connections and ensure they are secure and not loose. Also, check the battery voltage and ensure it’s within the recommended range.
- Brakes not functioning: Check the brake pads and ensure they are not worn out. Also, check the brake cables and ensure they are not damaged or loose.
- Throttle not responding: Check the throttle connections and ensure they are secure and not loose. Also, check the throttle itself and ensure it’s not damaged or faulty.
Fine-Tuning the System
Once you have completed the testing phase, you can fine-tune the system to optimize its performance. Here are some tips to help you fine-tune the system:
- Adjust the brake pads: Adjust the brake pads to ensure they are not too loose or too tight.
- Adjust the throttle: Adjust the throttle to ensure it’s responding smoothly and consistently.
- Check the tire pressure: Check the tire pressure and ensure it’s within the recommended range.
By following these steps and tips, you can ensure your electric bike conversion is working efficiently and safely. Remember to always consult a professional if you are unsure about any aspect of the testing and fine-tuning process.

Upgrading and Customizing Your Electric Bike: Advanced Tips and Tricks
Once you have completed the electric bike conversion, you may want to consider upgrading and customizing your bike to enhance its performance and functionality. This section will provide advanced tips and tricks for upgrading and customizing your electric bike, including installing regenerative braking, upgrading the battery, and adding accessories like lights and fenders.
Installing Regenerative Braking
Regenerative braking is a feature that allows your electric bike to capture some of the kinetic energy and convert it back into electrical energy, which can then be used to recharge the battery. This feature can be especially useful for riders who frequently ride in hilly or mountainous terrain. To install regenerative braking, you will need to purchase a regenerative braking kit, which typically includes a regenerative braking controller, a brake lever, and a set of brake pads.
Upgrading the Battery
Upgrading the battery is another way to enhance the performance of your electric bike. You can upgrade to a higher-capacity battery, which will provide more range and power, or you can upgrade to a more efficient battery, which will provide better performance and longer battery life. When upgrading the battery, make sure to choose a battery that is compatible with your electric bike’s motor and controller.
Adding Accessories
Adding accessories like lights, fenders, and racks can enhance the functionality and safety of your electric bike. When adding accessories, make sure to choose accessories that are specifically designed for electric bikes and that are compatible with your bike’s motor and controller.
Advanced Tips and Tricks
Here are some advanced tips and tricks for upgrading and customizing your electric bike:
- Use a battery management system (BMS) to monitor and control the battery’s state of charge.
- Install a torque sensor to improve the bike’s acceleration and responsiveness.
- Use a regenerative braking controller to capture kinetic energy and recharge the battery.
- Install a set of high-performance tires to improve the bike’s traction and handling.
By following these advanced tips and tricks, you can upgrade and customize your electric bike to enhance its performance and functionality. Remember to always consult a professional if you are unsure about any aspect of the upgrading and customizing process.

Maintenance and Repair: Keeping Your Electric Bike Running Smoothly
Regular maintenance and repair are essential to keep your electric bike running smoothly and efficiently. This section will provide guidance on how to maintain and repair your electric bike, including checking and replacing worn-out parts, cleaning the electrical components, and troubleshooting common issues.
Checking and Replacing Worn-Out Parts
Regularly check your electric bike’s parts for wear and tear, and replace them as needed. This includes checking the brake pads, tire pressure, and chain tension. Make sure to follow the manufacturer’s instructions for replacing parts, and consult a professional if you are unsure about any aspect of the process.
Cleaning the Electrical Components
Clean the electrical components regularly to ensure they are functioning properly. This includes cleaning the motor, controller, and battery. Use a soft brush and a mild detergent to clean the components, and avoid using harsh chemicals or abrasive materials.
Troubleshooting Common Issues
Common issues that may arise with your electric bike include faulty brakes, a dead battery, or a malfunctioning motor. Here are some troubleshooting tips to help you resolve these issues:
- Faulty brakes: Check the brake pads and cables for wear and tear, and replace them as needed. Also, check the brake calipers and rotors for proper alignment and function.
- Dead battery: Check the battery’s state of charge and charging system, and ensure that the battery is properly connected to the controller and motor.
- Malfunctioning motor: Check the motor’s electrical connections and ensure that they are secure and not damaged. Also, check the motor’s bearings and lubrication system, and ensure that they are properly maintained.
Advanced Maintenance and Repair Techniques
Here are some advanced maintenance and repair techniques to help you keep your electric bike running smoothly:
- Use a multimeter to check the electrical components’ voltage and current.
- Use a torque wrench to tighten the motor’s bolts and screws.
- Use a cleaning solution specifically designed for electrical components to clean the motor, controller, and battery.
By following these maintenance and repair tips, you can keep your electric bike running smoothly and efficiently. Remember to always consult a professional if you are unsure about any aspect of the maintenance and repair process.