
When to Disassemble a Bike Chain
Bike chains are subject to wear and tear due to regular use, dirt, and grime buildup. Disassembling a bike chain is necessary in several scenarios, such as cleaning, replacing, or repairing. Regular bike maintenance, including chain disassembly, can significantly improve the overall performance and longevity of the bike. A well-maintained bike chain ensures smooth and efficient gear shifting, reduces the risk of chain breakage, and minimizes wear and tear on other bike components.

Click Image to Find eBike Products
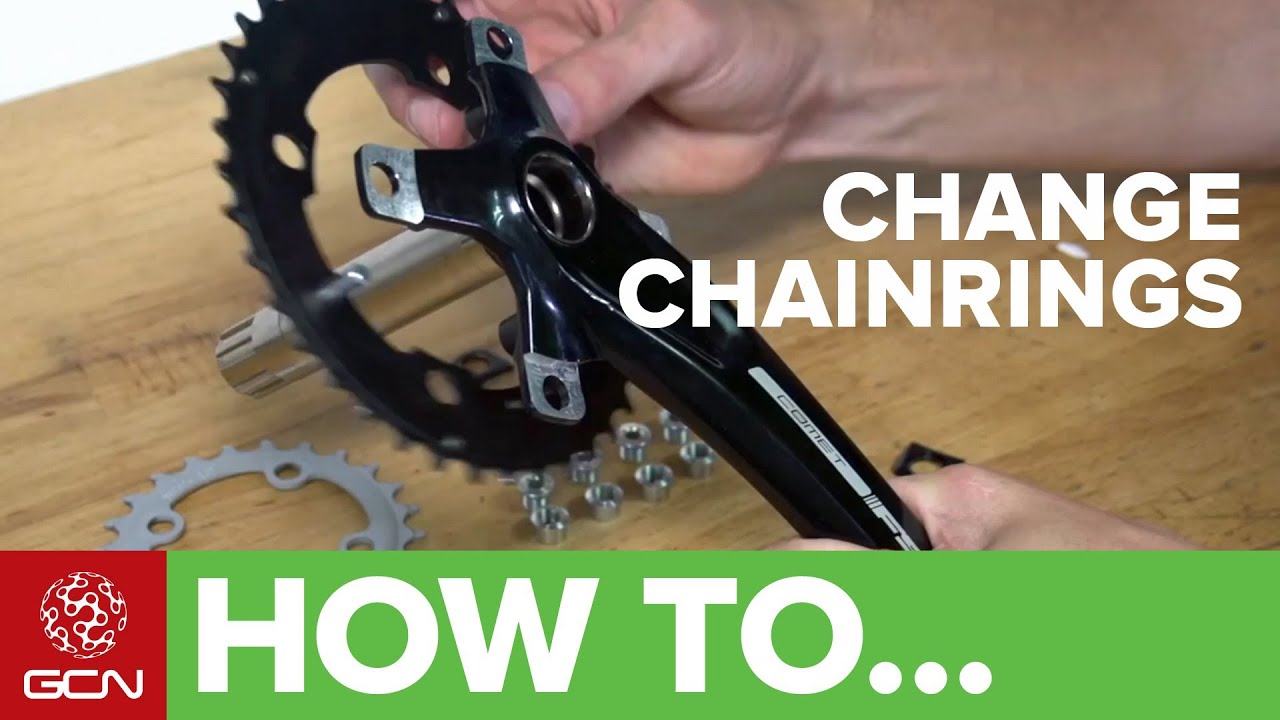
Tools Required for Disassembling a Bike Chain
Disassembling a bike chain requires a few essential tools to ensure a smooth and efficient process. The primary tools required for disassembling a bike chain include a chain tool, a screwdriver, and a wire brush. A chain tool is a specialized device that pushes out the pin holding the chain links together, allowing for easy disassembly. A screwdriver is used to hold the chain in place while using the chain tool. A wire brush is used to scrub away dirt, grime, and rust from the chain links, ensuring a thorough cleaning.
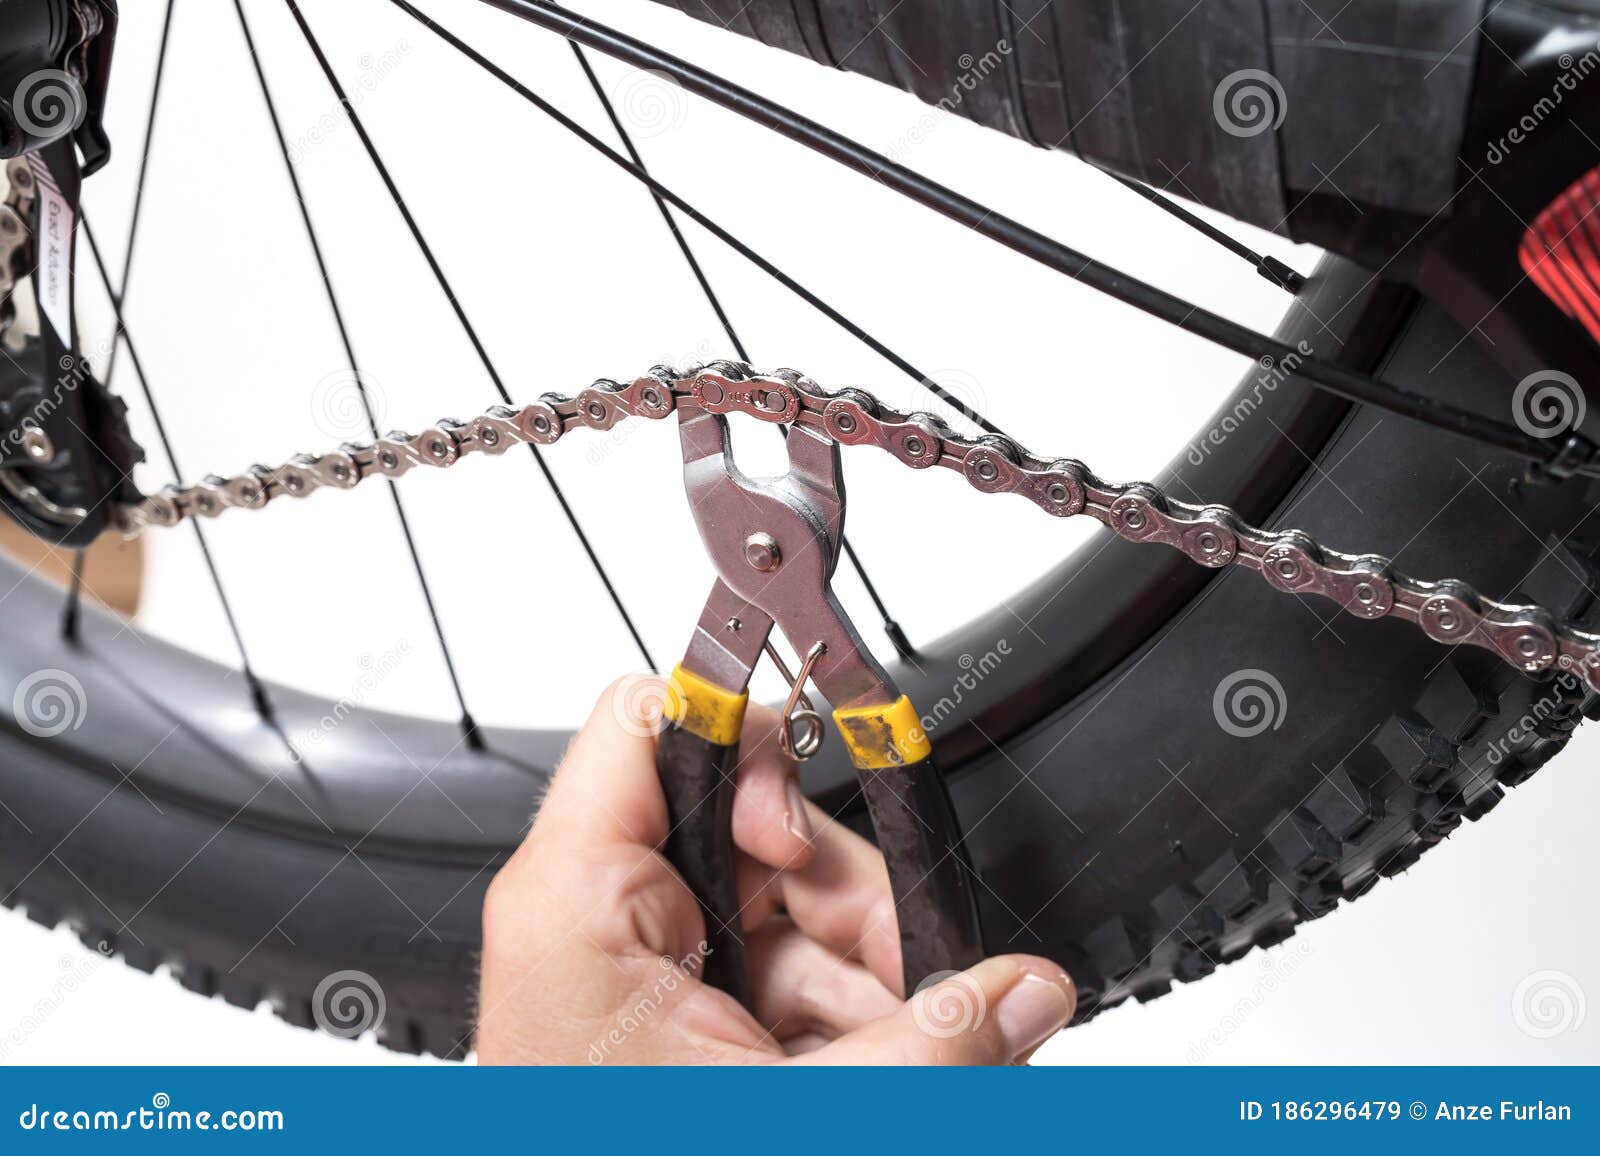
Removing the Bike Chain
Removing the bike chain is a straightforward process that requires careful attention to detail. Begin by shifting the bike into the smallest chainring and smallest rear cog to create slack in the chain. Locate the master link or the pin that connects the two ends of the chain. Insert the chain tool into the pin and turn the handle to push the pin out partially. Once the pin is partially pushed out, use a screwdriver to hold the chain in place and continue pushing the pin out completely. With the pin removed, the chain should easily slide off the bike. Be sure to keep track of the order of the chain links to ensure proper reassembly.

Cleaning the Bike Chain
Cleaning the bike chain is a crucial step in the disassembly process, as a dirty chain can lead to poor shifting performance and reduced longevity. To effectively clean the chain, start by shifting the bike into the smallest chainring and smallest rear cog to create slack in the chain. Apply a generous amount of degreaser to the chain, using a brush to scrub away dirt, grime, and rust. Be sure to clean every link thoroughly, paying special attention to the areas around the chainring and cassette. Once the chain is clean, rinse it with water and dry it thoroughly before reassembling the bike.
Regular chain cleaning can provide numerous benefits, including improved shifting performance, longer chain life, and reduced wear and tear on other bike components. A clean chain also helps to reduce the risk of chain breakage and ensures a smoother and more enjoyable ride.

Inspecting the Bike Chain
Inspecting the bike chain for wear and damage is an essential step in the disassembly process. A worn-out chain can lead to poor shifting performance, reduced longevity, and increased wear and tear on other bike components. To inspect the chain, start by shifting the bike into the smallest chainring and smallest rear cog to create slack in the chain. Measure the chain length using a ruler or a chain wear indicator tool. A chain that is stretched by more than 0.5% indicates that it is worn out and needs to be replaced. Additionally, check for excessive play in the chain, which can also indicate wear and tear.
If the chain is worn out, it is important to replace it as soon as possible to prevent further damage to other bike components. To replace the chain, you will need to remove the old chain and install a new one using the chain tool and following the reassembly process outlined in this guide.
Reassembling the Bike Chain
Reassembling the bike chain is a simple process that requires careful attention to detail. Start by threading the chain through the derailleur and rear cog, ensuring that the chain is properly aligned. Once the chain is in place, use the chain tool to press the pin back into the chain. Insert the pin into the chain, aligning it with the hole in the adjacent link. Turn the handle of the chain tool to press the pin into the chain, being careful not to overtighten. Once the pin is securely in place, use a wire brush to remove any excess debris or dirt from the chain.
After reassembling the chain, it is important to adjust the tension to ensure proper shifting and to prevent the chain from falling off the bike. To adjust the tension, shift the bike into the smallest chainring and smallest rear cog. Use a screwdriver to loosen the derailleur limit screw, allowing the derailleur to move freely. Then, use the barrel adjuster to adjust the tension of the chain, turning it clockwise to increase tension and counterclockwise to decrease tension. Once the tension is adjusted, test the shifting to ensure that it is smooth and consistent.
Tips for Maintaining the Bike Chain
Maintaining the bike chain is crucial for ensuring optimal performance and longevity. Here are some tips for maintaining the bike chain and preventing damage or wear:
- Lubricate the chain regularly: Regular lubrication helps to reduce friction and wear on the chain, ensuring smooth and consistent shifting. Use a high-quality bike chain lubricant and apply it to the chain while pedaling backwards. Wipe off any excess lubricant to prevent dirt and debris from accumulating on the chain.
- Clean the chain regularly: Regular cleaning helps to remove dirt, debris, and other contaminants that can damage the chain. Use a degreaser and a brush to effectively clean the chain, and rinse it with water. Dry the chain thoroughly before reassembling it and lubricating it.
- Store the bike properly: Proper storage helps to protect the bike chain from the elements and prevent damage. Store the bike in a dry, clean area, and avoid exposing it to excessive moisture or dirt. Consider using a bike cover or storing the bike indoors to further protect it.
- Inspect the chain regularly: Regular inspection helps to identify any signs of wear or damage early on, allowing for prompt repair or replacement. Check the chain for signs of stretching, excessive play, or other damage. If the chain is worn out, replace it as soon as possible to prevent further damage to other bike components.

Conclusion: The Benefits of Disassembling a Bike Chain
Disassembling a bike chain is an essential part of regular bike maintenance, providing numerous benefits for the overall performance and longevity of the bike. By disassembling the bike chain, you can effectively clean and inspect it, identifying any signs of wear or damage and preventing further damage to other bike components. Reassembling the bike chain with a properly lubricated and tensioned chain can improve shifting performance, reduce friction and wear, and extend the life of the chain and other bike components.
Regular bike maintenance, including disassembling and reassembling the bike chain, is crucial for ensuring optimal performance and longevity. By following the steps outlined in this guide and incorporating regular maintenance into your bike care routine, you can enjoy a smoother, safer, and more enjoyable ride. Remember to always use high-quality bike tools and lubricants, and to store your bike in a dry, clean area to protect it from the elements. With proper care and maintenance, your bike chain can provide you with years of reliable performance and enjoyment.
