
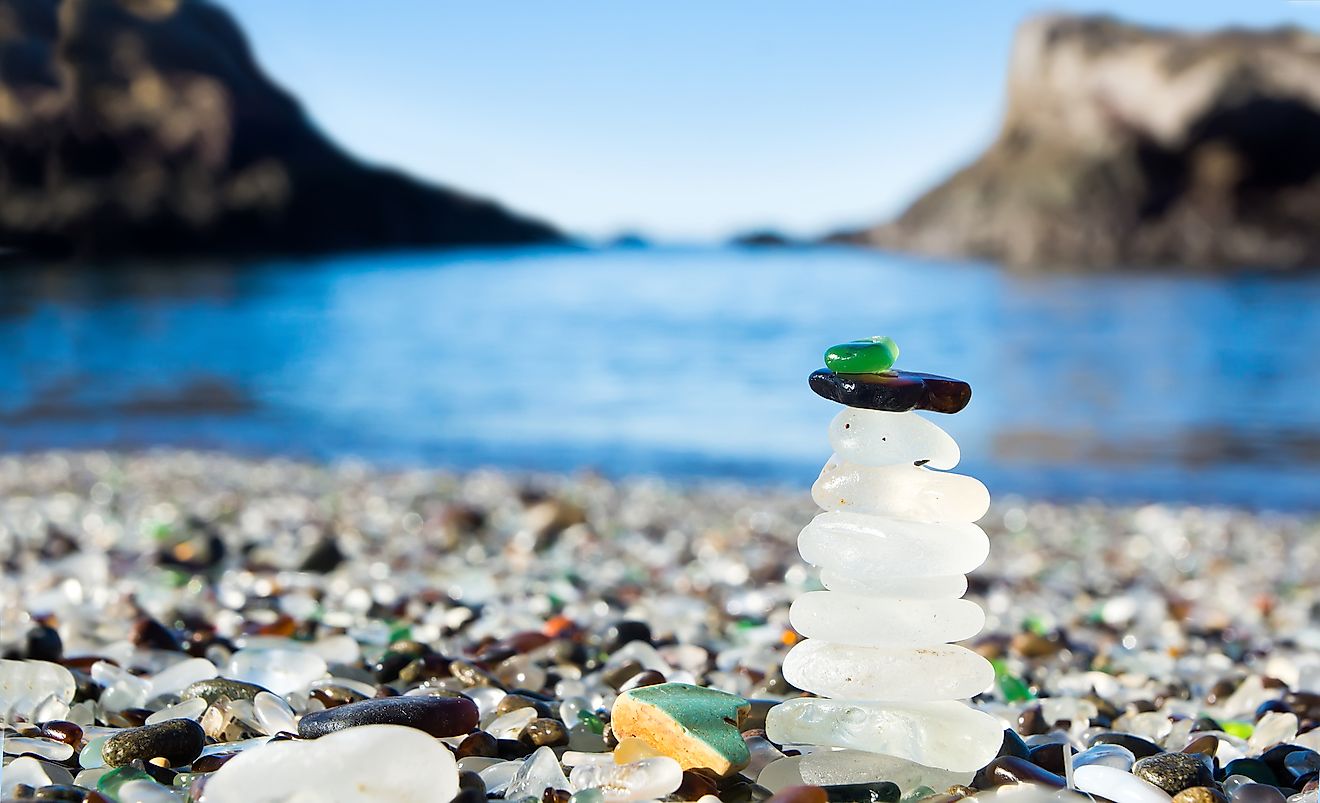
Uncovering the Beauty of Beach Glass
Beach glass, a treasure trove of colors and shapes, has captivated many with its unique charm. Formed through the natural weathering process of discarded glass, beach glass is a testament to the power of time and the elements. From soft pastels to vibrant hues, each piece of beach glass tells a story of its own, waiting to be transformed into a stunning piece of jewelry, decorative item, or other creative project. The allure of learning how to drill beach glass and unlock its full potential has inspired many to take the first step in this creative journey. With the right techniques and tools, anyone can turn a discarded treasure into a beautiful work of art, making it a rewarding and fulfilling hobby.

Click Image to Find eBike Products
Preparing Your Beach Glass for Drilling
Before learning how to drill beach glass, it’s essential to prepare the glass for the drilling process. This crucial step ensures that the glass is clean, free of imperfections, and ready for drilling. Inspect the beach glass for any cracks, chips, or weak points that could cause it to break during drilling. Gently wash the glass with soap and water to remove any dirt or debris that may affect the drilling process. Use a soft-bristled brush to remove any stubborn particles. Once clean, dry the glass thoroughly to prevent water spots. By taking the time to prepare the beach glass, you’ll minimize the risk of breakage and ensure a successful drilling experience.
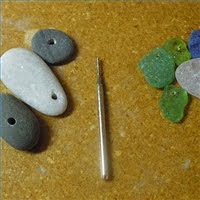
Choosing the Right Drilling Tools and Techniques
When it comes to learning how to drill beach glass, selecting the right drilling tools and techniques is crucial for achieving professional-looking results. There are several types of drills and bits suitable for drilling beach glass, each with its own unique characteristics and advantages. Diamond-coated bits, for instance, are ideal for drilling through thick or hard beach glass, while rotary tools are better suited for more delicate or intricate designs. When choosing a drill bit, consider the size and shape of the beach glass, as well as the desired hole size and shape. It’s also essential to select a drill that provides sufficient power and control, allowing for smooth and precise drilling. By understanding the different drilling tools and techniques available, you’ll be able to choose the right one for your project and ensure a successful drilling experience.
Drilling Beach Glass: A Step-by-Step Guide
Now that you’ve prepared your beach glass and chosen the right drilling tools and techniques, it’s time to learn how to drill beach glass. Follow this step-by-step guide to achieve professional-looking results:
Step 1: Secure the Beach Glass – Place the beach glass on a stable surface, ensuring it won’t move during the drilling process. You can use a clamp or adhesive to hold it in place.
Step 2: Position the Drill Bit – Carefully position the drill bit at a 90-degree angle to the beach glass, ensuring it’s centered and straight.
Step 3: Apply Gentle Pressure – Slowly apply gentle pressure to the drill, maintaining control and avoiding sudden movements. This will help prevent the glass from breaking or cracking.
Step 4: Drill the Hole – Continue drilling the hole, gradually increasing the pressure as needed. Keep the drill bit cool by periodically dipping it in water to prevent overheating.
Step 5: Inspect and Refine – Inspect the hole for any imperfections or rough edges. Use a rotary tool or sandpaper to refine the hole and achieve a smooth finish.
By following these steps and tips, you’ll be able to successfully drill beach glass and unlock its full creative potential. Remember to always maintain control, apply gentle pressure, and avoid common mistakes to ensure a successful drilling experience when learning how to drill beach glass.
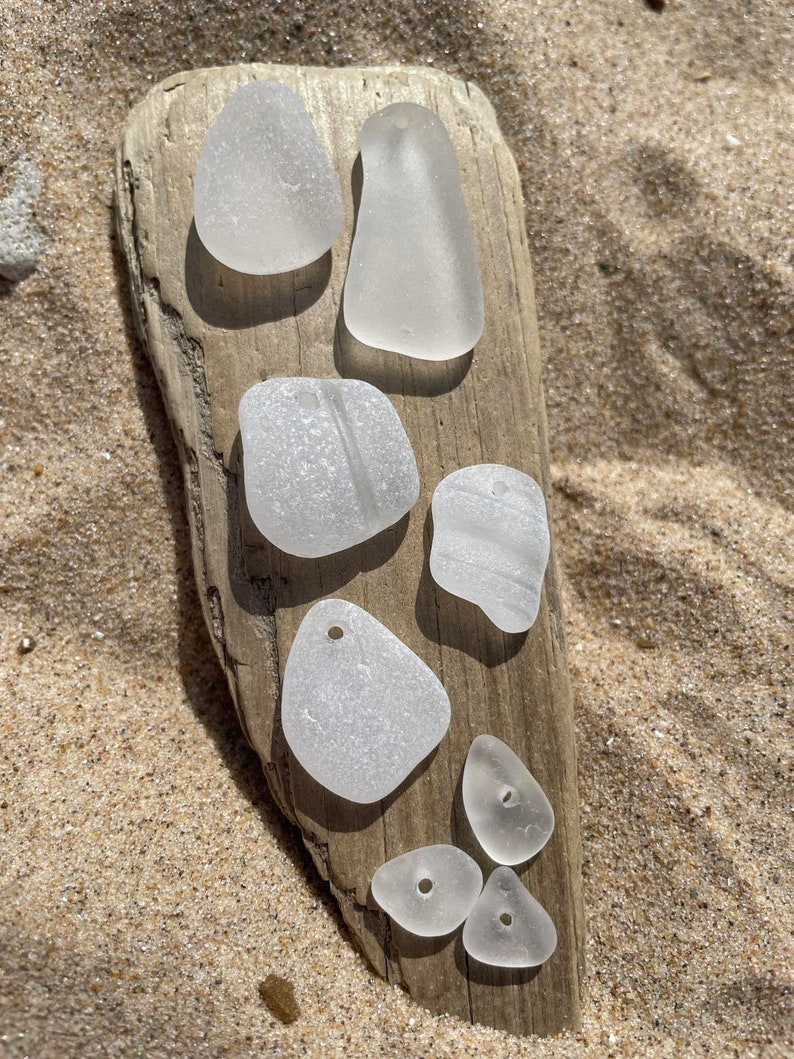
Tips and Tricks for Drilling Delicate Beach Glass
Drilling delicate or fragile beach glass requires extra care and attention to detail. To minimize breakage and achieve professional-looking results, follow these expert tips and tricks:
Stabilize the Glass – Use a clamp or adhesive to secure the beach glass, ensuring it won’t move during the drilling process. This will help prevent breakage and allow for more precise drilling.
Choose the Right Drill Bit – Select a drill bit specifically designed for drilling delicate materials, such as a diamond-coated bit or a ceramic-coated bit. These bits are designed to reduce heat buildup and minimize the risk of breakage.
Apply Gentle Pressure – Drill at a slow and steady pace, applying gentle pressure to the drill. This will help prevent the glass from cracking or shattering.
Use a Steady Hand – Maintain a steady hand and avoid sudden movements, which can cause the drill to slip and break the glass.
Drill in Short Bursts – Drill in short bursts, taking regular breaks to inspect the glass and avoid overheating the drill bit.
By following these tips and tricks, you’ll be able to successfully drill delicate beach glass and unlock its full creative potential. Remember to always prioritize caution and patience when learning how to drill beach glass, especially when working with fragile materials.

Common Mistakes to Avoid When Drilling Beach Glass
When learning how to drill beach glass, it’s essential to be aware of common mistakes that beginners make. By avoiding these mistakes, you can ensure a successful drilling experience and achieve professional-looking results:
Applying Too Much Pressure – Avoid applying too much pressure, which can cause the drill bit to slip and break the glass. Instead, maintain a steady hand and apply gentle pressure.
Using the Wrong Drill Bit – Using the wrong drill bit can lead to poor results and even damage the glass. Choose a drill bit specifically designed for drilling beach glass, such as a diamond-coated bit or a ceramic-coated bit.
Drilling at the Wrong Angle – Drilling at the wrong angle can cause the drill bit to slip and break the glass. Always drill at a 90-degree angle to the glass, ensuring a straight and precise hole.
Not Maintaining Control – Failing to maintain control while drilling can lead to mistakes and accidents. Keep a steady hand and maintain control throughout the drilling process.
Not Inspecting the Glass – Not inspecting the glass for imperfections before drilling can lead to breakage and poor results. Always inspect the glass for weak points and imperfections before drilling.
By being aware of these common mistakes, you can avoid them and ensure a successful drilling experience when learning how to drill beach glass. Remember to always prioritize caution and patience, and don’t be afraid to experiment and try new techniques.
Transforming Drilled Beach Glass into Unique Creations
Once you’ve mastered the art of how to drill beach glass, the possibilities for creative expression are endless. Drilled beach glass can be transformed into a wide range of unique and beautiful pieces, from jewelry and decorative items to functional objects and art pieces.
Jewelry Making – Drilled beach glass can be used to create stunning jewelry pieces, such as pendants, earrings, and bracelets. Simply thread the drilled glass onto a chain or cord, or combine it with other materials like wire, beads, or findings.
Decorative Items – Drilled beach glass can be used to create decorative items like wind chimes, mobiles, and ornaments. Simply attach the drilled glass to a metal ring or a piece of driftwood, and hang it in a window or from a ceiling.
Functional Objects – Drilled beach glass can be used to create functional objects like coasters, paperweights, and bookends. Simply glue the drilled glass to a piece of wood or a ceramic base, and add a finish like varnish or wax.
Art Pieces – Drilled beach glass can be used to create stunning art pieces, like mosaics, collages, and sculptures. Simply arrange the drilled glass in a pattern or design, and glue it to a canvas, board, or other surface.
The key to transforming drilled beach glass into unique creations is to experiment and have fun. Don’t be afraid to try new techniques, combine different materials, and push the boundaries of what’s possible. With a little creativity and imagination, you can turn a discarded treasure into a true work of art.

Conclusion: Unlocking the Potential of Beach Glass
With the right techniques and tools, learning how to drill beach glass can be a rewarding and creative experience. By following the steps and tips outlined in this guide, readers can unlock the potential of beach glass and transform it into unique and beautiful pieces of jewelry, decorative items, and other projects.
Remember, the key to success lies in patience, practice, and attention to detail. By taking the time to prepare and inspect the beach glass, choosing the right drilling tools and techniques, and following a step-by-step guide, readers can avoid common mistakes and achieve professional-looking results.
Whether you’re a seasoned crafter or a beginner, drilling beach glass offers a world of creative possibilities. With its unique texture and color, beach glass can be transformed into one-of-a-kind pieces that reflect your personal style and creativity.
So why not give it a try? With the right guidance and a little practice, you can unlock the potential of beach glass and create something truly special. Learn how to drill beach glass today and discover the satisfaction of creating something unique and beautiful from a discarded treasure.
