Identifying Common Issues with Disc Brakes
Disc brakes can be prone to various issues, which can compromise their performance and safety. One common problem is squealing or grinding noises when applying the brakes. This can be caused by worn-out brake pads, misaligned calipers, or dirty rotors. Another issue is spongy brake levers, which can be a sign of air in the brake system or worn-out brake pads. Reduced stopping power is also a common problem, often caused by worn-out brake pads, misaligned calipers, or low brake fluid levels.
Other issues that can occur with disc brakes include brake pads that are not properly seated, calipers that are not properly aligned, or brake fluid that is contaminated or low. In some cases, the brake lever may not return to its original position, or the brakes may feel soft or mushy. These issues can be caused by a variety of factors, including wear and tear, improper maintenance, or incorrect installation.
When troubleshooting disc brake issues, it’s essential to identify the root cause of the problem. This can involve inspecting the brake pads, calipers, and rotors for wear or damage, checking the brake fluid levels and condition, and testing the brakes to determine the extent of the problem. By understanding the common issues that can occur with disc brakes, cyclists can take proactive steps to maintain their brakes and ensure safe and reliable performance.
Tools and Materials Needed for the Job
To fix bicycle disc brakes, you’ll need a few essential tools and materials. A set of Allen wrenches, including 3, 4, and 5 mm, will come in handy for adjusting and removing various components. A torque wrench is also necessary for applying the correct amount of torque to bolts and screws. Additionally, you’ll need a set of brake pads, which can be purchased from reputable manufacturers such as Shimano or SRAM.
Other necessary materials include brake fluid, which should be compatible with your brake system, and a clean rag for wiping down components. If you’re planning to bleed your brakes, you’ll also need a brake bleeding kit, which usually includes a hose, a fitting, and a reservoir. It’s also a good idea to have a set of gloves and safety glasses on hand to protect yourself from any potential hazards.
When selecting replacement brake pads, make sure to choose pads that are compatible with your brake system. Some popular options include Shimano’s XTR and XT brake pads, as well as SRAM’s Guide and Level brake pads. It’s also important to follow the manufacturer’s instructions for installation and adjustment to ensure proper function and safety.
Having the right tools and materials on hand will make the process of fixing your bicycle disc brakes much easier and more efficient. By investing in a few essential items, you’ll be able to perform routine maintenance and repairs with confidence, and get back on the road in no time.
Step-by-Step Instructions for Bleeding Disc Brakes
Bleeding disc brakes is a crucial step in maintaining their performance and safety. To start, you’ll need to gather the necessary materials, including a brake bleeding kit, brake fluid, and a clean rag. Begin by removing any air from the brake system by attaching the bleeding kit to the brake caliper and slowly pumping the brake lever. This will help to remove any air bubbles that may be present in the system.
Next, you’ll need to replace the brake fluid with new fluid that is compatible with your brake system. Use a syringe or a turkey baster to extract the old fluid from the reservoir, and then refill it with new fluid. Be sure to follow the manufacturer’s instructions for the correct type and amount of fluid to use.
Once the new fluid is in place, you’ll need to re-bleed the brakes to remove any air that may have entered the system during the process. Repeat the process of attaching the bleeding kit to the brake caliper and slowly pumping the brake lever until the fluid flows freely and there are no air bubbles present.
It’s also important to note that some brake systems may require a specific bleeding procedure, so be sure to consult your owner’s manual or manufacturer’s instructions for specific guidance. Additionally, it’s a good idea to have a friend or family member assist you with the bleeding process, as it can be helpful to have an extra pair of hands.
By following these step-by-step instructions, you’ll be able to successfully bleed your disc brakes and get back on the road with confidence. Remember to always follow proper safety procedures and take your time when working with brake systems.
Adjusting and Aligning Disc Brakes for Optimal Performance
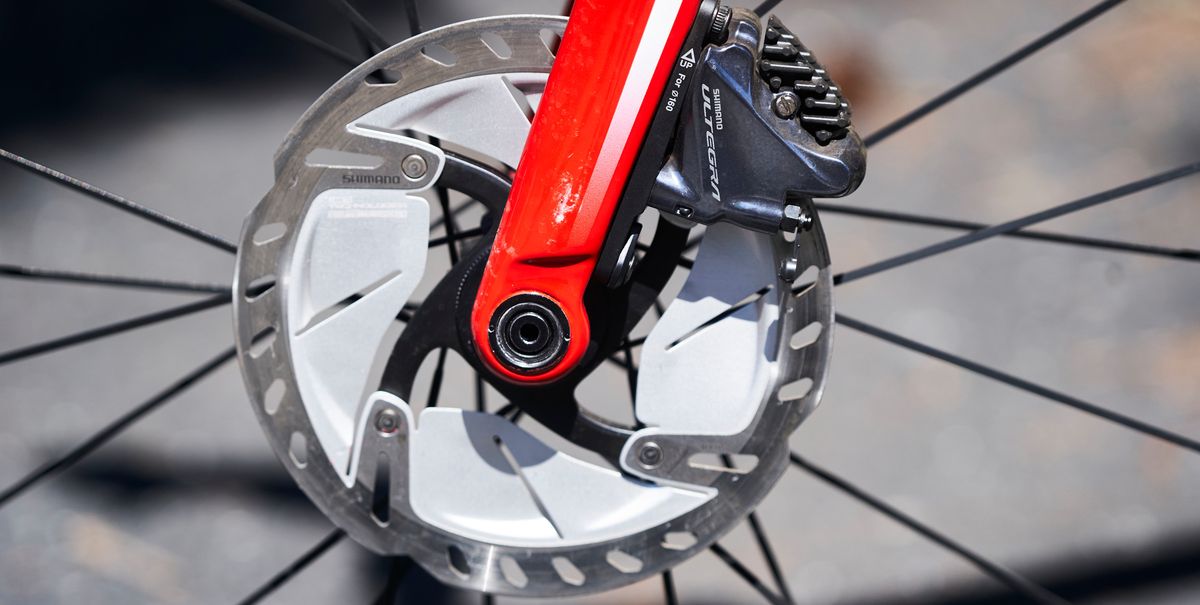
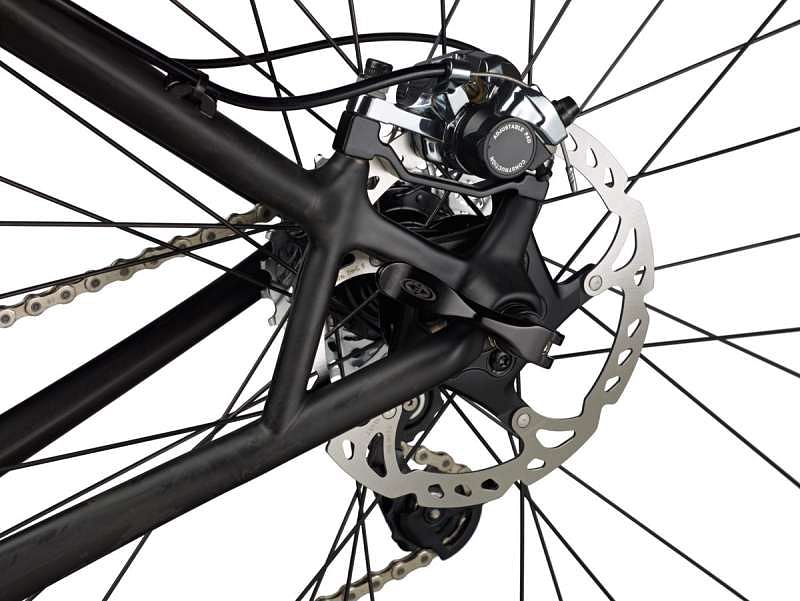
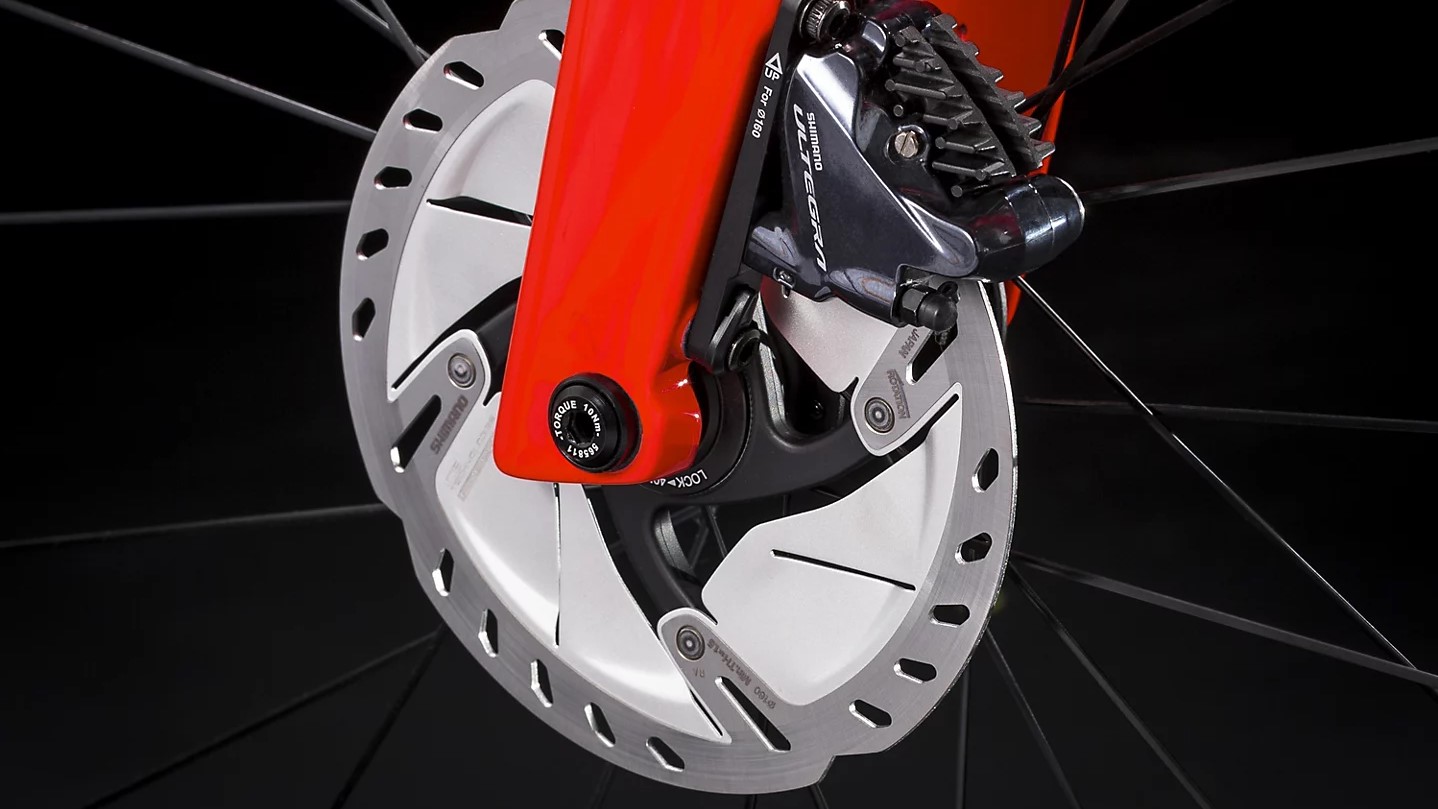
Properly adjusting and aligning disc brakes is crucial for optimal performance and safety. To start, make sure the brake caliper is centered over the rotor. This can be done by loosening the caliper bolts and sliding the caliper into position. Once the caliper is centered, tighten the bolts securely.
Next, adjust the brake pads to ensure they are properly aligned with the rotor. This can be done by loosening the pad retaining screws and sliding the pads into position. Make sure the pads are not touching the rotor, as this can cause excessive wear and damage.
Finally, set the brake lever to the correct position. This can be done by adjusting the lever’s reach and angle to fit your hand comfortably. Make sure the lever is not too loose or too tight, as this can affect the brake’s performance.
It’s also important to note that some disc brake systems may require specific adjustment procedures, so be sure to consult your owner’s manual or manufacturer’s instructions for specific guidance. Additionally, it’s a good idea to have a friend or family member assist you with the adjustment process, as it can be helpful to have an extra pair of hands.
By properly adjusting and aligning your disc brakes, you can ensure optimal performance and safety on the road. Remember to always follow proper safety procedures and take your time when working with brake systems.
Troubleshooting Common Disc Brake Problems
Despite proper maintenance and repair, disc brake problems can still arise. In this section, we’ll provide troubleshooting tips for common issues that can occur with disc brakes.
One common problem is a stuck caliper, which can cause the brake pads to drag on the rotor. To fix this, try loosening the caliper bolts and sliding the caliper off the rotor. Then, clean the caliper and rotor with a soft brush and reassemble the brake.
Another issue is a brake lever that’s not returning to its original position. This can be caused by air in the brake system or a faulty brake lever. To fix this, try bleeding the brakes to remove any air, and then adjusting the brake lever to its proper position.
Reduced stopping power is also a common problem with disc brakes. This can be caused by worn-out brake pads or a faulty brake caliper. To fix this, try replacing the brake pads or caliper, and then adjusting the brake lever to its proper position.
By following these troubleshooting tips, you can quickly identify and fix common disc brake problems. Remember to always follow proper safety procedures and take your time when working with brake systems.
Regular maintenance and repair can also help prevent disc brake problems from occurring in the first place. By following the tips outlined in this article, you can keep your disc brakes in top condition and ensure safe and enjoyable cycling.
Preventative Maintenance for Disc Brakes
Regular maintenance is crucial for ensuring the optimal performance and longevity of disc brakes. By performing routine checks and maintenance tasks, you can prevent common problems and ensure safe and enjoyable cycling.
One of the most important maintenance tasks is cleaning the rotors. Use a soft brush and mild soap to remove any dirt, grime, or brake pad residue from the rotors. This will help to prevent corrosion and ensure proper brake function.
Inspecting brake pads is also essential. Check the pads for wear and damage, and replace them if necessary. Worn-out brake pads can cause reduced stopping power and increased risk of accidents.
Checking brake fluid levels is also crucial. Make sure the brake fluid level is at the recommended level, and top it off if necessary. Low brake fluid levels can cause reduced stopping power and increased risk of accidents.
Additionally, it’s a good idea to inspect the brake caliper and brake lever for any signs of wear or damage. Make sure the caliper is properly aligned and the brake lever is functioning properly.
By performing these routine maintenance tasks, you can ensure the optimal performance and longevity of your disc brakes. Remember to always follow proper safety procedures and take your time when working with brake systems.
Conclusion: Getting Back on the Road with Confidence
By following the steps outlined in this article, you should now have a good understanding of how to fix bicycle disc brakes. Remember to always follow proper safety procedures and take your time when working with brake systems.
Regular maintenance and repair are crucial for ensuring the optimal performance and longevity of disc brakes. By performing routine checks and maintenance tasks, you can prevent common problems and ensure safe and enjoyable cycling.
It’s also important to note that proper disc brake maintenance and repair can help to prevent accidents and injuries. By taking the time to learn how to fix bicycle disc brakes, you can ensure your safety and the safety of others on the road.
In conclusion, fixing bicycle disc brakes is a relatively simple process that can be done with the right tools and knowledge. By following the steps outlined in this article, you can get back on the road with confidence and enjoy safe and enjoyable cycling.
Remember to always follow proper safety procedures and take your time when working with brake systems. With practice and patience, you’ll be able to fix bicycle disc brakes like a pro and enjoy the many benefits of cycling.


