
Why DIY Inner Tube Repair Makes Sense
Learning how to fix an inner tube on a bike can be incredibly advantageous for cyclists of all levels. By acquiring this essential skill, you can save both time and money that would otherwise be spent on professional repair services or replacement parts. Moreover, the satisfaction of mending your own bike can provide a sense of accomplishment and self-reliance. Incorporating this knowledge into your cycling routine will enable you to tackle unexpected flats with confidence and ease.

Click Image to Find eBike Products

Gathering Essential Tools and Materials
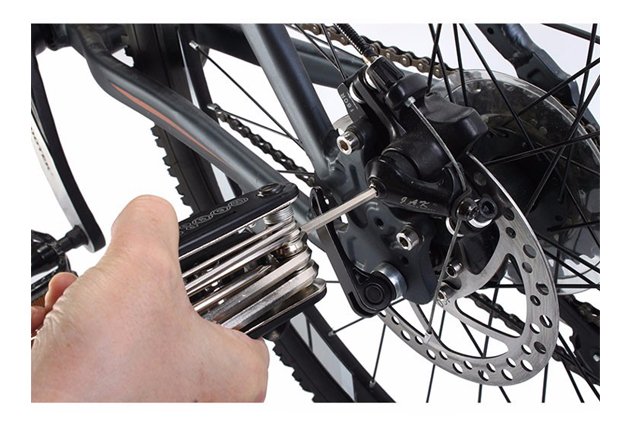
To independently fix an inner tube on a bike, you’ll need a few essential tools and materials. These components include tire levers, a patch kit or a replacement inner tube, and a bike pump. Tire levers are thin, plastic, or metal tools that help you pry the tire bead off the rim, making it easier to remove the inner tube. A patch kit contains adhesive patches and sandpaper, allowing you to repair punctured inner tubes. A replacement inner tube is necessary when the damage to the existing tube is too extensive for patching. Lastly, a bike pump is crucial for inflating the repaired or replaced inner tube to the recommended tire pressure.
Removing the Wheel: A Step-by-Step Process
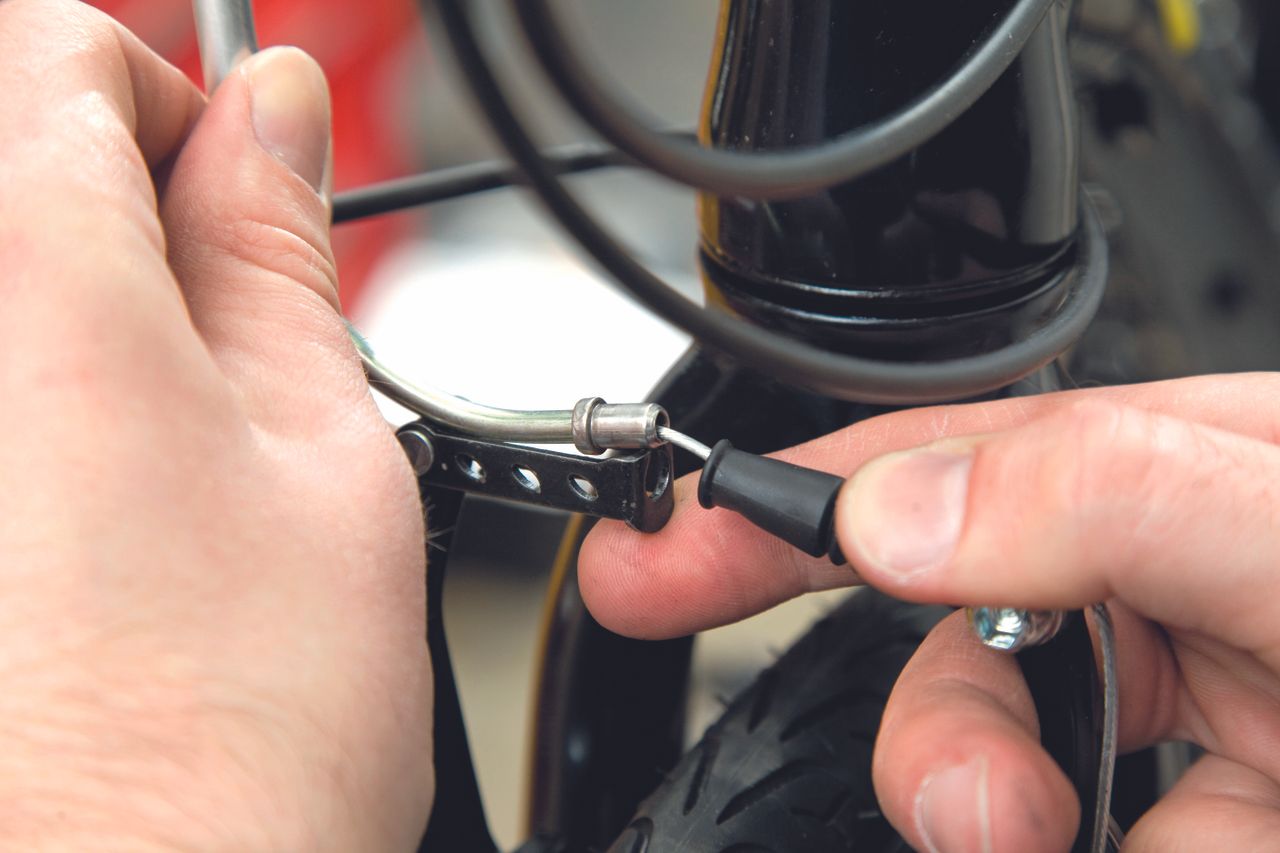
Before inspecting or repairing the inner tube, you must first remove the bike wheel. The process varies slightly depending on whether you are working on the front or rear wheel. To remove the front wheel, begin by releasing the brake caliper, allowing the wheel to spin freely. For quick-release wheels, loosen the lever and turn the nut counterclockwise to disengage the skewer. Then, carefully lift the wheel out of the fork. Rear wheel removal is more complex due to the derailleur. Shift the chain to the smallest cog, release the brake, and loosen the quick-release lever or turn the nuts counterclockwise. Gently lift the wheel out, being mindful of the gear cables and derailleur.
Inspecting the Inner Tube: Identifying Common Issues
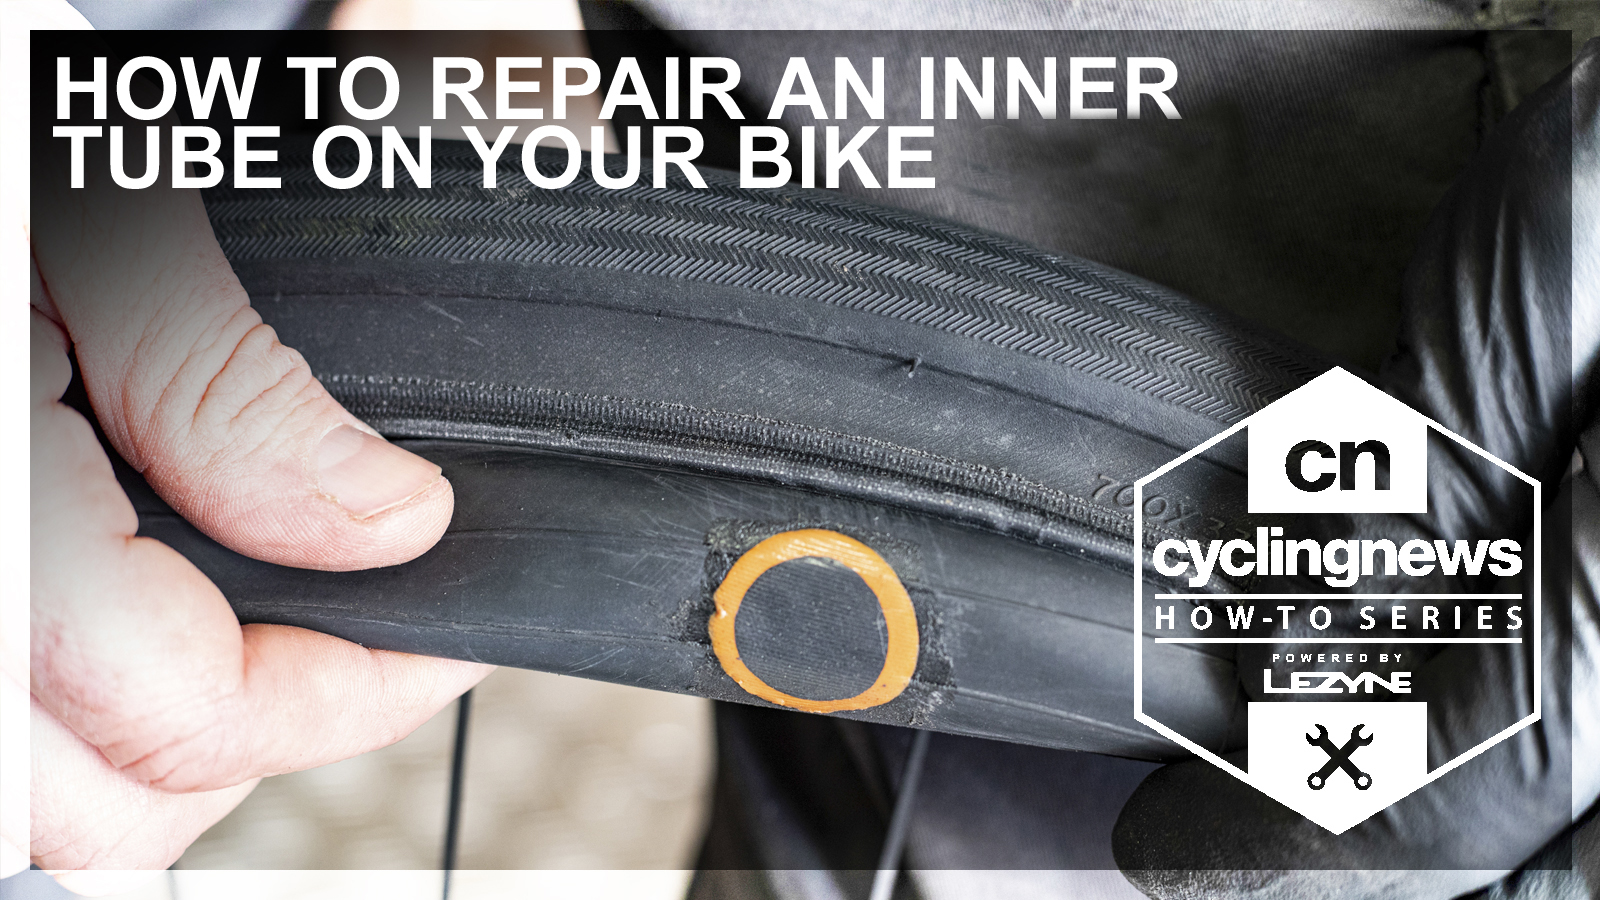
Once the inner tube is removed from the bike wheel, it’s essential to thoroughly inspect it for damage. The most common issue is punctures, which can be caused by various factors, such as sharp objects, worn-out tires, or low tire pressure. To locate punctures, inflate the inner tube slightly and run your fingers along its surface, feeling for any leaks. For smaller or harder-to-find leaks, submerge the inner tube in a bucket of water and look for bubbles, which indicate the location of the puncture. Keep in mind that multiple punctures may require replacing the inner tube entirely.

Repairing the Inner Tube: Patching and Replacing
If the damage to the inner tube is minor, patching it can be a quick and cost-effective solution. To patch an inner tube, begin by cleaning the area around the puncture with the sandpaper provided in the patch kit. This step ensures better adhesion for the patch. Apply the adhesive-backed patch over the puncture, pressing firmly to remove any air bubbles. Allow the adhesive to set for a few minutes before inflating the inner tube to check for leaks. If the puncture is too large or if the inner tube has multiple leaks, consider replacing it with a new one.
Replacing an inner tube involves several steps. First, deflate the damaged inner tube completely and remove it from the bike wheel. Next, insert the new inner tube into the tire, ensuring that it is not twisted or pinched. Inflate the new inner tube slightly, just enough to give it some shape, and carefully reattach the wheel to the bike. Make sure the chain is properly aligned and the brakes are correctly adjusted before inflating the inner tube to the recommended tire pressure.

Reassembling the Bike: Putting it All Back Together
After repairing or replacing the inner tube, it’s time to reattach the wheel to the bike. Begin by ensuring the chain is properly aligned with the chain ring and cassette or freewheel, depending on whether you are working on the front or rear wheel. For the front wheel, position it in the fork and gently push until the quick-release lever or nuts engage. Make sure the brake caliper is centered on the rim and adjusted correctly to avoid rubbing. For the rear wheel, align the chain with the cassette or freewheel before engaging the quick-release lever or nuts. Double-check that the wheel is centered in the dropouts and that the brakes are correctly aligned and functioning properly.

Testing the Repair: A Final Spin
Once you have successfully repaired or replaced the inner tube, it’s crucial to test the repair before heading out for a ride. Begin by inflating the inner tube to the recommended tire pressure, which can typically be found on the sidewall of the tire. Carefully inspect the repaired area for any signs of leaks or air bubbles. If you find any issues, double-check that the patch is correctly adhered or consider replacing the inner tube entirely.
When you’re confident that the repair is secure, gently spin the wheel to ensure it rotates smoothly and evenly. Test the brakes and shifting to make sure they are functioning correctly. Finally, take the bike for a short test ride around the block or in a safe, traffic-free area. Pay close attention to the repaired wheel, checking for any unusual noises, vibrations, or handling issues. If everything feels and sounds normal, your inner tube repair is complete, and you’re ready to hit the road.
Preventing Future Flats: Maintenance Tips
Maintaining your bike’s inner tube and tires can significantly reduce the likelihood of future flats. By following these simple maintenance tips, you can extend the life of your inner tube and ensure safer, more enjoyable rides.
First, check your tire pressure regularly. Most bike tires require inflation to specific pressure ranges, which can be found on the tire’s sidewall. Maintaining the correct tire pressure helps prevent punctures and reduces wear on the inner tube. Invest in a high-quality bike pump with a pressure gauge to ensure accurate inflation.
Second, be mindful of road debris and potential hazards. Sharp objects, such as glass, metal, and thorns, can quickly puncture an inner tube. Avoid riding through debris whenever possible, and consider installing tire liners or puncture-resistant tires for added protection.
Third, routinely inspect your tires for signs of wear or damage. Remove any embedded debris, and replace worn-out tires before they cause inner tube issues. Keep an eye out for uneven wear, which may indicate improper inflation or alignment problems.
Lastly, consider using a sealant, which can help prevent punctures by sealing small leaks as they occur. Sealants are available in both tubeless and inner tube varieties, and they can provide an extra layer of protection against flats.
