Understanding the Benefits of Tubeless Tires
Tubeless tires have revolutionized the cycling world with their improved performance, reduced weight, and increased puncture resistance. These advantages have made tubeless tires a popular choice among cyclists, from casual riders to professional racers. By eliminating the inner tube, tubeless tires provide a smoother ride, better traction, and improved handling. Additionally, the reduced weight of tubeless tires results in improved acceleration and climbing performance. Furthermore, the increased puncture resistance of tubeless tires reduces the risk of flats, making them an attractive option for riders who want to minimize downtime and maximize their time on the bike. With these benefits in mind, it’s no wonder tubeless tires have become a staple in the cycling community.

Click Image to Find eBike Products
Common Issues with Tubeless Tires and How to Identify Them
While tubeless tires offer numerous benefits, they are not immune to issues. Leaks, burps, and tire damage are common problems that can occur with tubeless tires. To identify these issues, it’s essential to perform regular visual inspections and pressure checks. Look for signs of wear, such as cracks, cuts, or excessive wear on the tread or sidewalls. Check the tire pressure regularly, as low pressure can cause tire burps or increase the risk of punctures. Additionally, inspect the tire for any signs of sealant leakage or damage to the rim or tire beads. By identifying these issues early, you can take steps to repair or prevent them, ensuring your tubeless tires continue to perform optimally. For example, if you’re experiencing a leak, you can follow our step-by-step guide on how to fix a tubeless bike tire to get back on the road quickly.

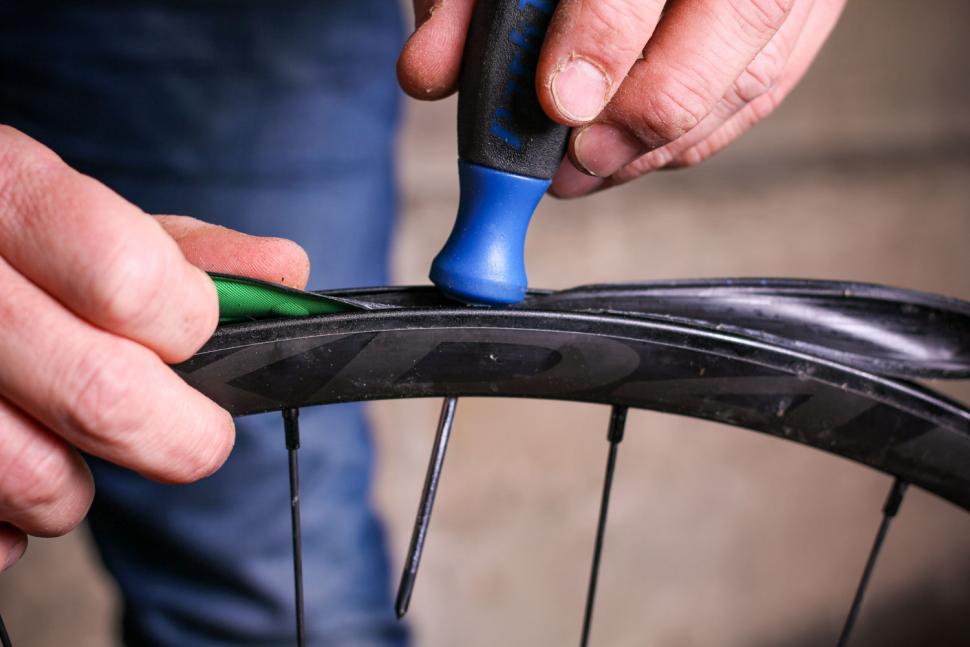
How to Fix a Leaky Tubeless Tire
Fixing a leaky tubeless tire is a relatively simple process that can be done with the right tools and a bit of patience. To get started, remove the tire from the rim and inspect the area around the leak to identify the source of the problem. Clean the area thoroughly with soap and water to remove any dirt or debris that may be interfering with the sealant. Next, apply a small amount of tubeless tire sealant to the affected area, making sure to follow the manufacturer’s instructions. Re-inflate the tire to the recommended pressure and inspect the area again to ensure the leak is fixed. To prevent future leaks, make sure to check the tire pressure regularly and inspect the tire for any signs of wear or damage. Additionally, consider applying a layer of tubeless tire sealant to the tire as a preventative measure. By following these steps, you can learn how to fix a tubeless bike tire and get back on the road quickly.

Tire Burps: Causes and Solutions
Tire burps are a common issue with tubeless tires, causing air to escape from the tire and resulting in a loss of pressure. There are several causes of tire burps, including low tire pressure, improper tire installation, and rim damage. To prevent tire burps, it’s essential to ensure the tire is installed correctly, with the tire beads properly seated on the rim. Additionally, maintaining the recommended tire pressure can help prevent burps. If you do experience a tire burp, try adjusting the tire pressure to the recommended level and re-seating the tire on the rim. If the problem persists, inspect the rim for any damage or debris that may be causing the issue. By understanding the causes of tire burps and taking steps to prevent them, you can minimize the risk of this common tubeless tire issue. Remember, learning how to fix a tubeless bike tire is an essential skill for any cyclist, and with practice, you can become proficient in repairing and maintaining your tubeless tires.

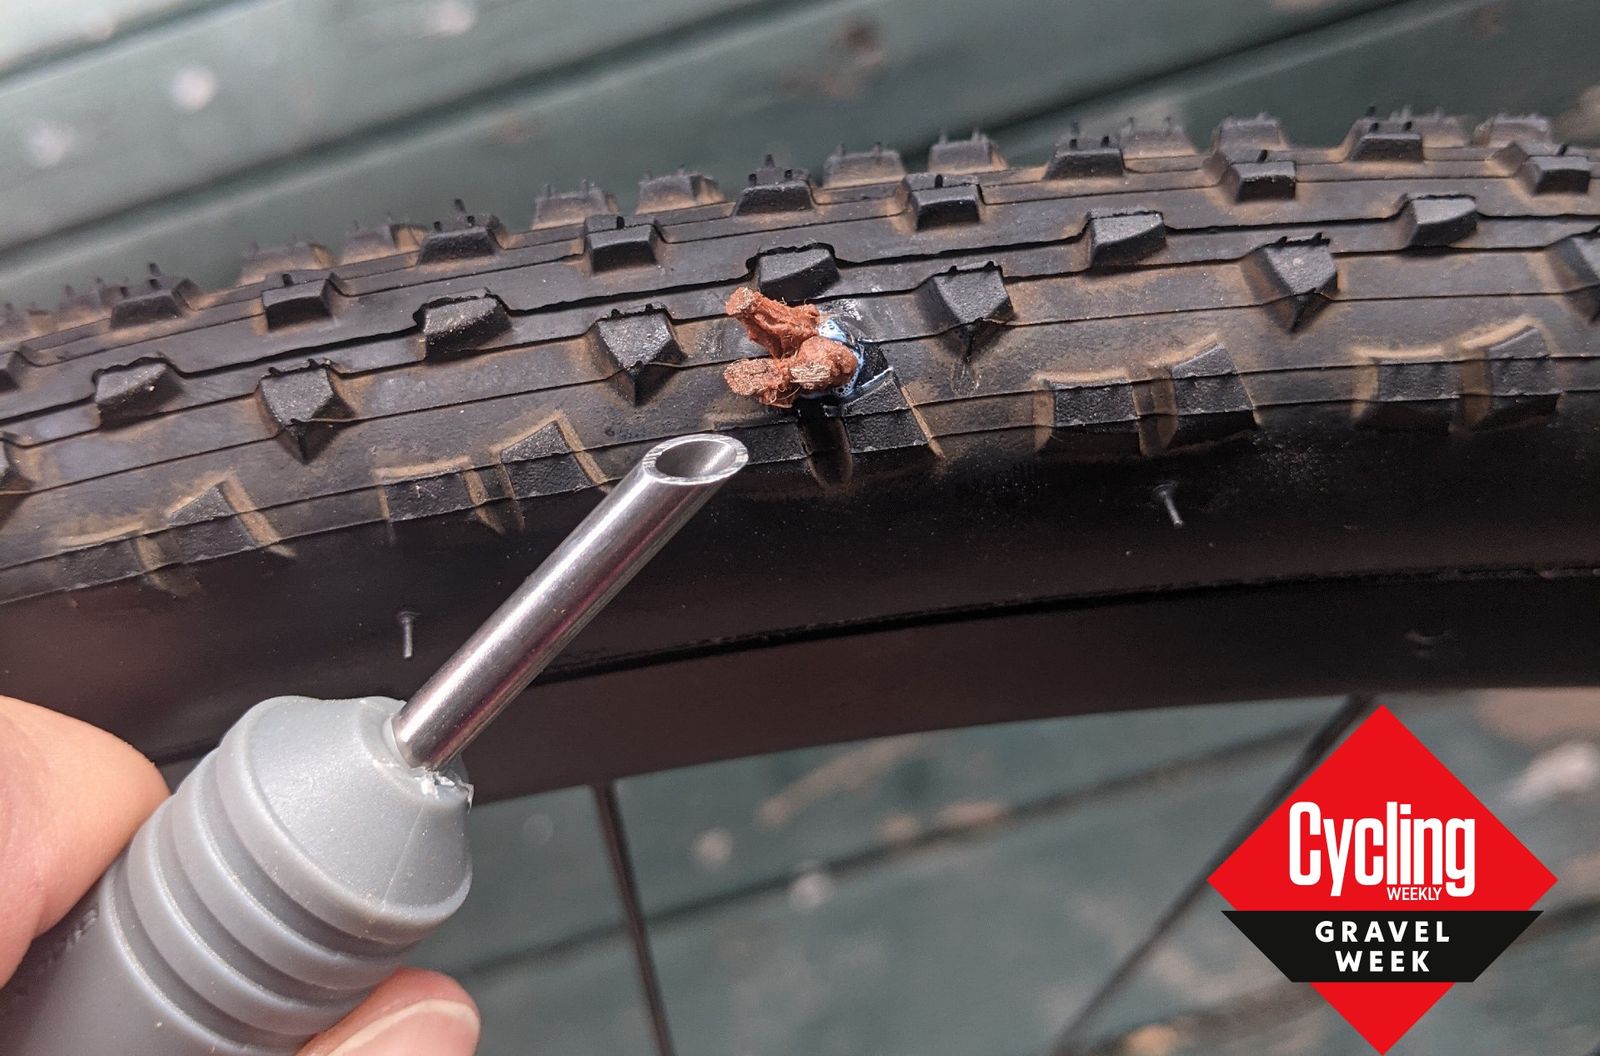
Repairing Tire Damage: A Guide to Plugging and Patching
Tire damage is a common issue with tubeless tires, and it’s essential to know how to repair it to get back on the road quickly. There are different types of tire damage, including punctures, cuts, and tears. To repair tire damage, you’ll need a few tools and materials, including a tire plug kit, patch kit, and tire levers. For punctures, use a tire plug to fill the hole from the inside of the tire. For cuts and tears, use a patch kit to cover the damaged area. Make sure to clean the area thoroughly before applying the plug or patch, and re-inflate the tire to the recommended pressure after the repair. It’s also essential to inspect the tire for any other damage before getting back on the road. By knowing how to fix tubeless bike tire damage, you can save time and money, and get back to riding quickly. Remember, regular maintenance and inspections can help prevent tire damage, but knowing how to repair it is crucial for any cyclist.

Preventing Future Issues: Maintenance and Inspection Tips
To prevent future issues with tubeless tires, regular maintenance and inspections are crucial. One of the most important things to check is tire pressure, as low pressure can lead to leaks, burps, and tire damage. Check the pressure at least once a week, and before long rides. Additionally, regularly clean the tire and rim to prevent dirt and debris from accumulating and causing issues. Rotate the tires every 3-6 months to ensure even wear and extend the life of the tire. It’s also essential to inspect the tire for signs of wear and tear, such as cracks, cuts, and excessive wear. By catching these issues early, you can prevent more serious problems from developing. Furthermore, make it a habit to check the tire sealant level and top it off as needed. By following these maintenance and inspection tips, you can minimize the risk of tubeless tire issues and ensure a smooth ride. Remember, knowing how to fix tubeless bike tire issues is important, but preventing them in the first place is even better.
When to Replace a Tubeless Tire: Signs of Wear and Tear
Tubeless tires, like any other tire, have a limited lifespan and will eventually need to be replaced. Knowing when to replace a tubeless tire is crucial to ensure safety and performance. One of the most obvious signs of wear and tear is excessive wear on the tread or sidewall. If the tire is worn down to the point where the tread is no longer visible, or the sidewall is cracked or damaged, it’s time to replace the tire. Another sign of wear and tear is cracks in the tire or rim. If you notice any cracks, no matter how small, it’s best to replace the tire immediately. Additionally, if the tire has been damaged due to a puncture or other issue, and cannot be repaired, it’s time to replace it. It’s also important to keep track of the tire’s age, as most tubeless tires have a limited lifespan of around 5-7 years. By knowing the signs of wear and tear, you can ensure a safe and smooth ride. Remember, knowing how to fix tubeless bike tire issues is important, but knowing when to replace a tire is equally crucial. By following these guidelines, you can avoid more serious issues and ensure a safe ride.

Conclusion: Mastering the Art of Tubeless Tire Repair
By following the steps outlined in this guide, cyclists can master the art of tubeless tire repair and maintenance. From identifying common issues to fixing leaks and burps, and even replacing worn-out tires, this comprehensive guide has covered it all. Remember, knowing how to fix tubeless bike tire issues is crucial to ensuring a safe and enjoyable ride. By practicing the techniques outlined in this article, cyclists can develop the skills and confidence needed to tackle even the most complex tubeless tire problems. With regular maintenance and inspections, cyclists can prevent future issues and extend the life of their tubeless tires. Whether you’re a seasoned pro or a beginner, this guide has provided the necessary tools and knowledge to help you become proficient in fixing tubeless tire issues. So, get out there and start riding, knowing that you’re equipped with the skills to handle any tubeless tire issue that comes your way.