
Why Proper Brake Installation Matters
Properly installed brakes are essential for a safe and enjoyable cycling experience. When brakes are installed correctly, riders can stop confidently and quickly, even in emergency situations. On the other hand, faulty brakes can lead to accidents, injuries, and even fatalities. By learning how to install brakes on a bicycle, riders can significantly reduce their risk of being involved in a crash. Moreover, well-maintained brakes can improve overall bike performance, allowing riders to tackle various terrain and conditions with ease. Additionally, proper brake installation can help reduce maintenance costs in the long run, as it prevents premature wear on brake components and other parts of the bike. By investing time and effort into learning how to install brakes on a bicycle, riders can reap numerous benefits that enhance their overall cycling experience.

Click Image to Find eBike Products
Choosing the Right Brake Type for Your Bike
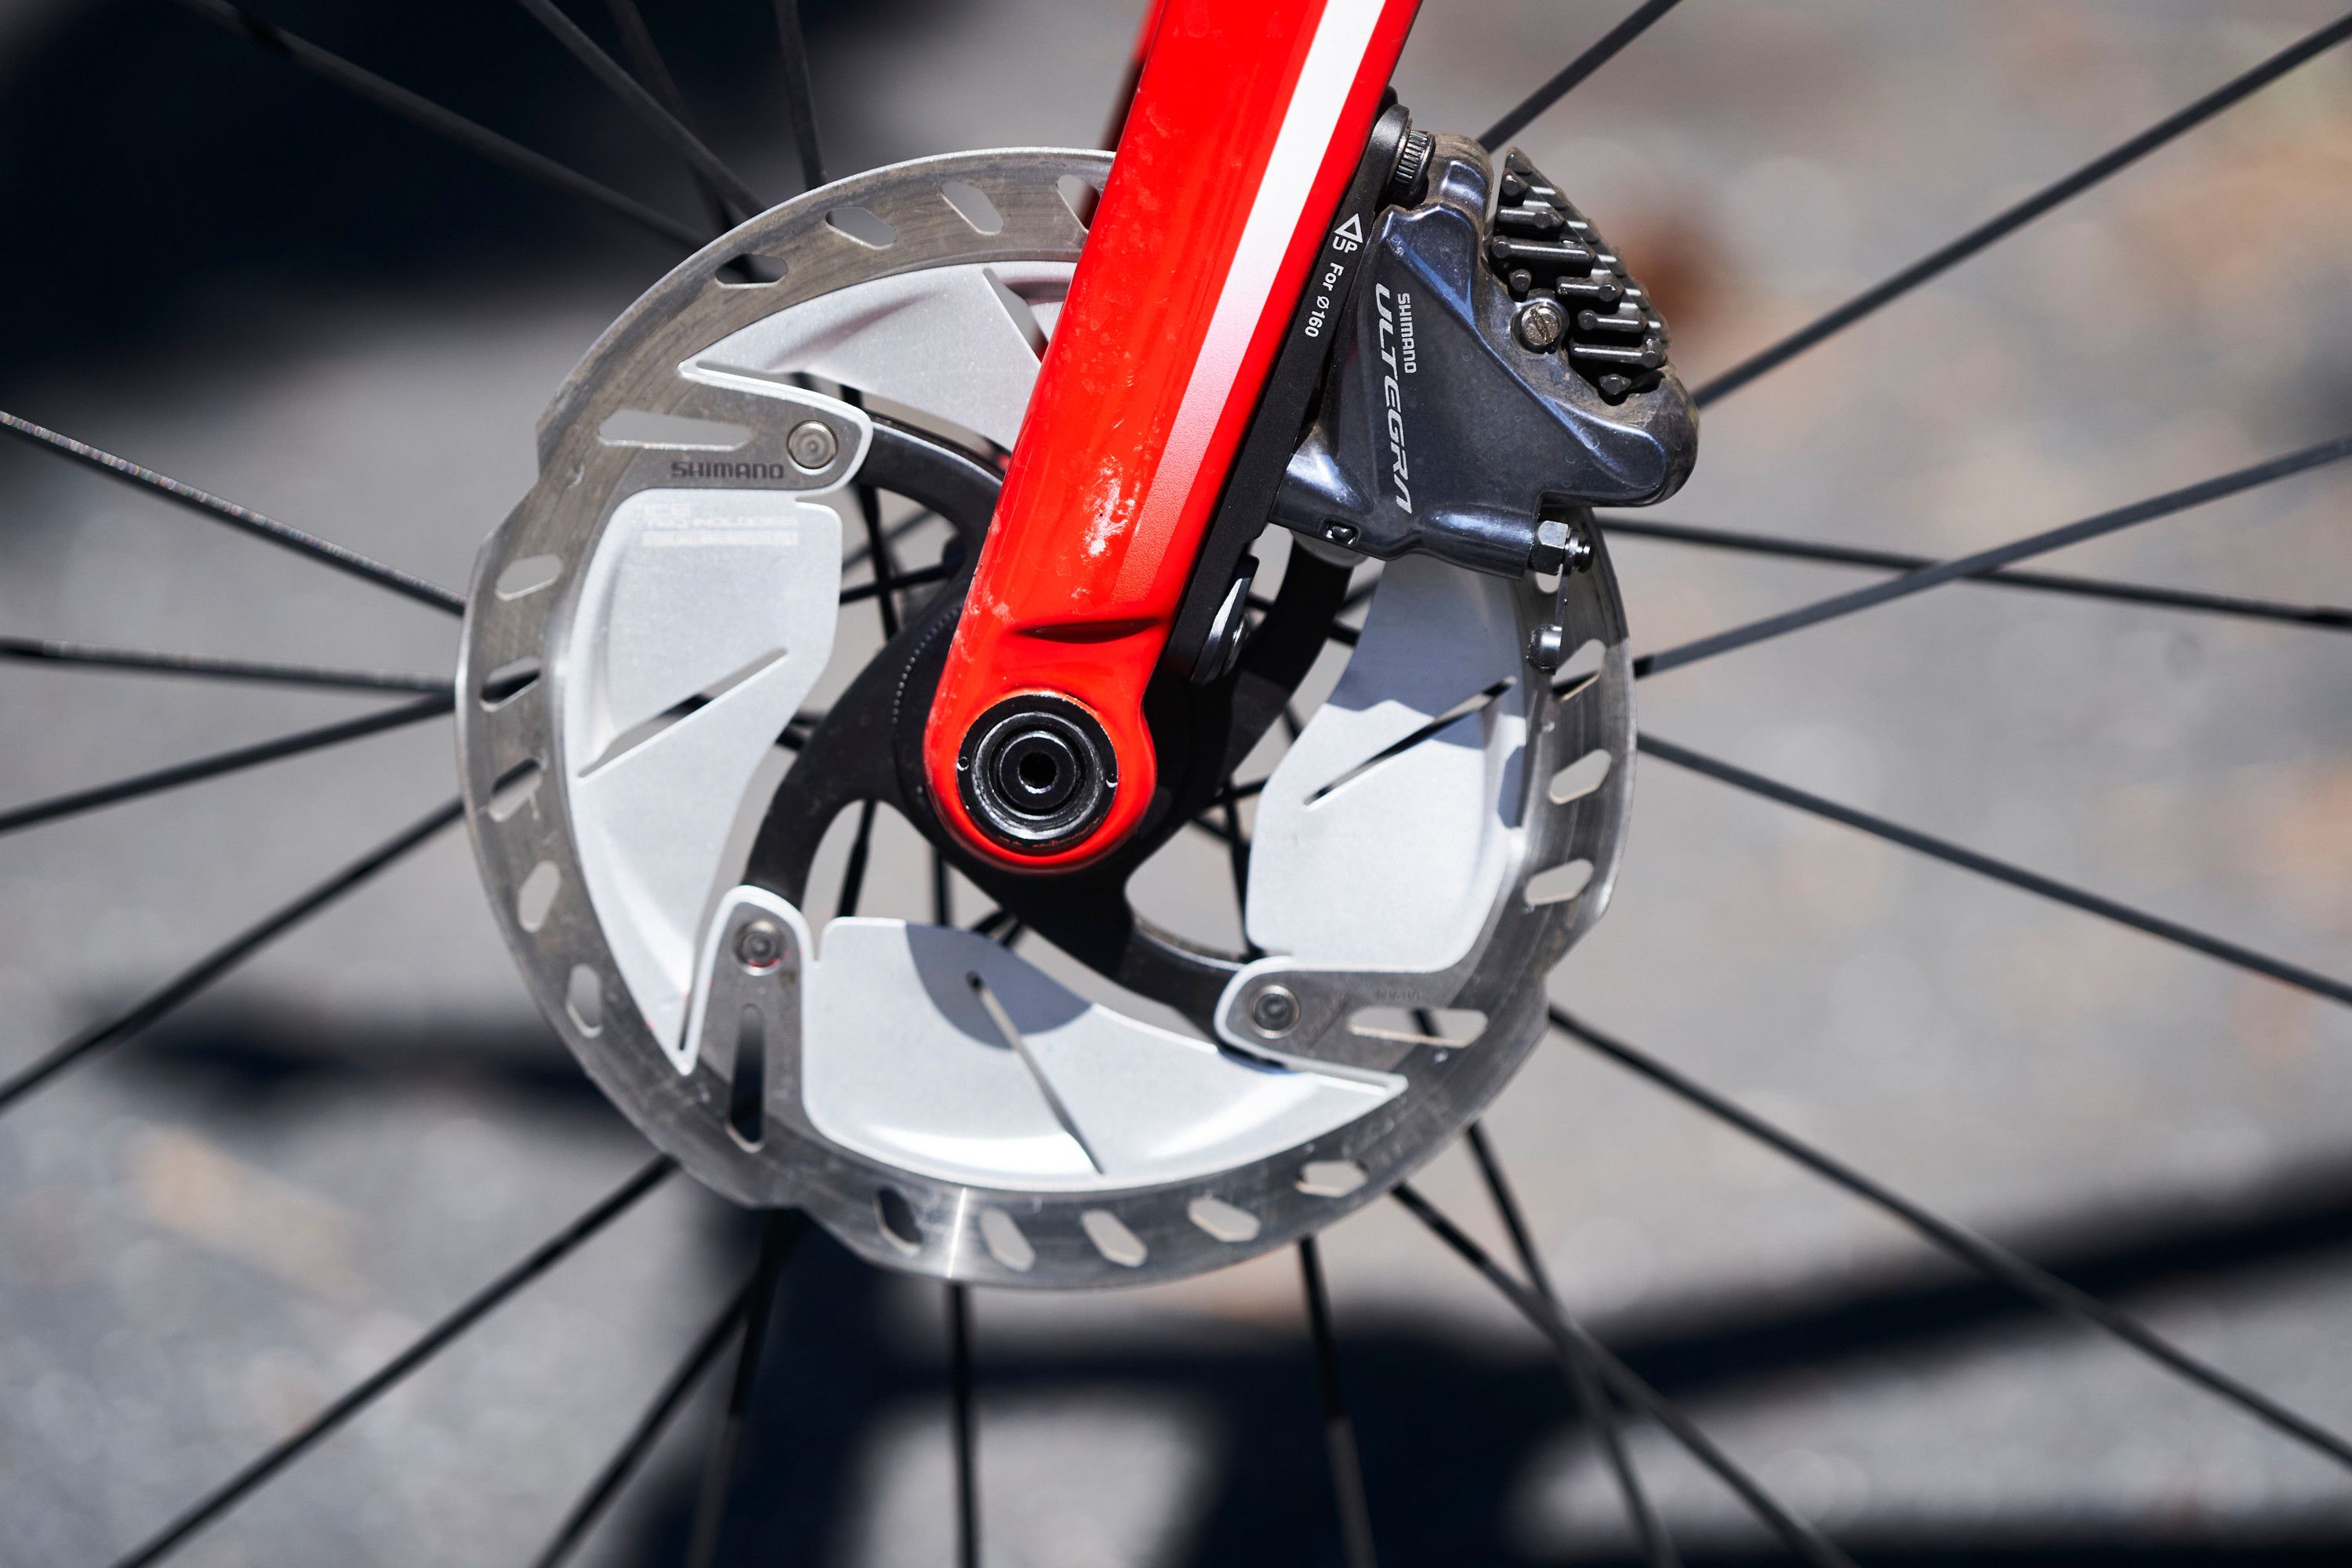
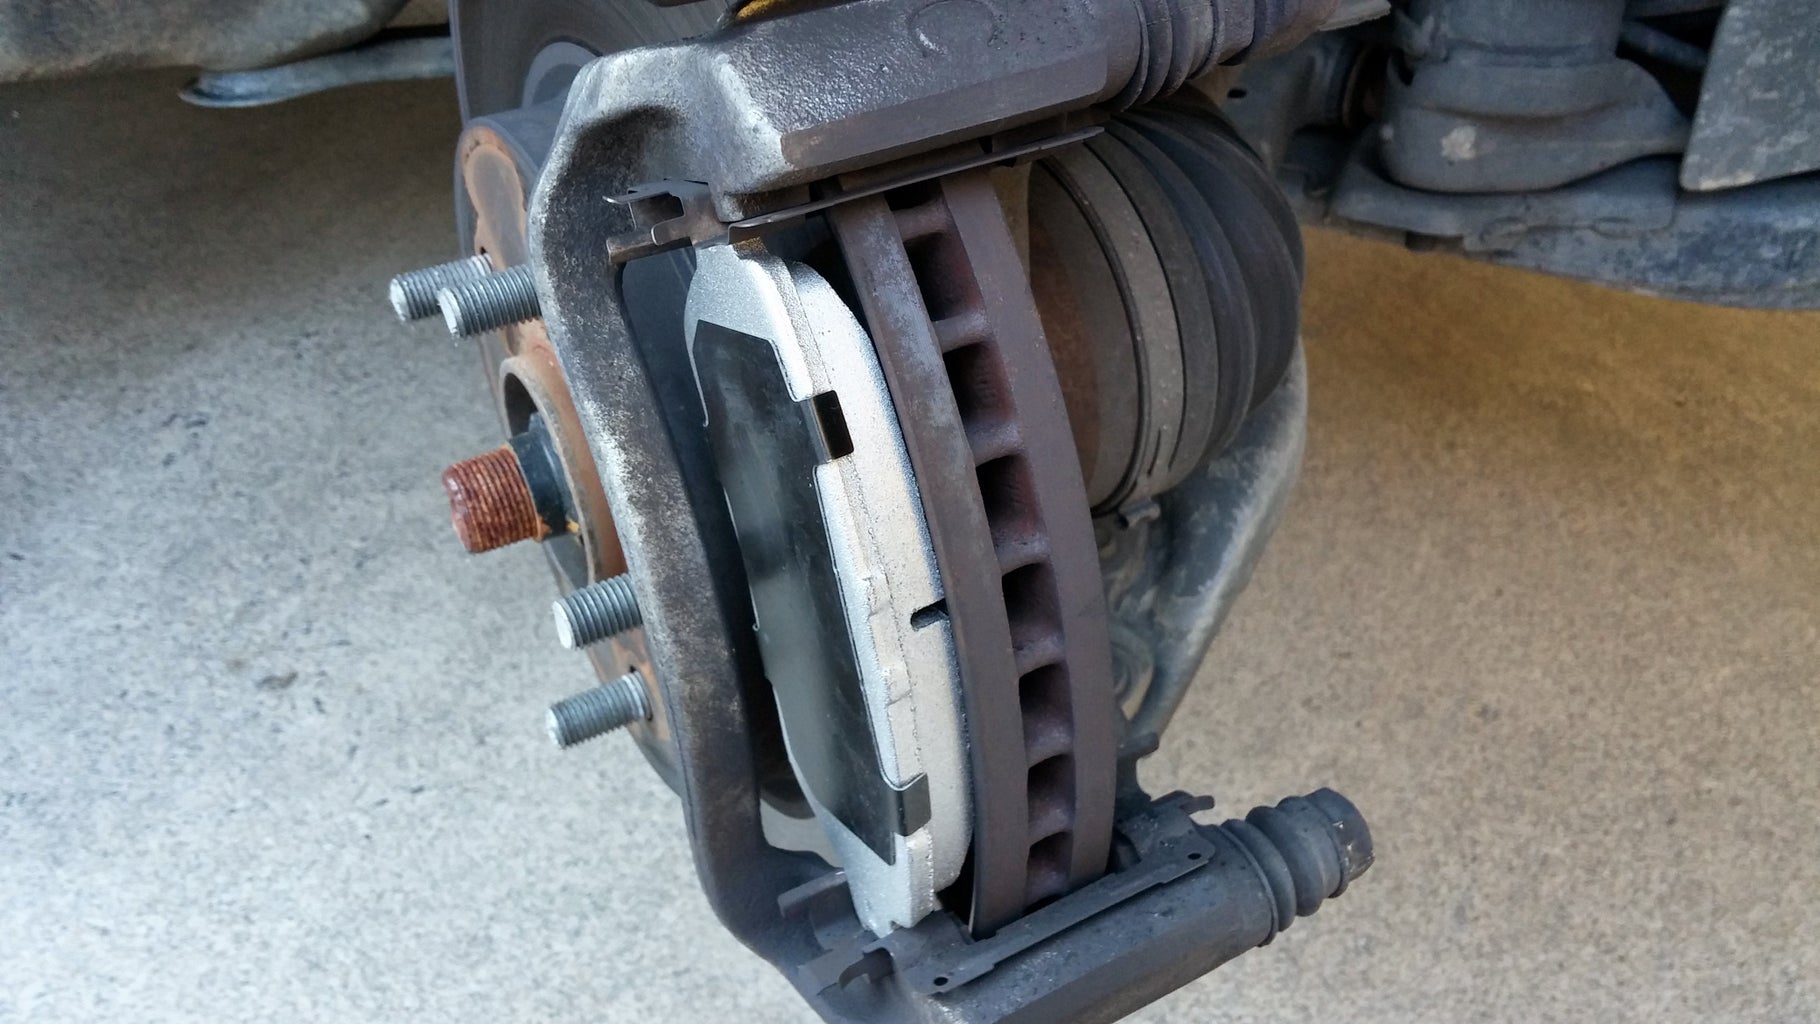
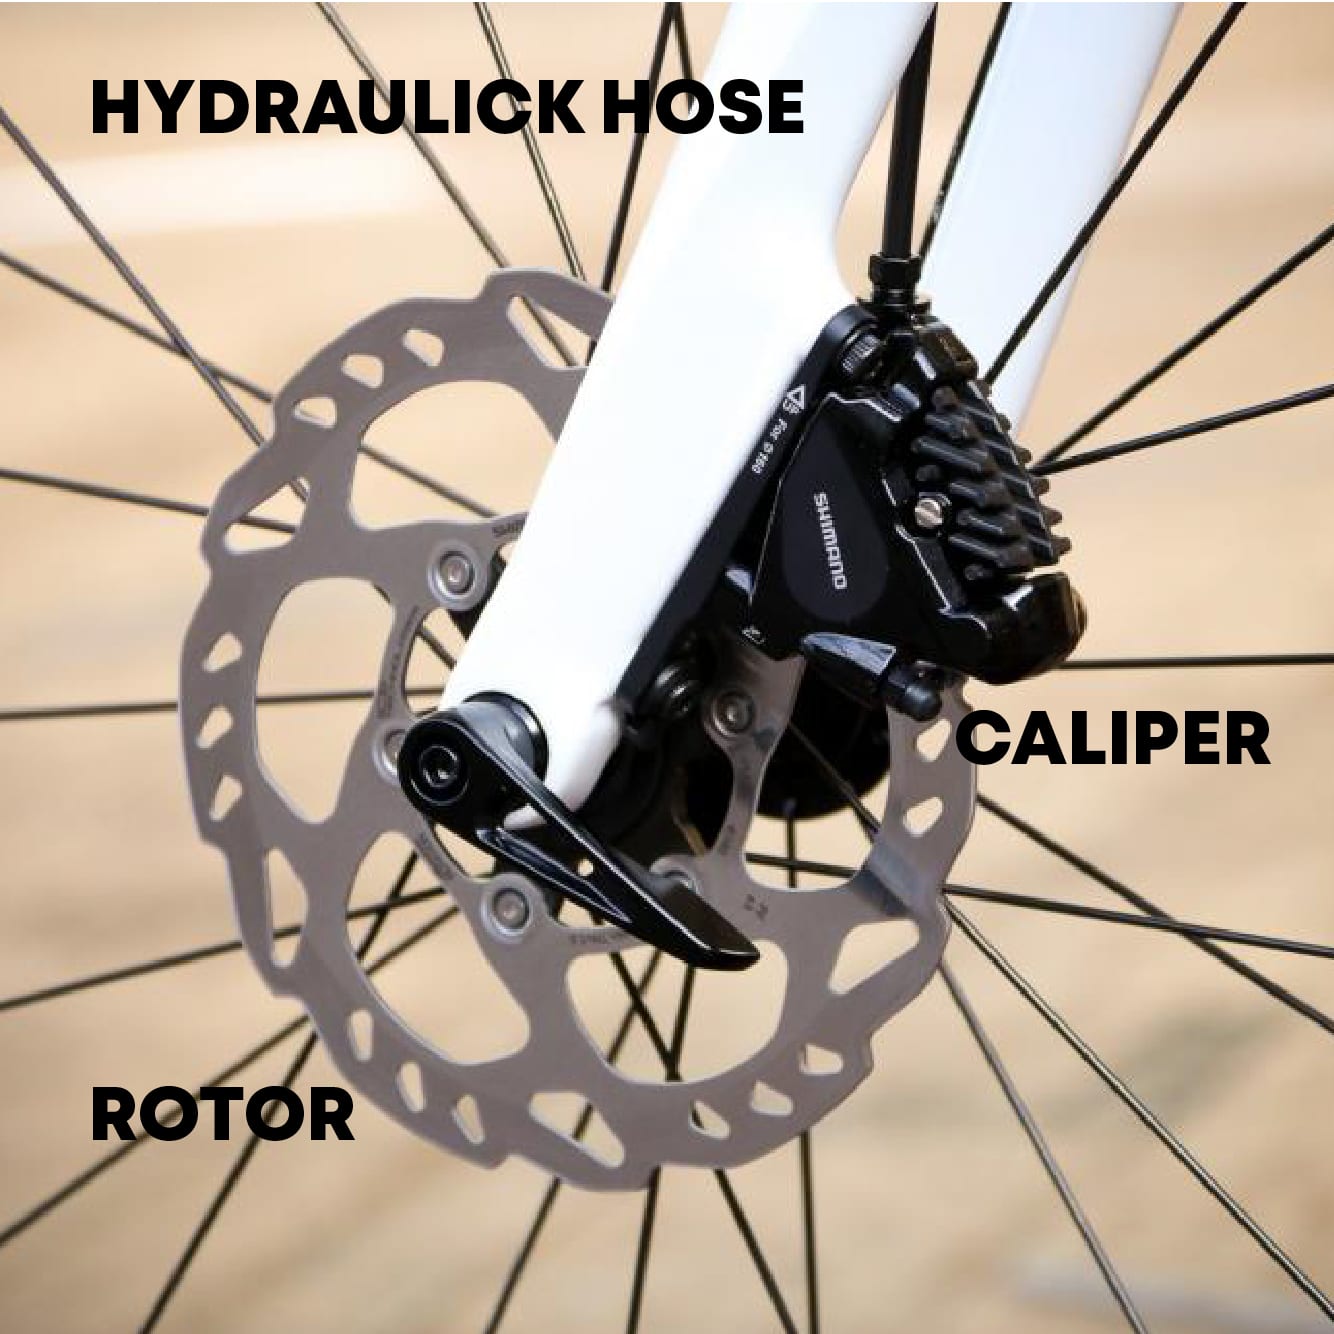
When it comes to selecting the right brake type for your bicycle, there are several options to consider. The three most common types of brakes are rim brakes, disc brakes, and hydraulic brakes. Rim brakes are the most traditional type, where the brake pads clamp onto the rim of the wheel to slow down the bike. Disc brakes, on the other hand, feature a rotor attached to the wheel hub, which the brake pads clamp onto to slow down the bike. Hydraulic brakes use brake fluid to transfer pressure from the brake lever to the brake caliper, providing increased stopping power. To choose the best brake type for your bike, consider factors such as riding style, terrain, and weather conditions. For example, disc brakes are ideal for mountain biking and wet weather conditions, while rim brakes are better suited for road biking and dry conditions. By understanding the differences between each brake type, riders can make an informed decision and learn how to install brakes on a bicycle that meets their specific needs.
Preparing Your Bike for Brake Installation
Before diving into the process of how to install brakes on a bicycle, it’s essential to prepare your bike for the installation. This step is crucial to ensure a smooth and successful brake installation. Start by cleaning the brake area, removing any dirt, grime, or old brake components. This will give you a clean slate to work with and prevent any contamination of the new brake components. Next, remove the old brake components, including the brake pads, rotors, and cables. Take note of the brake mounts and inspect them for any damage or wear. If the mounts are damaged, consider replacing them to ensure a secure fit for the new brake components. Additionally, inspect the brake caliper and brake lever for any signs of wear or damage. By properly preparing your bike, you’ll be able to learn how to install brakes on a bicycle with confidence and accuracy.

A Step-by-Step Guide to Installing Brake Pads and Rotors
When it comes to learning how to install brakes on a bicycle, one of the most critical steps is installing the brake pads and rotors. This process requires attention to detail and a thorough understanding of the components involved. Start by selecting the correct brake pads and rotors for your bike, ensuring they are compatible with your brake type. Next, attach the rotor to the wheel hub, making sure it is securely fastened and properly aligned. Then, install the brake pads, following the manufacturer’s instructions for proper alignment and torque specifications. Pay close attention to the cable adjustment, as improper adjustment can lead to poor brake performance. To ensure a smooth installation, refer to the manufacturer’s instructions and take your time when installing each component. By following these steps, riders can confidently learn how to install brakes on a bicycle and enjoy improved braking performance.
Installing Brake Levers and Cables
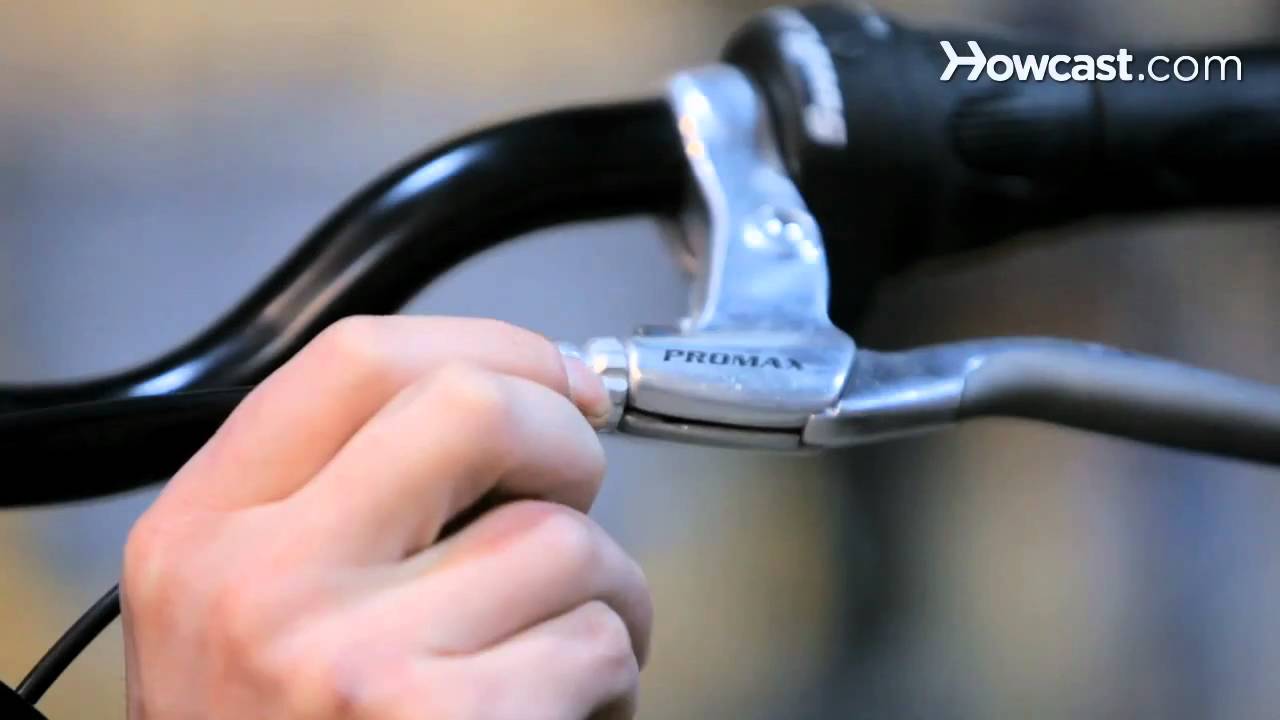
When learning how to install brakes on a bicycle, installing brake levers and cables is a crucial step. This process requires attention to detail and a thorough understanding of the components involved. Start by attaching the brake levers to the handlebars, ensuring they are securely fastened and properly aligned. Next, route the cables through the brake lever and down to the brake caliper, taking care to avoid any kinks or twists. Secure the cables to the brake caliper, following the manufacturer’s instructions for proper torque specifications. Adjust the brake lever position to ensure comfortable and easy braking. Finally, test the brakes to ensure proper function and make any necessary adjustments. By following these steps, riders can confidently learn how to install brakes on a bicycle and enjoy improved braking performance. Remember to refer to the manufacturer’s instructions and take your time when installing each component to ensure a smooth and successful installation.

Adjusting and Testing Your New Brakes
After learning how to install brakes on a bicycle, it’s essential to adjust and test them to ensure proper function and safety. Start by checking the brake pad wear, making sure they are evenly worn and not excessively worn down. Next, adjust the brake lever feel, ensuring it is comfortable and easy to operate. Perform a safety inspection, checking for any signs of wear or damage on the brake components. Test the brakes by applying gentle pressure to the brake levers, gradually increasing the pressure to ensure they are functioning smoothly and consistently. Check for any unusual noises or vibrations, and make any necessary adjustments to the brake pads or cables. By following these steps, riders can ensure their new brakes are functioning properly and safely, providing peace of mind and confidence on the road. Remember to refer to the manufacturer’s instructions for specific guidance on adjusting and testing your particular brake system.
Troubleshooting Common Brake Installation Issues
When learning how to install brakes on a bicycle, it’s not uncommon to encounter issues during the installation process. Brake squeal, uneven brake wear, and brake lever malfunction are common problems that can arise. To troubleshoot brake squeal, check the brake pads for proper alignment and ensure they are securely fastened to the brake caliper. For uneven brake wear, inspect the brake rotors for warping or damage and adjust the brake pads accordingly. Brake lever malfunction can often be resolved by adjusting the brake lever position or replacing worn-out brake cables. By identifying and addressing these common issues, riders can ensure a smooth and successful brake installation. Remember to refer to the manufacturer’s instructions and take your time when troubleshooting to avoid further complications. With patience and attention to detail, riders can overcome these common brake installation issues and enjoy safe and reliable braking performance.
Maintenance and Upkeep for Your New Brakes
After learning how to install brakes on a bicycle, it’s crucial to maintain and upkeep them to ensure optimal performance and safety. Regular brake maintenance can help extend the life of your brakes, reduce wear and tear, and prevent common issues. Start by cleaning the brake components regularly, using a soft brush and mild soap to remove dirt and grime. Inspect the brake pads and rotors for signs of wear, and replace them as needed. Check the brake cables for fraying or damage, and adjust the brake lever position to ensure proper alignment. Additionally, lubricate the brake pivot points and cables to reduce friction and wear. By following these simple maintenance tips, riders can enjoy reliable and safe braking performance, and avoid costly repairs down the road. Remember, proper maintenance is key to getting the most out of your new brakes, and ensuring a smooth ride for years to come.