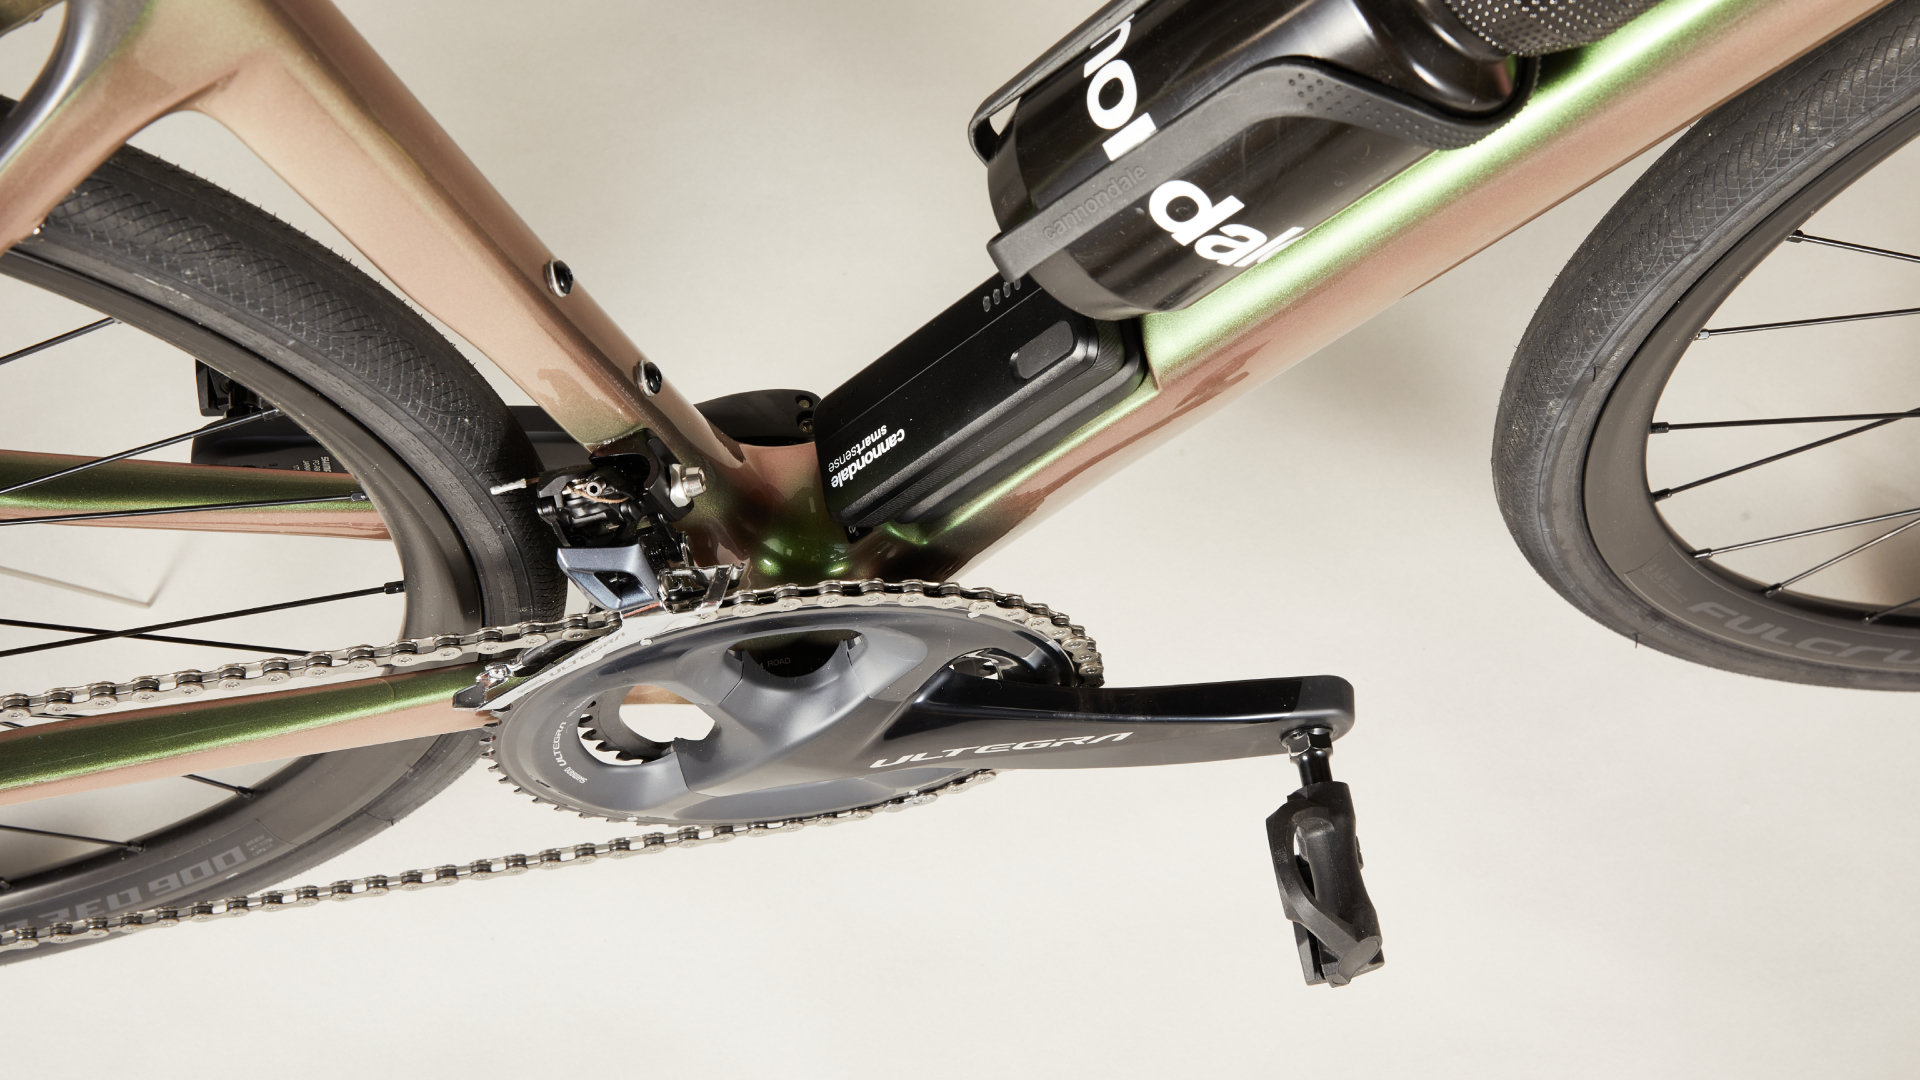
What is Crank Length and Why Does it Matter?
Crank length refers to the distance between the center of the bottom bracket and the center of the pedal axle. This measurement plays a crucial role in cycling efficiency, power transfer, and comfort. Choosing the right crank length can significantly improve performance and reduce the risk of injury. Selecting an appropriate crank length depends on several factors, including rider height, inseam length, and riding style. For instance, taller riders with longer legs may benefit from longer crank arms, while shorter riders may prefer shorter cranks for improved clearance and maneuverability. Additionally, riders who specialize in climbing might prefer shorter cranks for increased cadence and reduced strain on their knees. Conversely, sprinters and power riders may opt for longer cranks to maximize leverage and power output.
In essence, crank length is a highly individualized aspect of cycling that requires careful consideration and customization. By understanding the impact of crank length on cycling performance, riders can make informed decisions when selecting and adjusting their cranks to optimize their riding experience.

Click Image to Find eBike Products

Measuring Crank Length: Tools and Techniques
To accurately measure bicycle crank length, you will need a few essential tools, including a crank length gauge or a measuring tape. A crank length gauge is a specialized tool designed specifically for measuring crank arms, while a measuring tape can also be used for this purpose. To measure crank length using a crank length gauge, follow these steps:
Securely attach the crank length gauge to the crank arm, aligning the gauge’s centerline with the pedal spindle.
Ensure the gauge is level and perpendicular to the crank arm.
Take the measurement from the centerline of the gauge to the centerline of the pedal spindle.
If you don’t have a crank length gauge, you can use a measuring tape instead. Here’s how:
Place the zero end of the measuring tape at the centerline of the pedal spindle.
Stretch the tape along the crank arm, ensuring it follows the curvature of the arm.
Take the measurement from the centerline of the pedal spindle to the centerline of the crank arm.
Another method for estimating crank length involves calculating it based on bottom bracket and chainring dimensions. This technique is more complex and requires precise measurements of the bottom bracket shell width, chainline, and chainring size. However, it can be helpful when replacing or upgrading cranksets, as it allows you to ensure compatibility with your existing bike setup.

Standard Crank Lengths: Common Measurements and Considerations
The cycling industry has established standard crank length measurements that cater to various rider preferences and requirements. Common crank lengths include 165mm, 170mm, and 175mm. These measurements are based on the average rider’s leg length and riding style. However, individual factors such as rider height, inseam length, and riding style can influence the choice of crank length. Taller riders with longer legs may benefit from longer crank arms, as they provide increased leverage and power output. Conversely, shorter riders with shorter legs may prefer shorter cranks for improved clearance and maneuverability, especially in tight spaces or during technical maneuvers.
Riding style is another essential factor to consider when selecting a crank length. For instance, riders who specialize in climbing might prefer shorter cranks for increased cadence and reduced strain on their knees. In contrast, sprinters and power riders may opt for longer cranks to maximize leverage and power output.
It’s important to note that there is no one-size-fits-all approach to choosing the right crank length. Each rider’s unique physiology and riding style should be taken into account when selecting a crank length. By considering these factors, riders can optimize their cycling experience and improve their overall performance.
Pros and Cons of Different Crank Lengths
Crank length can significantly impact various aspects of cycling, including efficiency, power transfer, and comfort. Choosing the right crank length is crucial for optimizing performance and reducing the risk of injury. Here are some advantages and disadvantages of different crank lengths: Shorter Cranks (165mm or less):
- Improved clearance and maneuverability, especially in tight spaces or during technical maneuvers.
- Reduced strain on the knees, particularly during climbing or high-cadence riding.
- A more upright riding position, which can alleviate back pain and discomfort.
However, shorter cranks can also have some drawbacks, such as:
- Decreased leverage and power output, which may affect overall performance, particularly during sprinting or high-intensity efforts.
- A potential increase in pedal strike during aggressive cornering or technical riding.
Longer Cranks (175mm or more):
- Increased leverage and power output, which can enhance overall performance, particularly during sprinting or high-intensity efforts.
- A more aerodynamic riding position, which can reduce air resistance and improve speed.
On the other hand, longer cranks can also have some disadvantages, such as:
- Increased strain on the knees, particularly during climbing or high-cadence riding.
- Reduced clearance and maneuverability, which can lead to pedal strike during aggressive cornering or technical riding.
- A more aggressive riding position, which can exacerbate back pain and discomfort.
In conclusion, selecting the appropriate crank length depends on various factors, including rider height, inseam length, and riding style. By weighing the pros and cons of different crank lengths, riders can make informed decisions when choosing a crank length that suits their individual needs and preferences.

How to Choose the Right Crank Length for You
Selecting the optimal crank length is crucial for enhancing cycling efficiency, power transfer, and comfort. By considering individual factors such as rider height, inseam length, and riding style, cyclists can make informed decisions when choosing a crank length that suits their unique needs. Here are some guidelines and methods for testing and adjusting crank length as needed:
1. Determine your riding style:
Your riding style plays a significant role in selecting the appropriate crank length. For instance, if you specialize in climbing, shorter cranks may be more beneficial, while sprinters and power riders may prefer longer cranks for increased leverage and power output.
2. Measure your inseam length:
Inseam length is a critical factor in determining the optimal crank length. To measure your inseam length, stand with your back against a wall and place a book between your legs, simulating the position of a saddle. Measure the distance from the ground to the top of the book. Use a crank length calculator or consult a bike fit specialist to determine the appropriate crank length based on your inseam length.
3. Test different crank lengths:
If possible, test different crank lengths on a bike trainer or during a short ride to determine which length feels most comfortable and efficient. Pay attention to factors such as pedaling smoothness, knee strain, and overall performance.
4. Adjust and fine-tune:
After selecting a crank length, make any necessary adjustments to the bike, such as saddle height and position, to ensure proper alignment and clearance. Fine-tune the crank length as needed based on your riding experience and feedback from your body.
5. Consult a bike fit specialist:
If you’re unsure about how to measure bicycle crank length or need assistance determining the optimal crank length for your individual needs, consult a bike fit specialist. These professionals can provide personalized recommendations and guidance based on your unique physiology and riding style.
In conclusion, choosing the right crank length is a highly individualized process that requires careful consideration of various factors. By following these guidelines and testing different crank lengths, cyclists can optimize their cycling experience and improve their overall performance.
Fitting Cranks to Your Bike: Adjustment and Installation
Fitting cranks to your bike involves several steps, including installing and adjusting crank arms, chainrings, and bottom brackets. Proper alignment and clearance are crucial for optimal performance and comfort. Here’s a step-by-step guide to fitting cranks to your bike:
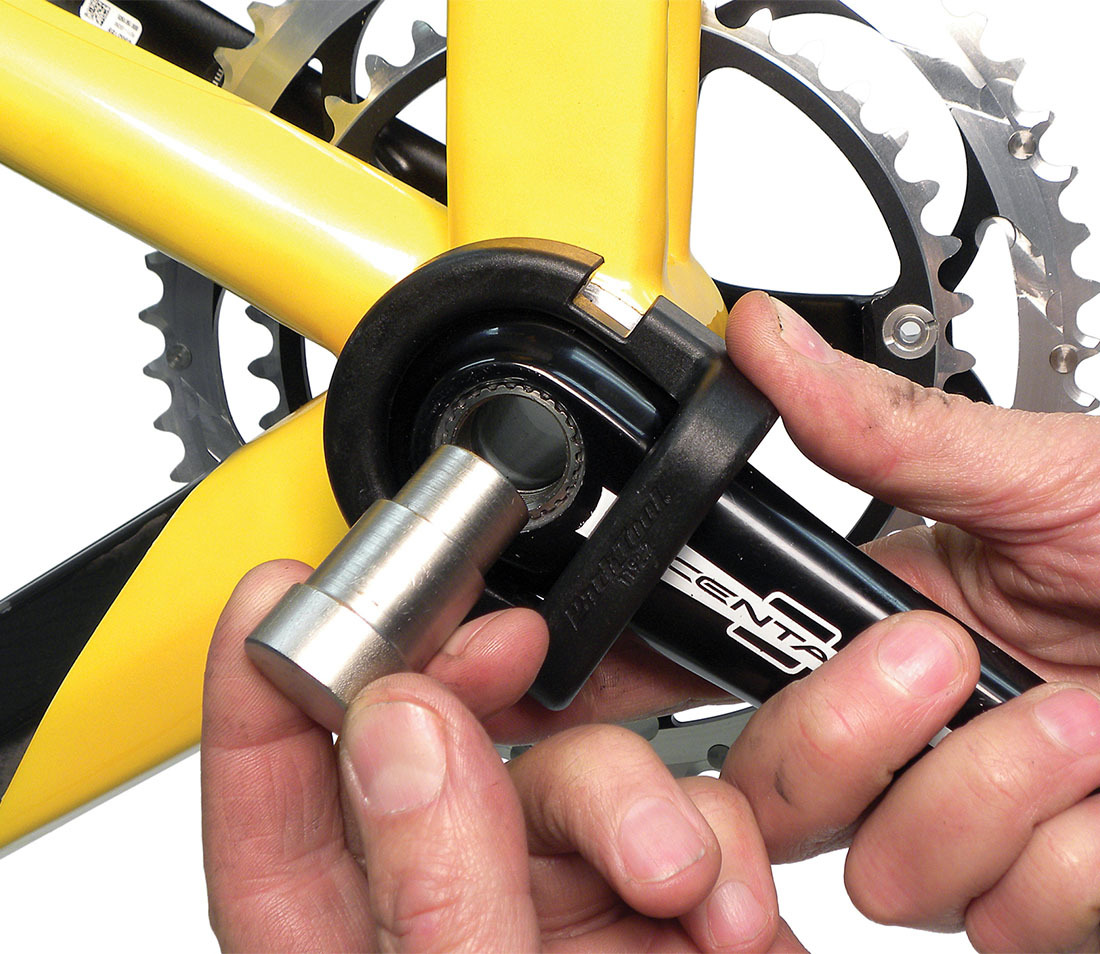
1. Install the bottom bracket:
Before installing the crank arms, ensure that the bottom bracket is properly installed and aligned. Use a bottom bracket tool to tighten the bottom bracket cups to the recommended torque specifications. Make sure that the bottom bracket is centered and perpendicular to the frame.
2. Install the crank arms:
Insert the crank arms into the bottom bracket spindle, ensuring that they are securely fastened and aligned. Use a crank arm installation tool to tighten the crank arms to the recommended torque specifications. Make sure that the crank arms are evenly spaced and aligned with the frame.
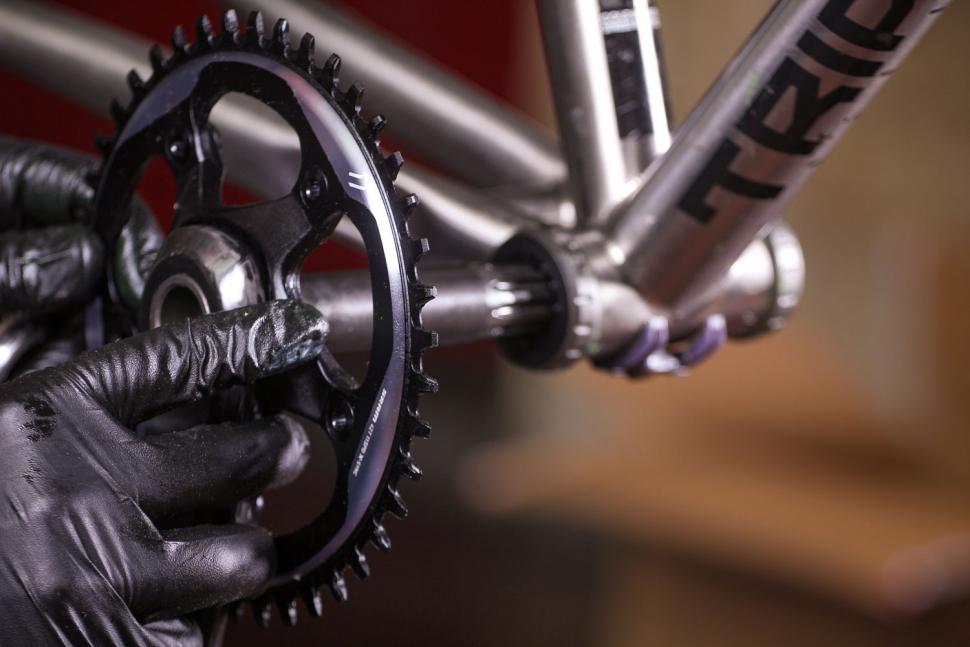
3. Install the chainrings:
Install the chainrings onto the crank arms, ensuring that they are properly aligned and tightened. Use a chainring bolt tool to tighten the chainring bolts to the recommended torque specifications. Make sure that the chainrings are evenly spaced and aligned with the frame and the derailleur.
4. Check for proper alignment and clearance:
Once the crank arms and chainrings are installed, check for proper alignment and clearance. Ensure that the crank arms are parallel to the frame and that there is adequate clearance between the chainstay, the crank arm, and the chainring. Use a ruler or a measuring tape to measure the distance between the chainstay and the crank arm to ensure that there is sufficient clearance.
5. Fine-tune and adjust:
After ensuring proper alignment and clearance, fine-tune and adjust the crank arms and chainrings as needed. Make any necessary adjustments to the saddle height, fore-aft position, and handlebar height to ensure optimal comfort and performance.
In conclusion, fitting cranks to your bike involves several steps, including installing and adjusting crank arms, chainrings, and bottom brackets. Proper alignment and clearance are crucial for optimal performance and comfort. By following these guidelines, cyclists can ensure that their cranks are properly fitted and adjusted for their individual needs and preferences.
Maintaining and Servicing Your Cranks: Tips and Best Practices
Maintaining and servicing your cranks is crucial for ensuring optimal performance, longevity, and safety. Regular cleaning, lubrication, and inspection can help prevent wear and damage, as well as improve the overall riding experience. Here are some tips and best practices for maintaining and servicing your cranks:
1. Clean and lubricate:
Regularly clean your cranks with a mild detergent and warm water to remove dirt, grime, and debris. After cleaning, apply a light lubricant to the crank arms, chainrings, and bottom bracket to reduce friction and wear. Use a high-quality lubricant specifically designed for bicycle components to ensure optimal performance and longevity.
2. Inspect for wear and damage:
Regularly inspect your cranks for signs of wear and damage, such as scratches, dents, or cracks. Check the chainrings for signs of wear, such as uneven or excessive wear, and replace them if necessary. Inspect the bottom bracket for signs of wear, such as play or excessive noise, and replace it if necessary.
3. Tighten bolts and screws:
Regularly check the tightness of the crank arm bolts, chainring bolts, and bottom bracket screws to ensure that they are properly tightened and secure. Use a torque wrench to tighten the bolts and screws to the recommended torque specifications to prevent damage or failure.
4. Adjust pedal tension:
Adjust the pedal tension to ensure optimal performance and comfort. Use a pedal wrench to tighten or loosen the pedal tension as needed. Make sure that the pedals are securely fastened and aligned with the crank arms.
5. Regularly service your bottom bracket:
Regularly service your bottom bracket to ensure optimal performance and longevity. Use a bottom bracket tool to remove the bottom bracket cups, clean and inspect the bearings, and re-grease and reassemble the bottom bracket. Make sure that the bottom bracket is properly aligned and centered with the frame.
In conclusion, maintaining and servicing your cranks is crucial for ensuring optimal performance, longevity, and safety. By following these tips and best practices, cyclists can ensure that their cranks are properly maintained and serviced for their individual needs and preferences. Regular cleaning, lubrication, and inspection can help prevent wear and damage, as well as improve the overall riding experience.
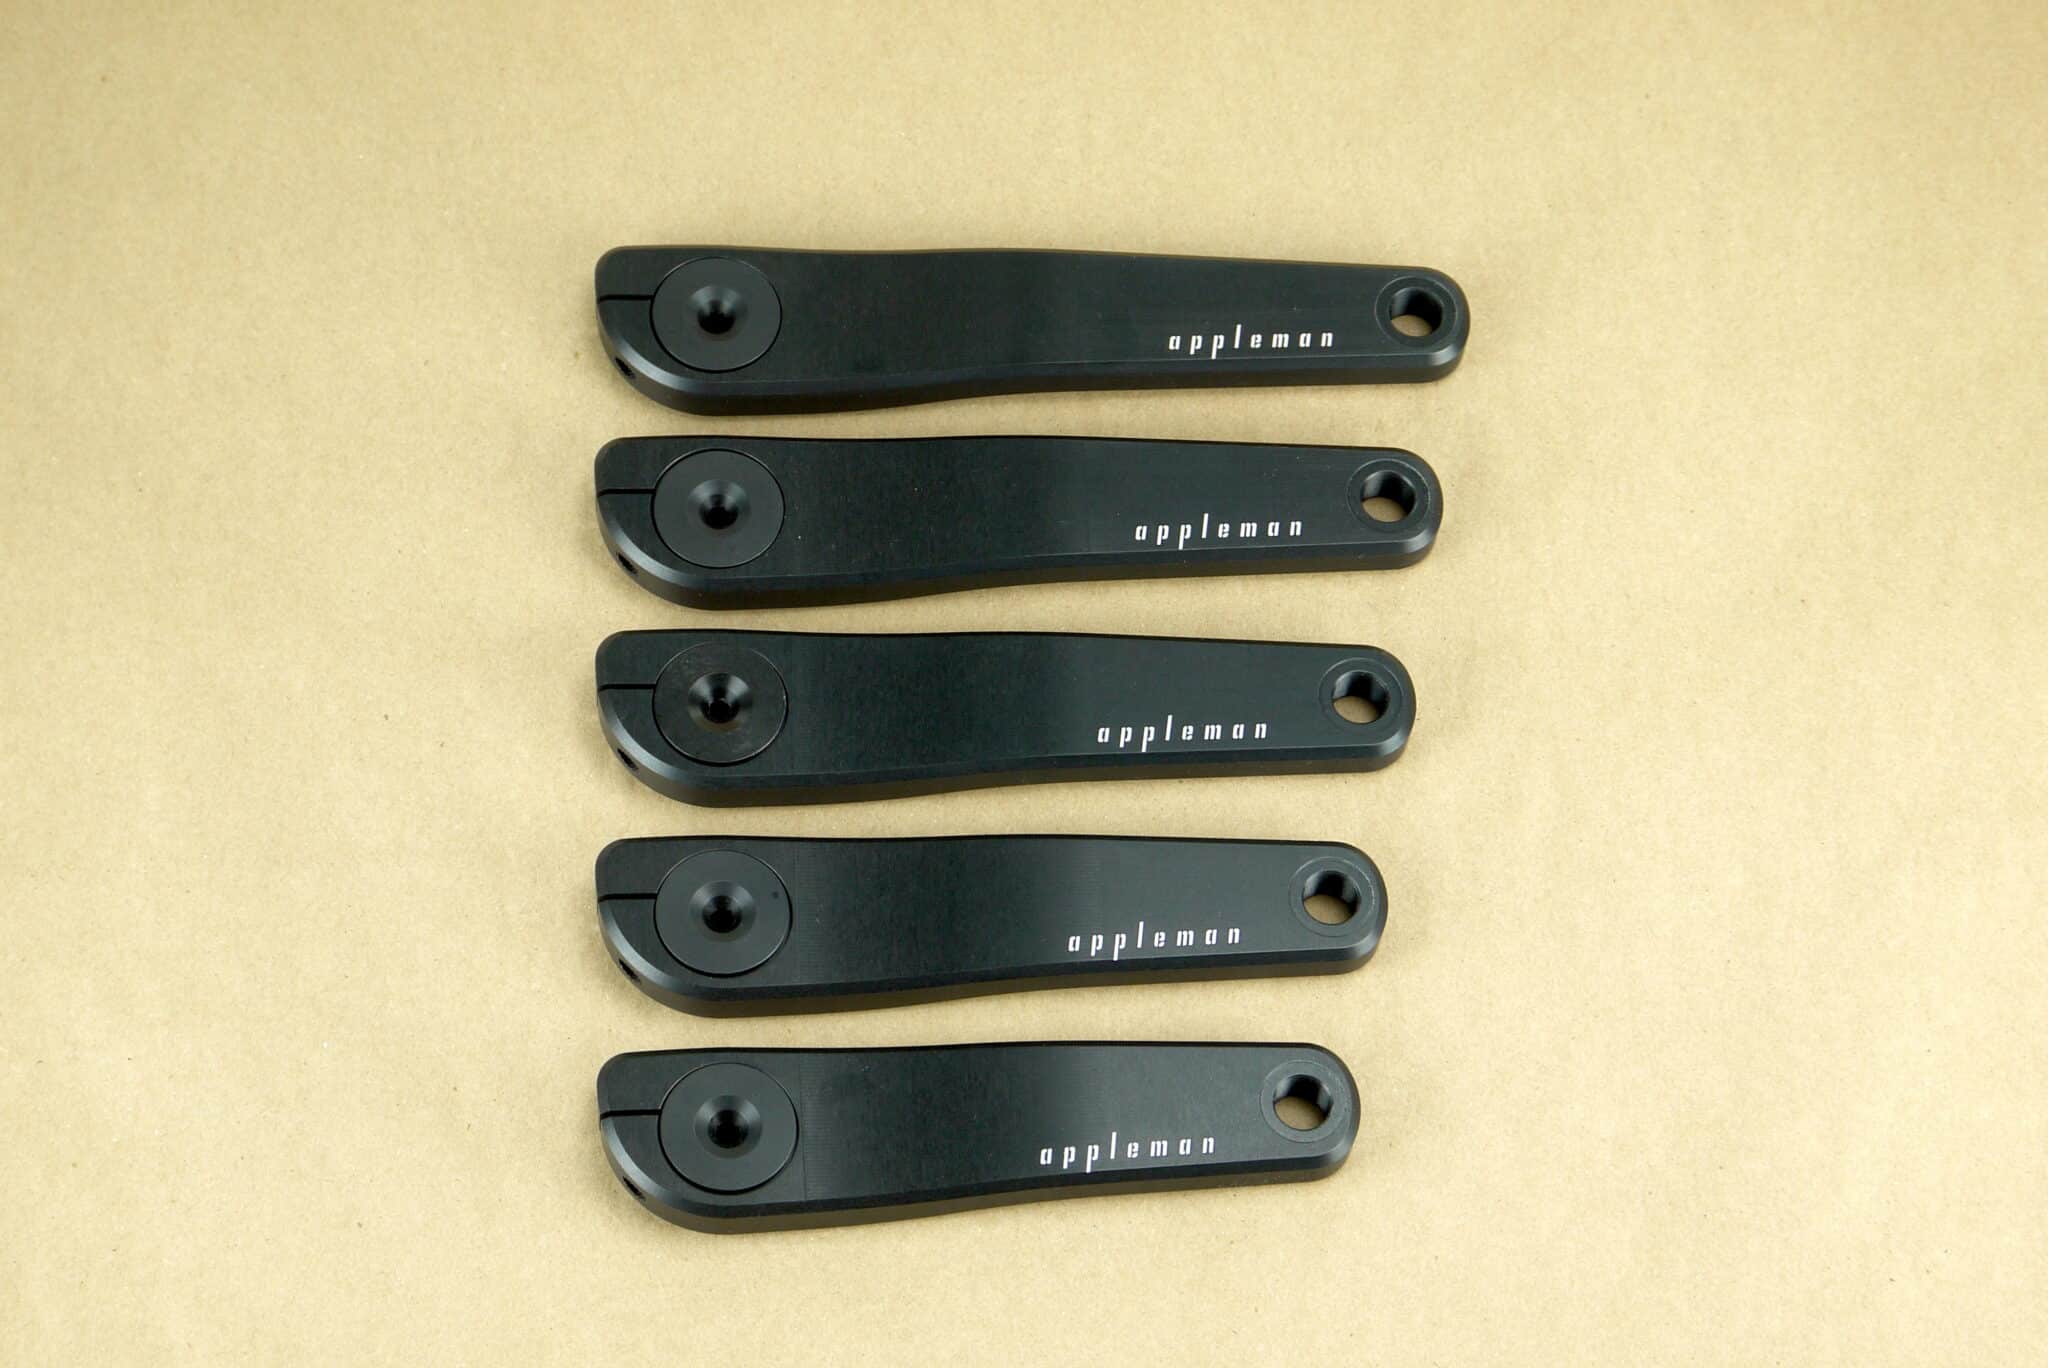
Upgrading or Replacing Your Cranks: Factors to Consider
Upgrading or replacing your cranks can significantly improve your cycling performance and comfort. However, choosing the right cranks can be a daunting task, given the wide variety of options available in the market. Here are some factors to consider when upgrading or replacing your cranks:
1. Material:
Crank arms are typically made of aluminum or carbon fiber. Aluminum cranks are more affordable and durable, while carbon fiber cranks are lighter and stiffer. Choose a material that suits your budget, performance goals, and riding style.
2. Weight:
Weight is an essential factor to consider when upgrading or replacing your cranks. Lighter cranks can improve your power-to-weight ratio and acceleration, while heavier cranks can provide more stability and durability. Choose a crank set that strikes a balance between weight and durability.
3. Stiffness:
Stiffness is another critical factor to consider when upgrading or replacing your cranks. Stiffer cranks can improve your power transfer and pedaling efficiency, while more flexible cranks can provide more comfort and shock absorption. Choose a crank set that provides the right balance between stiffness and comfort for your individual needs and preferences.
4. Compatibility:
Ensure that the new cranks are compatible with your existing bottom bracket, chainrings, and pedals. Check the manufacturer’s specifications and consult with a bike mechanic if necessary. Make sure that the new cranks are properly installed and aligned with the frame and the other components.
5. Popular crank models and brands:
Some popular crank models and brands in the market include Shimano, SRAM, Campagnolo, FSA, Rotor, and Race Face. These brands offer a wide variety of crank sets with different materials, weights, stiffnesses, and compatibility options. Research and compare the different options to find the best crank set for your individual needs and preferences.
In conclusion, upgrading or replacing your cranks can significantly improve your cycling performance and comfort. Consider the material, weight, stiffness, compatibility, and popular crank models and brands when choosing a new crank set. By selecting the right cranks for your individual needs and preferences, you can enhance your cycling experience and achieve your performance goals.