
The Art of Pumping a Bike: An Overview
Pumping a bike tire is an essential skill for any cyclist, as maintaining the correct tire pressure is crucial for safety, efficiency, and ride quality. Properly inflated tires reduce the risk of punctures, minimize rolling resistance, and ensure optimal control and handling. To master this skill, you’ll need a suitable bicycle pump and a basic understanding of the process.

Click Image to Find eBike Products

Selecting the Right Bicycle Pump: A Product-Focused Approach
When learning how to pump a bike, selecting the appropriate bicycle pump is vital. Various types of pumps cater to different needs and preferences. Here are some options to consider:
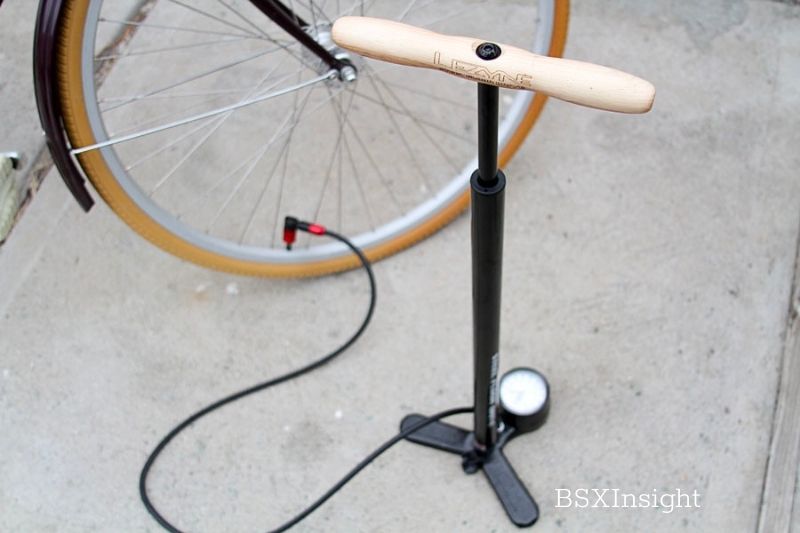
- Floor pumps: Also known as track pumps, these are ideal for home use due to their high-volume and high-pressure capabilities. Look for models with a built-in pressure gauge and a wide, stable base for convenience and ease of use.
- Hand pumps: Compact and portable, hand pumps are perfect for on-the-go inflation needs. Some models can inflate both Presta and Schrader valves, making them a versatile choice for cyclists.
- CO2 inflators: These inflators use disposable cartridges filled with compressed CO2 gas to quickly inflate tires. They are an excellent option for emergency situations, but their limited use and higher cost may not make them suitable for regular inflation needs.
For instance, the Lezyne Classic Floor Drive is a popular floor pump with a steel barrel, piston, and foot plate, ensuring durability and stability. It features an accurate pressure gauge and a long hose for easy access to valves. For a hand pump alternative, the Topeak Mini Morph is a compact, versatile choice with a fold-out footpad and integrated pressure gauge. Lastly, the Genuine Innovations Ultraflate is a reliable CO2 inflator with a durable construction and easy-to-use design.

Understanding Bicycle Tire Valves: A Crucial Step
Before diving into the process of how to pump a bike, understanding the two main types of bicycle tire valves is essential: Presta and Schrader. These valves differ in size, construction, and operation, requiring specific techniques when connecting a pump.
Presta Valves
Presta valves, also known as French valves, are thin and have a removable core with a tight-sealing nut. They are commonly found on high-pressure road and racing bicycle tires.
Schrader Valves
Schrader valves, also used in automobiles, are wider and more robust than Presta valves. They have a spring-loaded check valve and are typically found on mountain bikes, hybrid bikes, and children’s bikes.
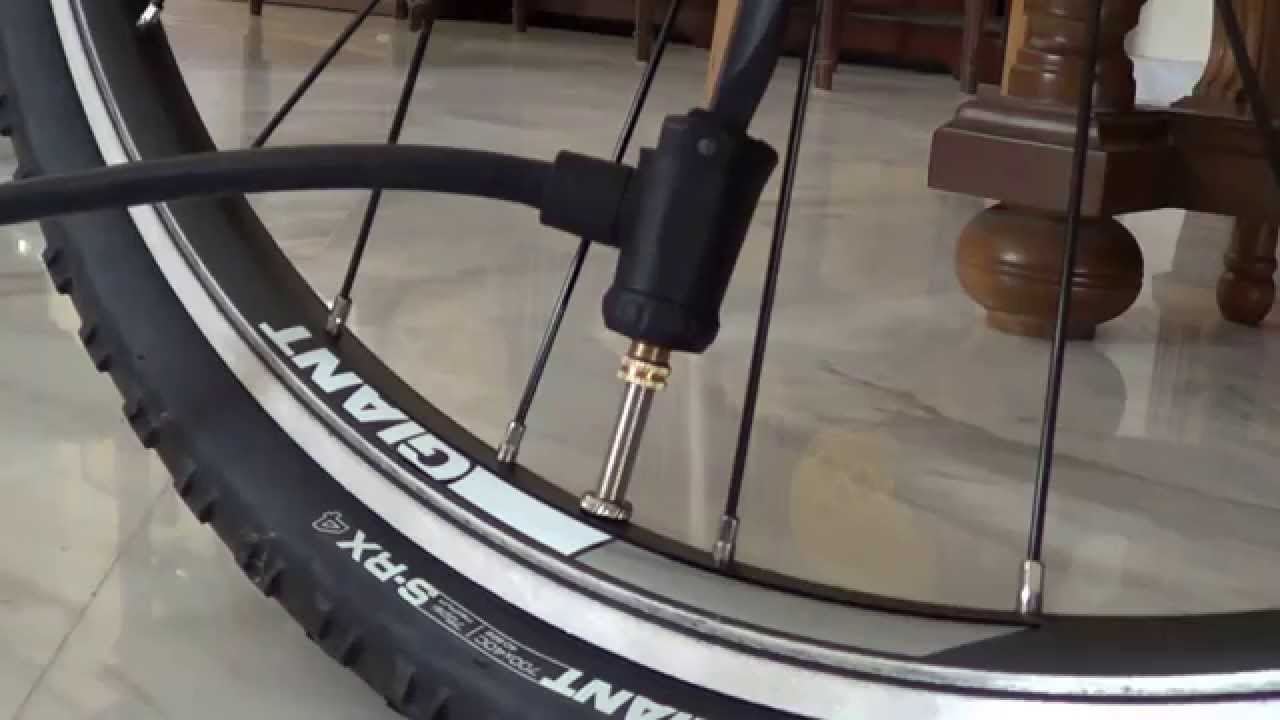
Connecting a Pump to Valves
To connect a pump to a Presta valve, unscrew the small nut at the top, press down on the valve core to release any air trapped inside, and then attach the pump nozzle. For a Schrader valve, simply remove the valve cap, press the pump nozzle onto the valve, and start inflating.

Preparing Your Bicycle Tire for Inflation: Step-by-Step Instructions
To ensure a smooth inflation process, follow these steps to prepare your bicycle tire:
- Remove the valve cap: Unscrew and set aside the valve cap to expose the valve for inflation.
- Press the valve core (Presta valves only): If your Presta valve has a removable core, press it gently to release any trapped air inside the tire.
- Attach the pump nozzle securely: Connect the pump nozzle to the valve by pressing it firmly onto the Schrader valve or unscrewing the small nut at the top of the Presta valve and then attaching the pump nozzle.
Now that your tire is prepared, you can proceed with inflating it to the recommended pressure.
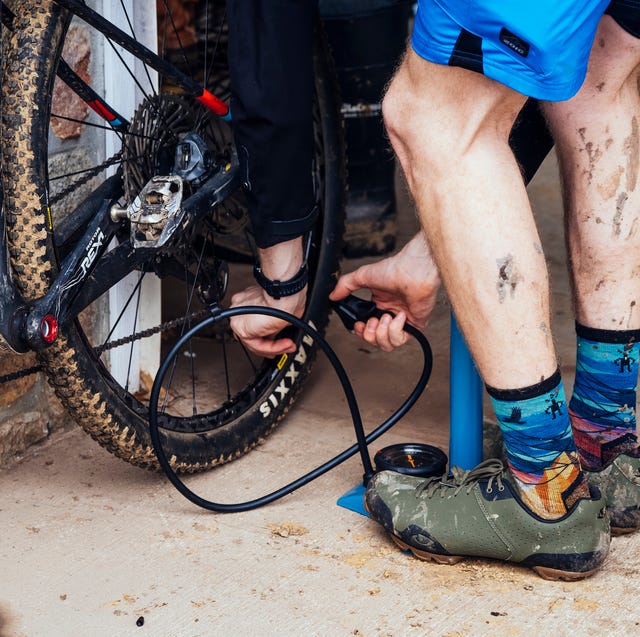
Inflating the Bicycle Tire: Achieving the Perfect Pressure
Maintaining the correct tire pressure is crucial for a safe, efficient, and comfortable ride. The recommended tire pressure range varies depending on the type of bicycle and the rider’s weight. Here are some general guidelines:
- Road bikes: Typically require 80 to 130 psi (pounds per square inch) for optimal performance and minimal rolling resistance.
- Mountain bikes: Generally need 25 to 50 psi for better traction and shock absorption on rough terrains.
- Hybrid bikes: Usually require 50 to 70 psi, balancing comfort, efficiency, and grip on various surfaces.
- BMX bikes: Generally demand 30 to 65 psi, depending on the riding style and terrain.
To ensure the tire reaches the desired pressure without over-inflation, monitor the pressure while inflating the tire. Most pumps come with built-in pressure gauges, making it easy to check the pressure. If your pump doesn’t have a gauge, consider investing in a separate tire pressure gauge for accurate readings.

Post-Inflation Checks: Ensuring a Safe and Smooth Ride
After successfully inflating your bicycle tire to the recommended pressure, a few essential post-inflation checks will help ensure a safe and smooth ride. These steps include:
- Re-tightening the pump nozzle: Ensure the pump nozzle is securely fastened to the valve to prevent any air leaks.
- Reattaching the valve cap: Screw the valve cap back onto the valve to protect it from dirt and damage.
- Performing a quick spin: Spin the wheel to guarantee it’s seated properly on the rim and that the tire is centered. This step helps avoid rubbing against the brake pads or rim, which can lead to premature wear and potential safety issues.
By following these simple post-inflation checks, you can enjoy a safe and comfortable ride, knowing your bicycle tires are in optimal condition.
Troubleshooting Common Issues: A Practical Guide
Even with the right tools and knowledge, you may encounter issues when inflating your bicycle tire. Here are some common problems and practical solutions to help you troubleshoot and get back on the road:
- Leaks: If you hear a hissing sound while inflating, it could indicate a leak. To locate the leak, submerge the tire in water and look for bubbles. Once found, use a tire patch kit to fix the puncture. Always check for debris or sharp objects that may have caused the leak before re-inflating the tire.
- Slow leaks: If your tire loses pressure over time, it might be due to a slow leak. Inspect the tire and rim for damage, and ensure the valve is functioning correctly. If the issue persists, consider taking your bike to a professional for further inspection.
- Difficulty attaching the pump nozzle: If you’re having trouble connecting the pump nozzle to the valve, ensure the valve is open and the pump nozzle is compatible with the valve type. For Presta valves, make sure the small nut is unscrewed before attaching the pump nozzle.
By understanding these common issues and their solutions, you can confidently tackle any problems that arise during the tire inflation process.
Maintaining Your Bicycle Pump: Keeping It in Top Condition
Taking proper care of your bicycle pump is essential for its longevity and effectiveness. Here are some tips to help you maintain your pump and ensure it remains in top condition:
- Storing the pump: Store your pump in a cool, dry place away from direct sunlight and extreme temperatures. This helps prevent damage to the pump’s seals, hoses, and internal components.
- Cleaning the pump: Regularly clean your pump, especially after using it in dirty or muddy conditions. Use a damp cloth to wipe down the exterior and a soft brush to clean any debris from the pump nozzle and hose.
- Checking for wear and tear: Inspect your pump regularly for signs of wear and tear, such as cracks, leaks, or damaged seals. Replace any worn-out parts promptly to prevent further damage to the pump.
- Servicing the pump: Have your pump serviced periodically by a professional, especially if it’s a high-end model with advanced features. Regular servicing ensures the pump’s internal mechanisms are functioning optimally and can help extend its lifespan.
By following these simple maintenance tips, you can keep your bicycle pump in excellent condition and ensure it’s ready for use whenever you need it.