
Why Removing Your Cassette is Crucial for Bike Performance
Regular cassette removal is a vital aspect of bike maintenance, as it directly impacts bike performance, gear shifting, and overall ride quality. A dirty or worn-out cassette can lead to poor gear shifting, reduced power transfer, and a less enjoyable ride. By removing your cassette, you can clean and inspect the components, identifying any signs of wear and tear. This proactive approach helps prevent costly repairs, reduces the risk of component failure, and keeps your bike in top condition. In fact, learning how to remove a bicycle cassette is a crucial skill for any serious cyclist, as it allows you to perform routine maintenance and repairs. By doing so, you can ensure your bike is always running smoothly, efficiently, and safely.

Click Image to Find eBike Products
Preparing Your Tools and Workspace
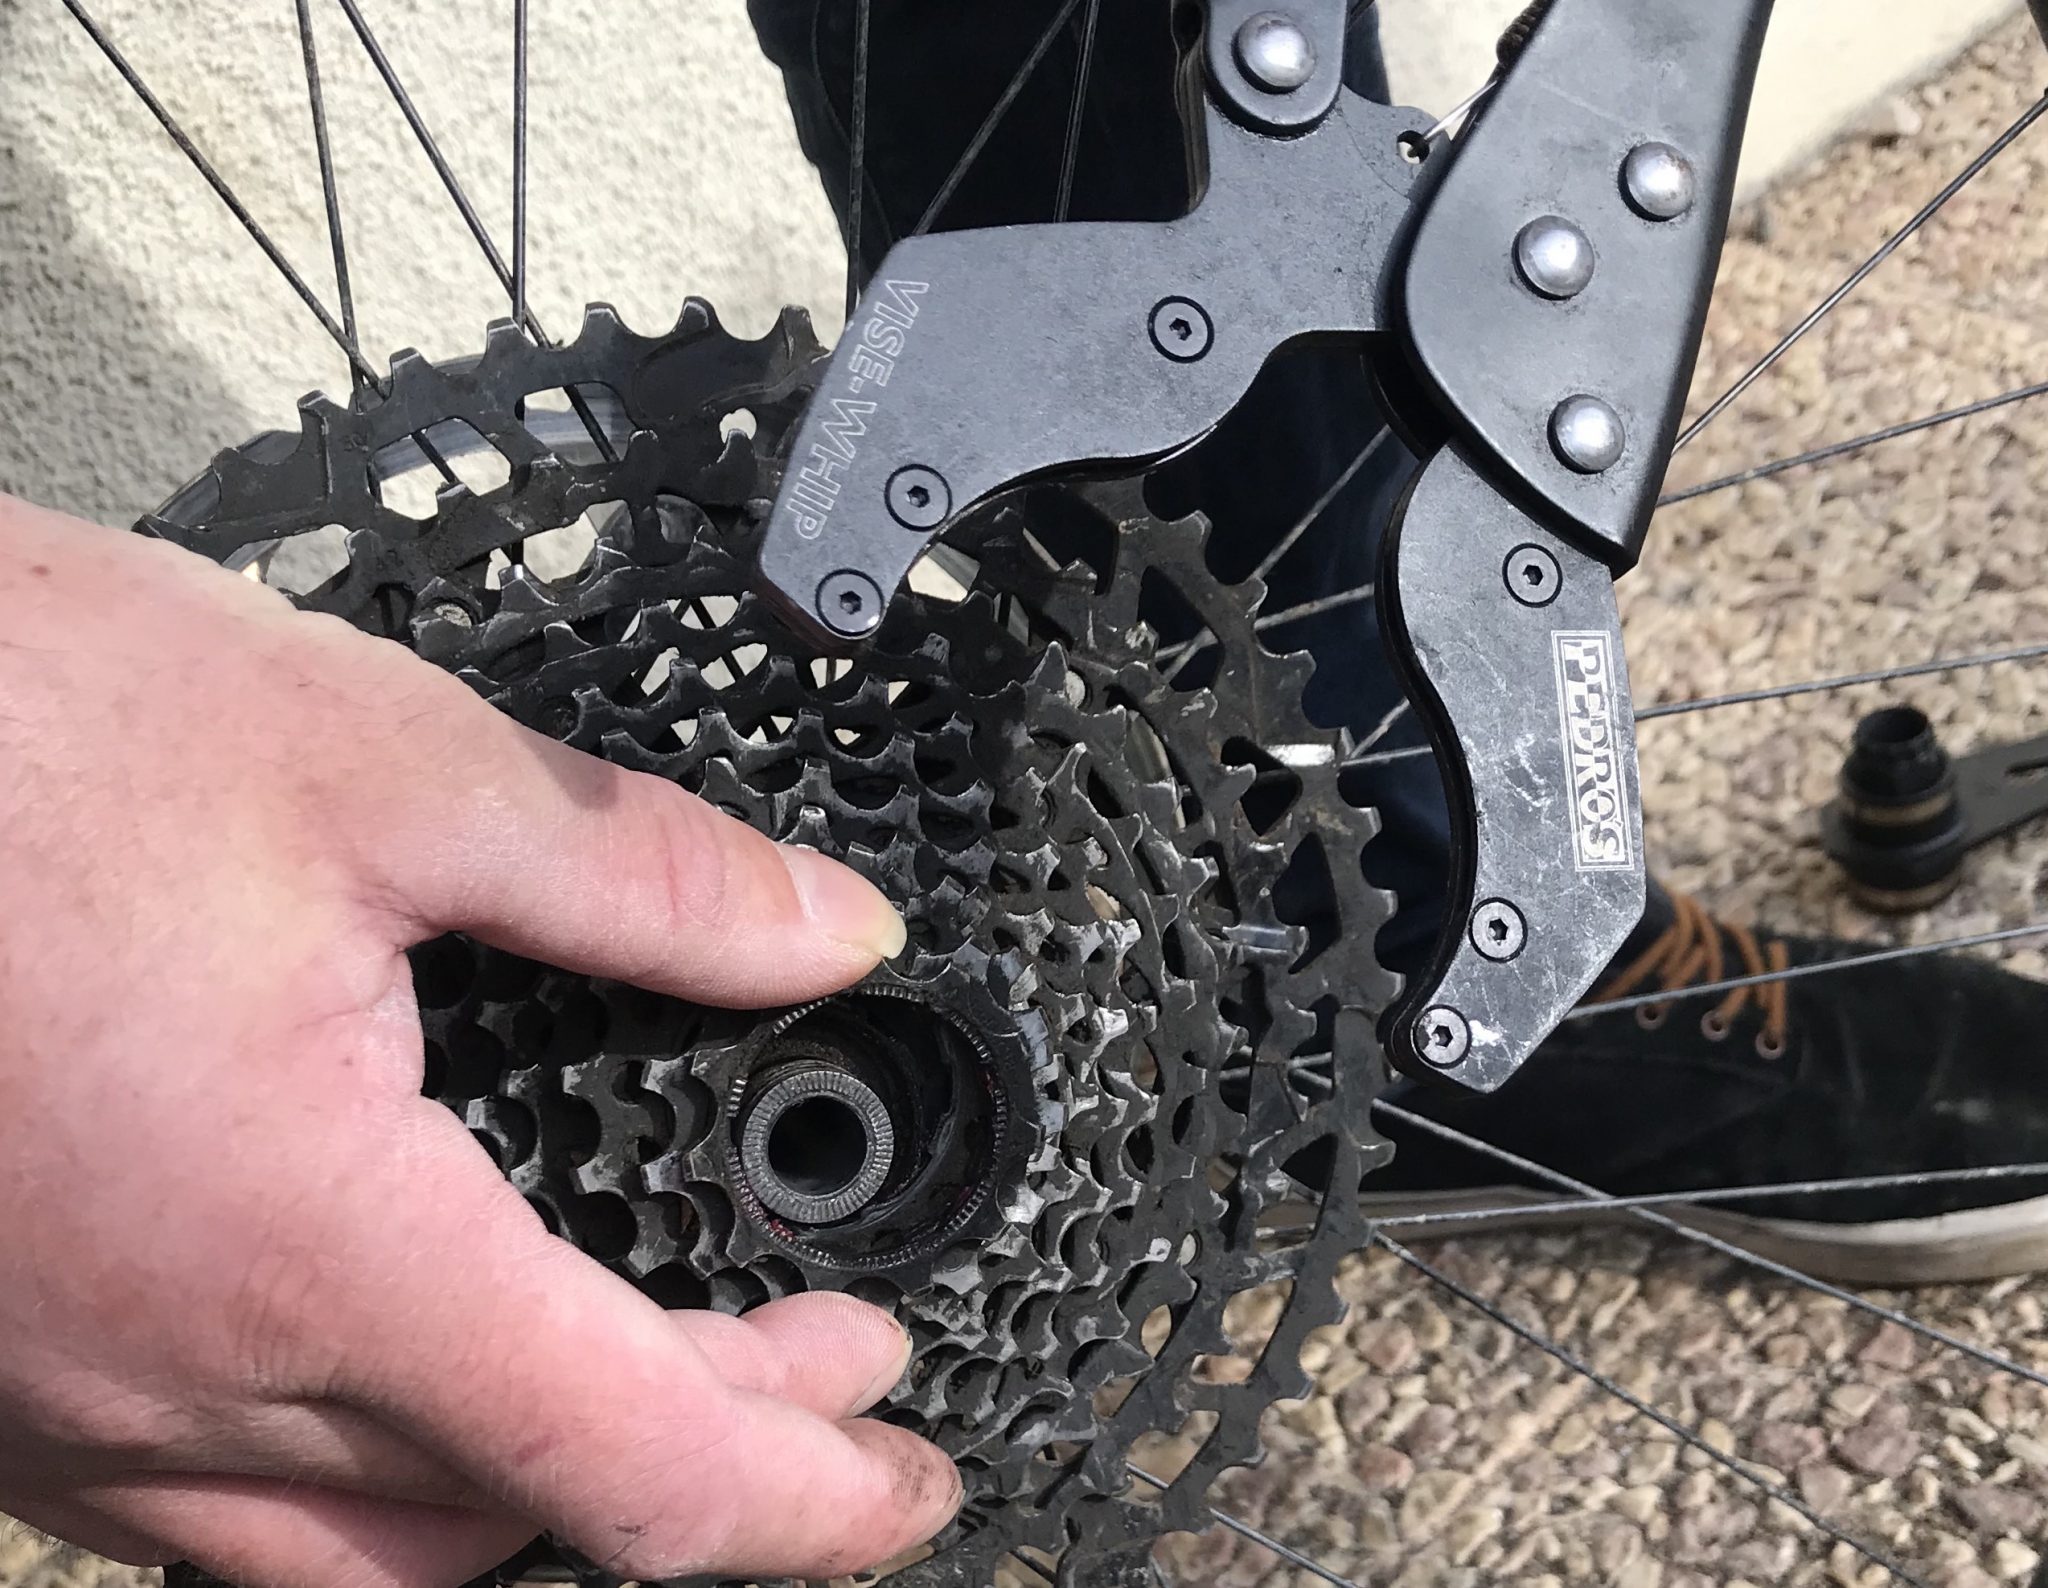
Before diving into the process of how to remove a bicycle cassette, it’s essential to prepare your tools and workspace. Having the right tools and a clean, organized workspace will make the process much smoother and reduce the risk of errors. The essential tools needed to remove a bicycle cassette include a cassette removal tool, chain whip, and gloves. The cassette removal tool is specifically designed to fit onto the cassette and provide the necessary leverage to loosen the lockring. A chain whip is used to hold the cassette in place while removing the lockring, and gloves will protect your hands from scratches and abrasions. When setting up your workspace, make sure it’s clean, dry, and free from any obstructions. Lay out a soft cloth or old towel to protect your bike’s components and prevent any damage. Having a well-organized workspace will also help you stay focused and avoid misplacing any tools or components.

Understanding Cassette Types and Compatibility
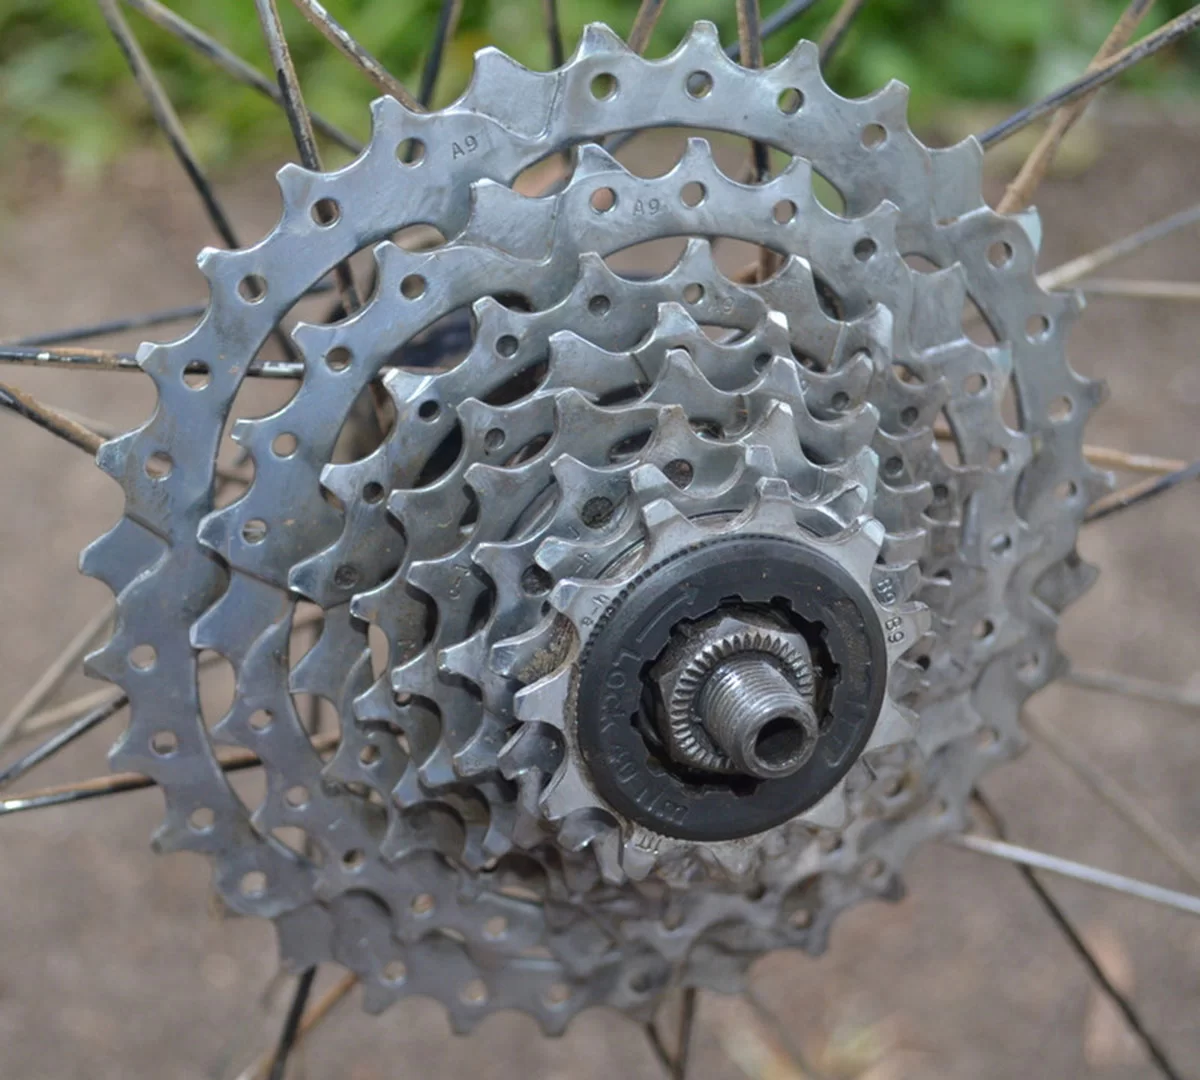
When it comes to learning how to remove a bicycle cassette, it’s essential to understand the different types of cassettes and their compatibility with various bike models and components. The three main types of cassettes are Shimano, SRAM, and Campagnolo, each with its unique design and specifications. Shimano cassettes are known for their Hyperglide technology, which provides smooth shifting and improved durability. SRAM cassettes, on the other hand, feature a PowerGlide design, offering a more gradual shift transition. Campagnolo cassettes are renowned for their high-quality materials and precise shifting. To identify the correct cassette type for your bike, consult your bike’s manual or manufacturer’s website. Additionally, inspect the cassette itself for any markings or labels indicating the brand and model. Understanding the specific requirements of your cassette will ensure a successful removal process and prevent any potential damage to your bike’s components.
Removing the Cassette: A Step-by-Step Process
Now that you have prepared your tools and workspace, and understand the type of cassette you have, it’s time to learn how to remove a bicycle cassette. This process requires patience, attention to detail, and the right tools. Follow these steps to successfully remove your cassette:
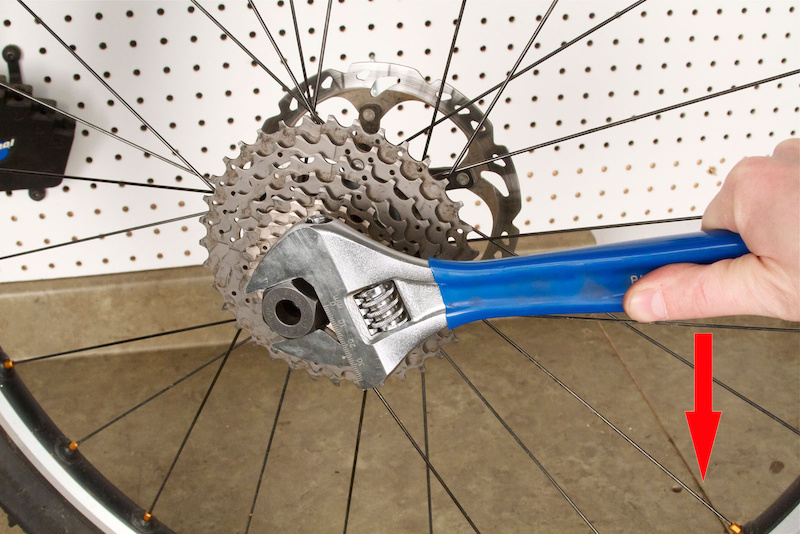
Step 1: Loosen the Lockring – Attach the cassette removal tool to the lockring and turn it counterclockwise. Apply gentle pressure to avoid damaging the threads. Continue loosening the lockring until it’s completely removed.
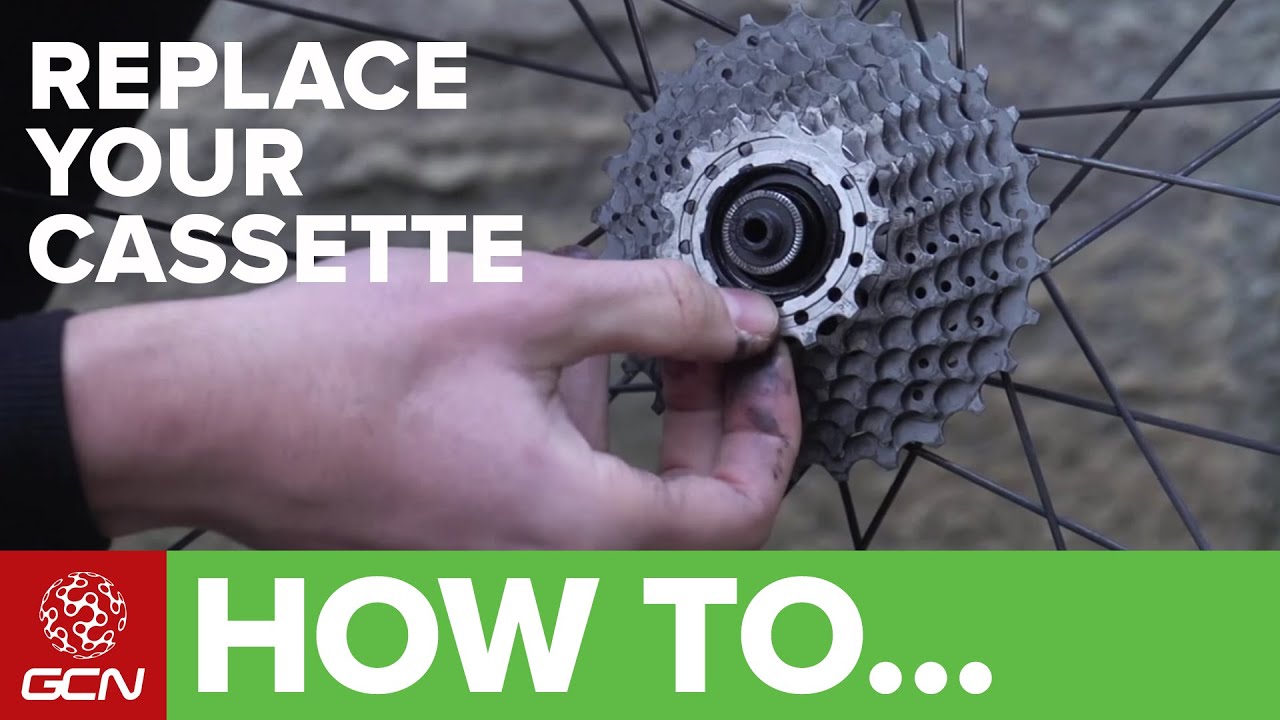
Step 2: Remove the Cassette – With the lockring removed, gently pull the cassette away from the freehub body. Be careful not to touch the cassette’s teeth or the freehub body to prevent damage or contamination.
Step 3: Clean the Freehub Body – Use a soft brush or cloth to remove any dirt, grime, or old lubricant from the freehub body. This will ensure a clean surface for reinstallation.
By following these steps, you’ll be able to successfully remove your bicycle cassette, giving you access to clean and maintain this critical component. Remember to handle the cassette and freehub body with care to avoid damage and ensure a smooth reinstallation process. Learning how to remove a bicycle cassette is a crucial skill for any cyclist, and with practice, you’ll be able to do it with ease.
Troubleshooting Common Issues and Errors
When learning how to remove a bicycle cassette, it’s essential to be aware of common problems that may arise during the process. By understanding these potential issues, you can take preventative measures to avoid them and ensure a successful removal.
Stuck Cassettes – If your cassette is stuck to the freehub body, apply penetrating oil to the area and let it sit for a few hours. Then, try loosening the lockring again. If it’s still stuck, consider taking your bike to a professional mechanic.
Damaged Threads – To avoid damaging the threads on your freehub body, make sure to use the correct cassette removal tool and follow the manufacturer’s instructions. If the threads are damaged, you may need to replace the freehub body.
Incorrect Tool Usage – Using the wrong tool or applying too much force can damage your cassette or freehub body. Always use the correct tool and follow the manufacturer’s instructions to avoid any damage.
Other common issues that may arise during cassette removal include misaligned cassettes, worn-out lockrings, and inadequate lubrication. By being aware of these potential problems, you can take steps to prevent them and ensure a smooth removal process. Remember, learning how to remove a bicycle cassette takes practice and patience, so don’t be discouraged if you encounter any issues along the way.
Cleaning and Inspecting Your Cassette and Freehub
After successfully removing your bicycle cassette, it’s essential to clean and inspect the cassette and freehub to ensure optimal performance and extend their lifespan. This step is crucial in maintaining your bike’s overall ride quality and gear shifting.
Start by cleaning the cassette and freehub using a soft-bristled brush and a mild detergent. Remove any dirt, grime, or old lubricant that may have accumulated on the surfaces. Be gentle when cleaning the cassette’s teeth and the freehub body to avoid damaging them.
Once clean, inspect the cassette and freehub for signs of wear and tear. Check for worn-out teeth, rust, or corrosion on the cassette, and look for any scoring or damage on the freehub body. If you notice any damage, consider replacing the affected components to ensure smooth gear shifting and optimal performance.
Regular cleaning and inspection of your cassette and freehub can help prevent common issues that may arise during cassette removal, such as stuck cassettes or damaged threads. By staying on top of maintenance, you’ll be able to enjoy a smooth and efficient ride, and extend the lifespan of your bike’s components. Remember, learning how to remove a bicycle cassette is just the first step in maintaining your bike’s optimal performance.
Reinstalling Your Cassette: Tips and Best Practices
After cleaning and inspecting your cassette and freehub, it’s time to reinstall the cassette. This step requires attention to detail to ensure proper installation and optimal performance. Follow these tips and best practices to reinstall your cassette correctly.
First, apply a thin layer of lubricant to the freehub body and the cassette’s splines. This will help reduce friction and wear on the components. Next, align the cassette with the freehub body, making sure it’s properly seated and centered.
Use a torque wrench to tighten the lockring to the recommended specification. Be careful not to overtighten, as this can damage the threads or the cassette. Once the lockring is secure, use a chain whip to ensure the cassette is properly aligned and seated.
Double-check that the cassette is properly installed by shifting through the gears and checking for any unusual noises or resistance. If everything feels smooth and quiet, you’ve successfully reinstalled your cassette.
Remember, precise installation is crucial for optimal performance and to prevent common issues that may arise during cassette removal. By following these tips and best practices, you’ll be able to enjoy a smooth and efficient ride, and extend the lifespan of your bike’s components. Learning how to remove a bicycle cassette is just the first step in maintaining your bike’s optimal performance.
Maintenance and Upkeep: Keeping Your Cassette Running Smoothly
To ensure your cassette continues to perform optimally, regular maintenance is crucial. By incorporating these simple tasks into your bike maintenance routine, you’ll be able to enjoy a smooth and efficient ride, and extend the lifespan of your bike’s components.
Regular cleaning is essential to prevent dirt and grime from accumulating on the cassette and freehub. Use a soft-bristled brush and mild detergent to clean the cassette’s teeth and the freehub body. Be sure to dry the components thoroughly to prevent water spots and corrosion.
Lubrication is also critical to reduce friction and wear on the cassette and freehub. Apply a thin layer of lubricant to the cassette’s splines and the freehub body, and wipe off any excess with a clean cloth.
Inspecting your cassette and freehub regularly can help identify signs of wear and tear before they become major issues. Check for worn-out teeth, rust, or corrosion on the cassette, and look for any scoring or damage on the freehub body. If you notice any damage, consider replacing the affected components to ensure smooth gear shifting and optimal performance.
By following these simple maintenance tasks, you’ll be able to keep your cassette running smoothly and efficiently. Remember, learning how to remove a bicycle cassette is just the first step in maintaining your bike’s optimal performance. Regular maintenance and upkeep are essential to ensure your bike continues to perform at its best.