Why You Need to Know How to Remove Your Rear Wheel
Regular bike maintenance is crucial to ensure a smooth and safe ride. One of the most critical skills to master is knowing how to remove and reinstall your rear wheel. This fundamental skill allows you to perform various tasks, such as cleaning and lubricating the chain, replacing worn-out tires, and making adjustments to the derailleur. By learning how to remove bike rear wheel, you can extend the lifespan of your bike’s components, improve its overall performance, and reduce the risk of mechanical failures. Moreover, being able to remove and reinstall your rear wheel gives you the confidence to tackle more complex bike maintenance tasks, making you a more self-sufficient and independent cyclist. In fact, knowing how to remove bike rear wheel is an essential skill that can save you time and money in the long run, as it allows you to perform routine maintenance tasks without relying on a professional mechanic.
Preparation is Key: Gathering Essential Tools and Equipment
Before attempting to remove the rear wheel, it’s crucial to gather the necessary tools and equipment to ensure a smooth and safe process. The essential tools required for this task include a bike stand, which allows you to elevate the bike and access the rear wheel easily. Additionally, you’ll need tire levers, which are used to pry the tire off the rim, and a quick-release or thru-axle tool, depending on the type of wheel your bike has. Having these tools at your disposal will make the process of removing the rear wheel much easier and less frustrating. Furthermore, it’s recommended to have a clean and well-lit workspace, as well as a pair of gloves to protect your hands from dirt and grime. By being properly prepared, you’ll be able to focus on the task at hand and avoid any potential pitfalls that may arise during the process of how to remove bike rear wheel.
How to Remove the Rear Wheel: A Step-by-Step Process
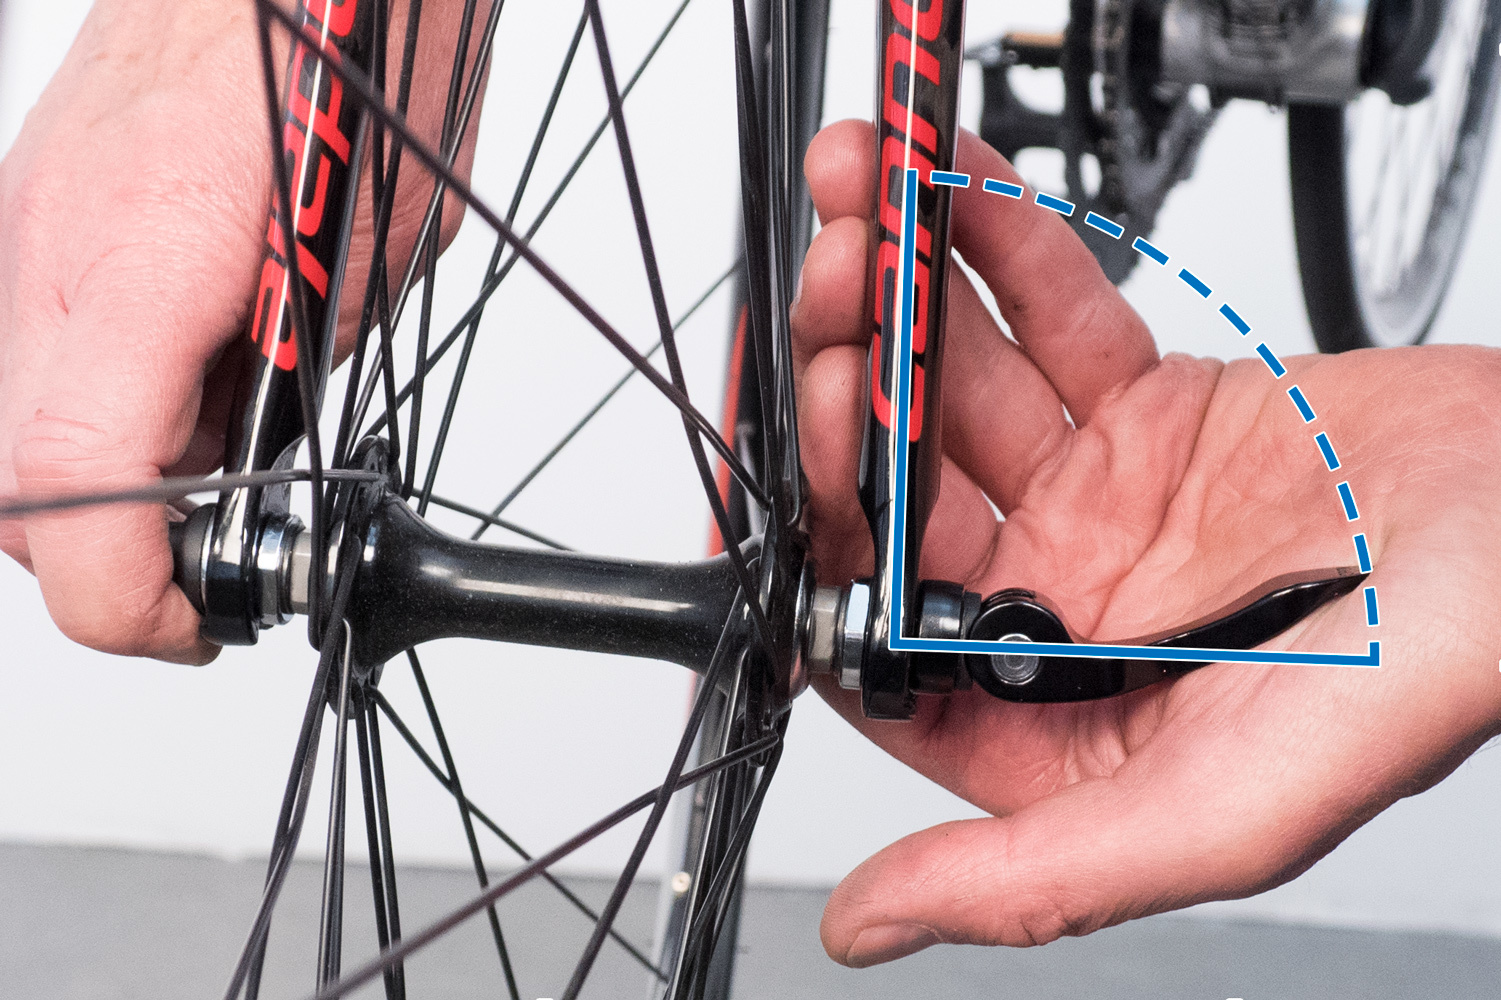
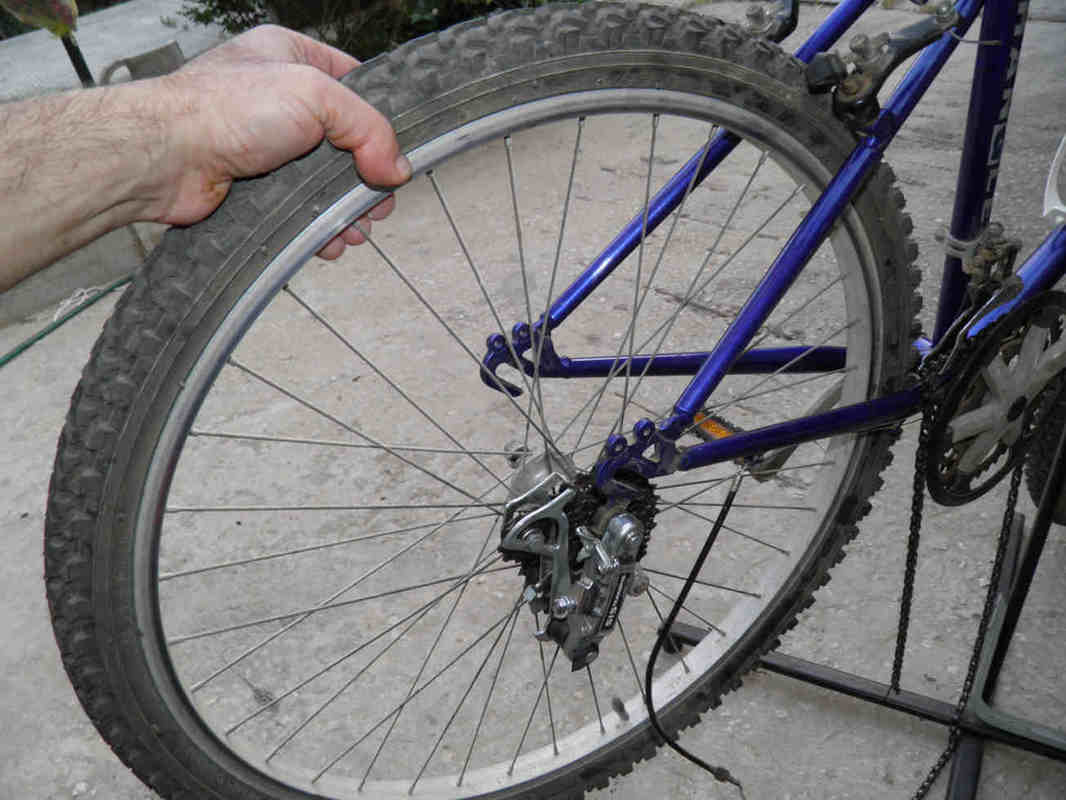
Now that you have gathered the necessary tools and equipment, it’s time to begin the process of removing the rear wheel. To start, shift the bike into the smallest gear to make it easier to remove the wheel. Next, locate the nuts or quick-release mechanism that holds the wheel in place. If your bike has nuts, loosen them by turning them counterclockwise. If your bike has a quick-release mechanism, turn the lever counterclockwise to release the tension. Once the nuts or quick-release are loose, lift the wheel off the bike, taking care not to touch the brake pads or rotor. For bikes with thru-axle wheels, you may need to remove the axle nuts or bolts before lifting the wheel off. When learning how to remove bike rear wheel, it’s essential to be patient and gentle to avoid damaging any components. With the wheel removed, you can now perform tasks such as cleaning and lubricating the chain, replacing worn-out tires, or making adjustments to the derailleur.
Troubleshooting Common Issues: Overcoming Obstacles
When learning how to remove bike rear wheel, it’s not uncommon to encounter some obstacles along the way. One common issue is stuck nuts or bolts, which can make it difficult to remove the wheel. To overcome this, try applying penetrating oil to the affected area and letting it sit for a few minutes before attempting to remove the nuts or bolts again. Another issue that may arise is seized bearings, which can cause the wheel to become stuck in place. In this case, try using a bearing puller or taking the bike to a professional mechanic for assistance. Additionally, if the quick-release mechanism is stuck, try wiggling the lever back and forth while applying gentle pressure to release the tension. By being aware of these potential issues and knowing how to overcome them, you’ll be better equipped to successfully remove the rear wheel and perform necessary maintenance tasks.
Reinstalling the Rear Wheel: Tips and Tricks
Once you’ve completed the necessary maintenance tasks, it’s time to reinstall the rear wheel. To ensure a smooth and safe ride, follow these tips and tricks. First, make sure the wheel is properly aligned with the frame and that the nuts or quick-release are securely tightened. Next, check the brakes to ensure they are functioning properly and not rubbing against the wheel. When learning how to remove bike rear wheel, it’s essential to remember that reinstalling the wheel is just as important as removing it. Take your time and double-check your work to avoid any issues on the road or trail. Additionally, consider lubricating the quick-release or thru-axle to ensure smooth operation and prevent corrosion. By following these tips and tricks, you’ll be able to reinstall the rear wheel with confidence and get back to riding in no time.
Additional Tips for Specific Bike Types
While the general process of removing and reinstalling the rear wheel remains the same, there are some specific considerations to keep in mind depending on the type of bike you own. For road bikes, it’s essential to ensure the quick-release is securely tightened to prevent the wheel from coming loose during high-speed riding. Mountain bikes, on the other hand, often require more clearance between the wheel and the frame, so be sure to check the manufacturer’s specifications before reinstalling the wheel. Hybrid bikes may have unique requirements for the thru-axle or quick-release, so consult the owner’s manual or manufacturer’s website for specific guidance. Additionally, if you have a bike with disc brakes, be sure to check the brake pads and rotors for wear and damage before reinstalling the wheel. By understanding the specific needs of your bike, you’ll be able to master the process of how to remove bike rear wheel and get back to riding with confidence.
Conclusion: Mastering Rear Wheel Removal for a Smoother Ride
Mastering the process of how to remove bike rear wheel is an essential skill for any cyclist. By following the steps outlined in this guide, you’ll be able to remove and reinstall your rear wheel with confidence, ensuring your bike is running smoothly and efficiently. Regular maintenance is key to extending the life of your bike and preventing costly repairs. By learning how to remove bike rear wheel, you’ll be able to perform routine tasks such as cleaning and lubricating the chain, and replacing worn-out tires. Remember to practice patience and caution when working with your bike, and don’t hesitate to seek professional help if you’re unsure about any part of the process. With time and practice, you’ll become proficient in removing and reinstalling your rear wheel, and be able to enjoy a smoother, more enjoyable ride.
Maintenance Checklist: A Quick Reference Guide
To ensure a smooth and successful rear wheel removal and reinstallation, follow this concise checklist:
- Gather essential tools and equipment, including a bike stand, tire levers, and a quick-release or thru-axle tool.
- Release the nuts or quick-release, and lift the wheel off the bike.
- Inspect the wheel and surrounding components for wear and damage.
- Perform necessary maintenance tasks, such as cleaning and lubricating the chain, and replacing worn-out tires.
- Ensure proper alignment when reinstalling the rear wheel.
- Tighten the nuts or quick-release securely, but avoid over-tightening.
- Check the brakes to ensure proper function.
- Test the bike to ensure a smooth ride and proper function.
By following this checklist, you’ll be able to confidently remove and reinstall your rear wheel, and keep your bike running smoothly and efficiently. Remember to practice regularly to master the process of how to remove bike rear wheel and enjoy a smoother ride.


