
Understanding the Basics: Why You May Need to Remove Your Bike’s Front Wheel
Removing the front wheel of a bicycle is a common task that many cyclists will encounter at some point. Whether you need to fix a flat tire, perform routine cleaning and maintenance, or make adjustments to your bike’s components, knowing how to remove the front wheel efficiently and safely is essential. This guide will walk you through the process, addressing various aspects and considerations to ensure a smooth and secure wheel removal experience.

Click Image to Find eBike Products

Tools and Equipment Required for Front Wheel Removal
To successfully remove the front wheel of a bicycle, you’ll need a few essential tools and equipment. These components ensure a smooth and secure wheel removal process, making it crucial to use quality tools. Here’s a list of what you’ll need:
- Quick-release lever or wrench: Depending on your bike’s configuration, you may need a quick-release lever or a wrench to loosen the axle nut. Quick-release levers are typically found on higher-end bikes, while wrenches are more common on entry-level models.
- Brake caliper release tool (if applicable): Some bikes have caliper brakes that require a release tool to disengage the brake pads from the rim. This tool is especially important when dealing with cantilever or side-pull brakes.
- Safety equipment: Although not directly related to the wheel removal process, wearing protective gear, such as gloves and safety glasses, is always a good idea. This equipment safeguards you from potential injuries caused by sharp edges or flying debris during the removal process.
By investing in high-quality tools and safety equipment, you can ensure a hassle-free and secure front wheel removal experience.
Step-by-Step Guide to Removing the Front Bike Wheel
Follow these steps to safely and efficiently remove the front wheel of your bicycle:
- Prepare your bike: Place your bike on a stable, flat surface, such as a repair stand or a sturdy table. This setup ensures that the bike remains secure during the removal process.
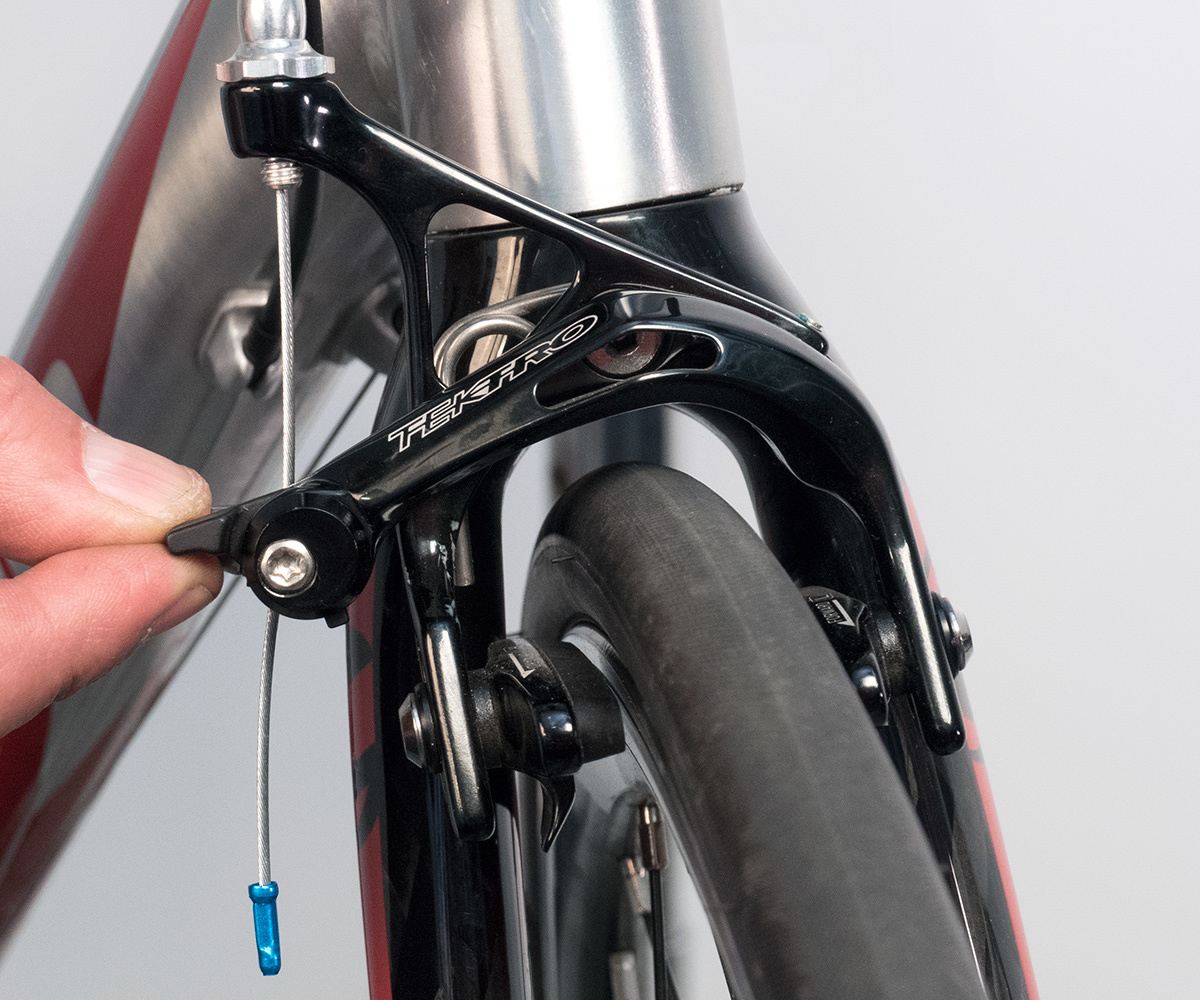
- Release the brake caliper: If your bike has rim brakes, squeeze the brake caliper to disengage the brake pads from the rim. Some bikes may require a brake caliper release tool for this step. Once the brake pads are clear of the rim, hold the caliper in the open position.
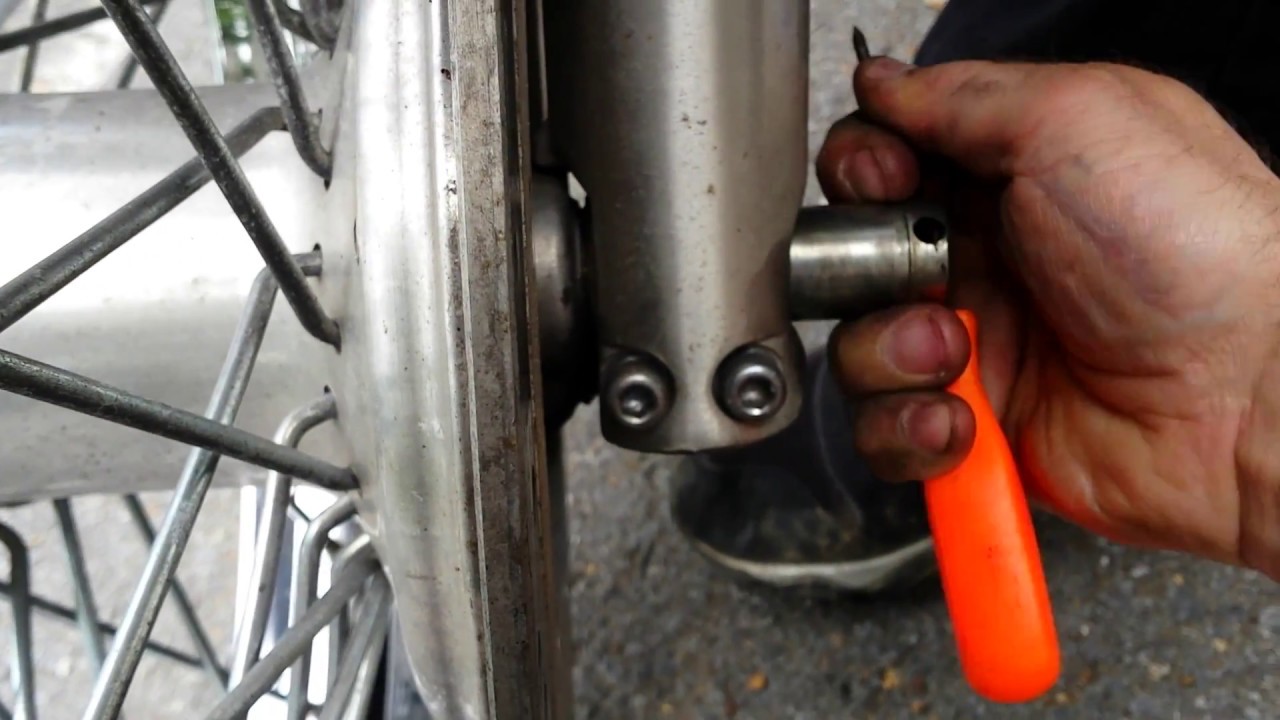
- Loosen the quick-release lever or axle nut: Using a quick-release lever or a wrench, loosen the axle nut on the left side of the front fork. Remember to turn the lever or wrench counterclockwise to loosen the nut. For quick-release levers, completely open the lever to its fullest extent.
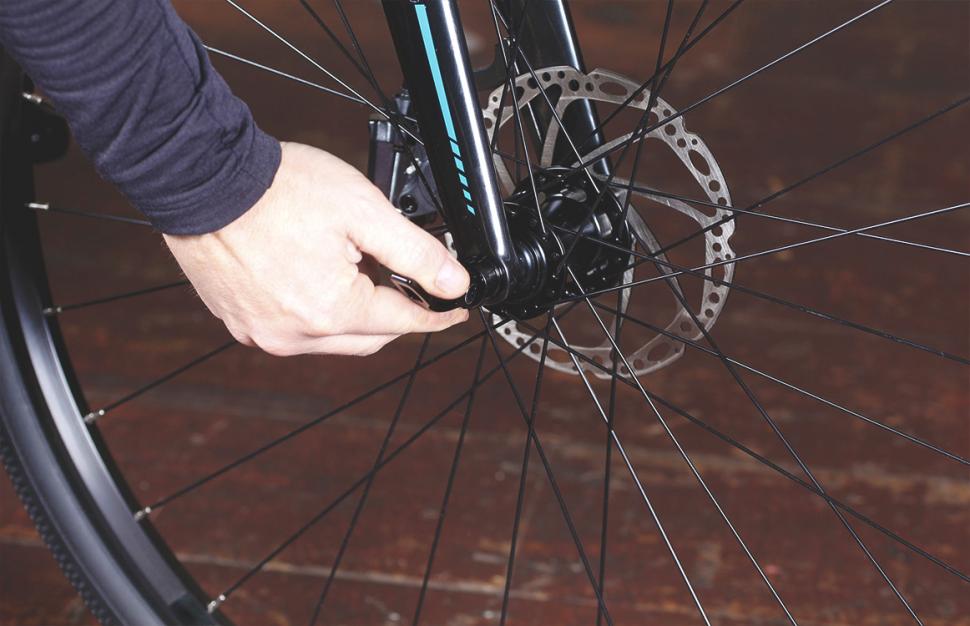
- Support the bike: Carefully lift the bike by the frame, supporting its weight with one hand. Use your other hand to gently pull the front wheel out of the fork.
- Remove the wheel: Once the wheel is free from the fork, set the bike down and remove the wheel completely. Be mindful of any cables or housing that may be attached to the wheel, as you may need to disconnect them for certain maintenance tasks.
By following these steps, you can successfully remove the front wheel of your bicycle. Remember to use quality tools and take necessary safety precautions throughout the process.
Troubleshooting Common Issues During Front Wheel Removal
Even with the right tools and knowledge, you may encounter some challenges while removing the front wheel of your bicycle. Here are some common issues and practical solutions to help you overcome them:
- Stuck quick-release lever: If your quick-release lever is stuck, try tapping it gently with a rubber mallet or using a penetrating oil, such as WD-40, to loosen the mechanism. Be patient, as it may take some time for the oil to penetrate the lever.
- Tight brake caliper: If the brake caliper is too tight to disengage from the rim, try using a brake caliper release tool or a flathead screwdriver to carefully pry the pads apart. Be cautious not to damage the brake pads or rim during this process.
- Stubborn axle nut: If the axle nut is difficult to loosen, try applying penetrating oil and letting it sit for a few minutes. Use a properly sized wrench and apply steady, firm force to break the nut loose. If the nut still won’t budge, consider using a strap wrench or pipe wrench for additional leverage.
By anticipating these common issues and knowing how to address them, you can ensure a smooth front wheel removal process.
Reattaching the Front Wheel: Ensuring a Secure Fit
Once you’ve completed your necessary maintenance or repairs, it’s time to reattach the front wheel to your bicycle. Follow these steps to ensure a secure fit:
- Align the wheel: Position the wheel in the fork so that the axle is centered and the wheel is properly aligned. The rotor (if applicable) should be centered between the brake pads, and the wheel should spin freely without touching the frame or fork.
- Secure the axle nut or quick-release lever: For bikes with a quick-release lever, close the lever while ensuring that the wheel is still properly aligned. Use a torque wrench to tighten the axle nut to the manufacturer’s recommended torque for bikes with a traditional axle nut system.
- Reconnect the brake caliper: Carefully release the brake caliper, allowing it to gently clamp onto the rim. Make sure the brake pads are properly aligned and centered on the rim. Test the brake function by squeezing the brake lever and checking for even pad contact.
- Spin the wheel: Spin the wheel to ensure it rotates smoothly and evenly. Address any issues with wheel trueness, spoke tension, or bearing play before continuing to ride the bike.
By following these steps, you can successfully reattach the front wheel of your bicycle and ensure a secure fit. Remember to always double-check your work and perform regular bike maintenance to keep your bicycle in optimal condition.
Maintaining Your Bike After Removing the Front Wheel
Regular bike maintenance is crucial to ensure your bicycle remains safe, efficient, and enjoyable to ride. After removing and reattaching the front wheel, it’s essential to perform routine checks and adjustments to maintain optimal performance. Here are some aspects to consider:
- Wheel trueness: Inspect the wheel for any signs of wobbling or lateral movement. A wobbly wheel can lead to poor performance, increased wear on components, and even unsafe riding conditions. If you notice any issues with wheel trueness, consider using a truing stand and spoke wrench to true the wheel yourself or consult a professional mechanic.
- Spoke tension: Check the tension of the spokes to ensure they are evenly tightened. Proper spoke tension is critical for wheel stability and longevity. If you find inconsistencies in spoke tension, consider adjusting the tension yourself or seeking professional assistance.
- Bearing play: Examine the wheel bearings for any signs of play or roughness. Excessive bearing play can result in poor wheel performance and reduced lifespan. If you detect bearing play, you may need to repack the bearings with fresh grease or replace them entirely.
By regularly checking and addressing these aspects, you can maintain your bike’s performance and extend the lifespan of its components. Remember to consult your bike’s user manual or a professional mechanic for specific maintenance guidelines and recommendations.
Practicing Safety When Removing and Reattaching Your Front Bike Wheel
Safety should always be a top priority when working on your bicycle. By following these guidelines, you can minimize potential risks and ensure a secure and enjoyable riding experience:
- Use appropriate tools: Invest in high-quality tools designed for bicycle maintenance. This not only ensures a smoother and more efficient process but also reduces the risk of damaging your bike or causing personal injury.
- Wear protective gear: Whenever you work on your bike, consider wearing protective gear, such as safety glasses, gloves, and closed-toe shoes. This equipment can shield you from sharp edges, flying debris, and other hazards.
- Work in a well-ventilated area: Ensure that you have adequate ventilation when working on your bike, especially if you are using chemicals, such as penetrating oil or grease. A well-ventilated space can help prevent respiratory issues and other health concerns.
- Consult your bike’s user manual: Always refer to your bike’s user manual for specific guidelines and recommendations related to maintenance and safety. Following the manufacturer’s instructions can help prevent damage to your bike and ensure a safer working environment.
- Seek professional assistance: If you are unsure about any aspect of bike maintenance or repair, consider consulting a professional mechanic. A trained professional can provide expert guidance, perform the work safely, and help you avoid potential pitfalls.
By following these safety guidelines, you can protect yourself and your bicycle while removing and reattaching the front wheel. Remember, a well-maintained bike is a safe and enjoyable bike.