Understanding the Presta Valve System
The Presta valve system is a type of valve stem used in bicycle tires, particularly in high-pressure applications such as road bikes and track bikes. This valve system offers several advantages over other types of valve stems, including a more secure seal, easier inflation, and a lower risk of valve damage. However, like any mechanical component, the Presta valve system can be prone to issues that may require the removal of the valve core, such as leaks or difficulty inflating. In fact, knowing how to remove the Presta valve core is an essential skill for any cyclist or bike mechanic, as it allows for proper maintenance and troubleshooting of the valve system. By understanding the inner workings of the Presta valve system, cyclists can ensure a smooth ride and prevent common issues that may arise from a malfunctioning valve.
Why Remove the Presta Valve Core?
Removing the Presta valve core is a crucial step in maintaining the overall health and performance of a bicycle tire. There are several reasons why cyclists may need to remove the valve core, including cleaning or replacing the valve, and troubleshooting common problems. For instance, if the valve is clogged with dirt or debris, removing the core allows for a thorough cleaning to restore proper airflow. Additionally, if the valve is damaged or worn out, removing the core enables replacement with a new one. Furthermore, knowing how to remove the Presta valve core is essential for diagnosing and fixing issues such as leaks or difficulty inflating, which can be a major inconvenience for cyclists. By understanding the reasons behind valve core removal, cyclists can take proactive steps to ensure their tires are always in top condition.
Essential Tools and Materials Needed
Before attempting to remove the Presta valve core, it’s crucial to gather the necessary tools and materials to ensure a smooth and successful process. The following items are essential for removing the Presta valve core:
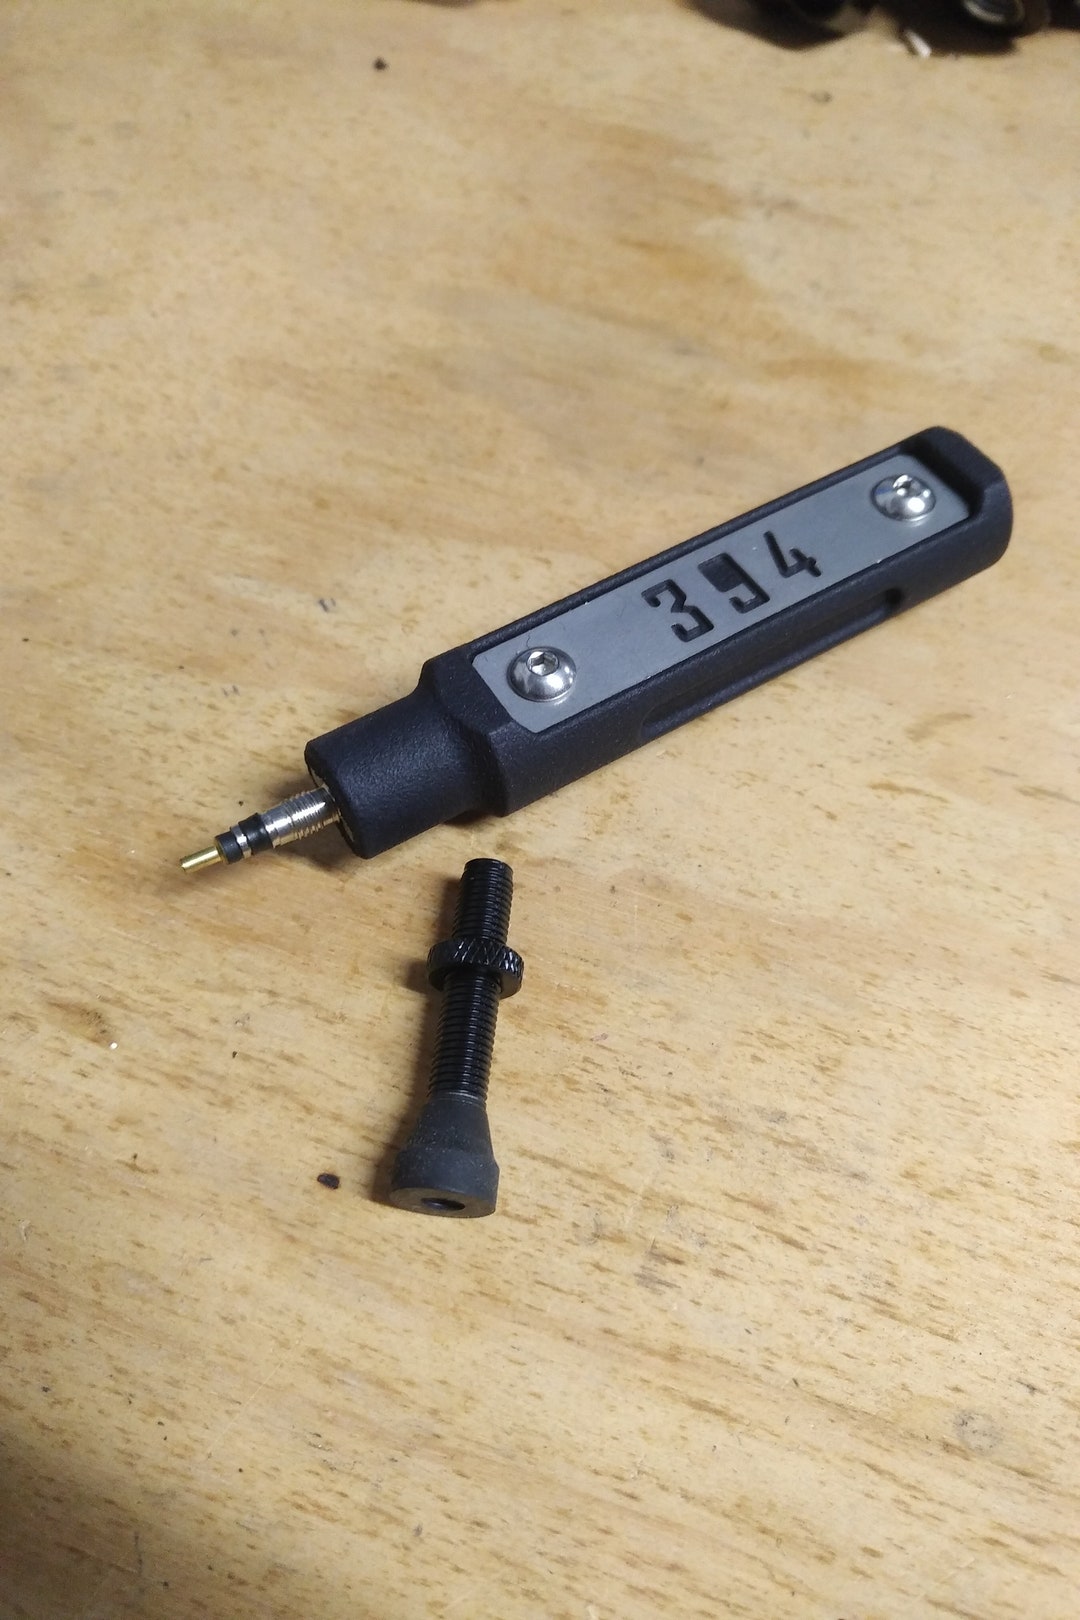
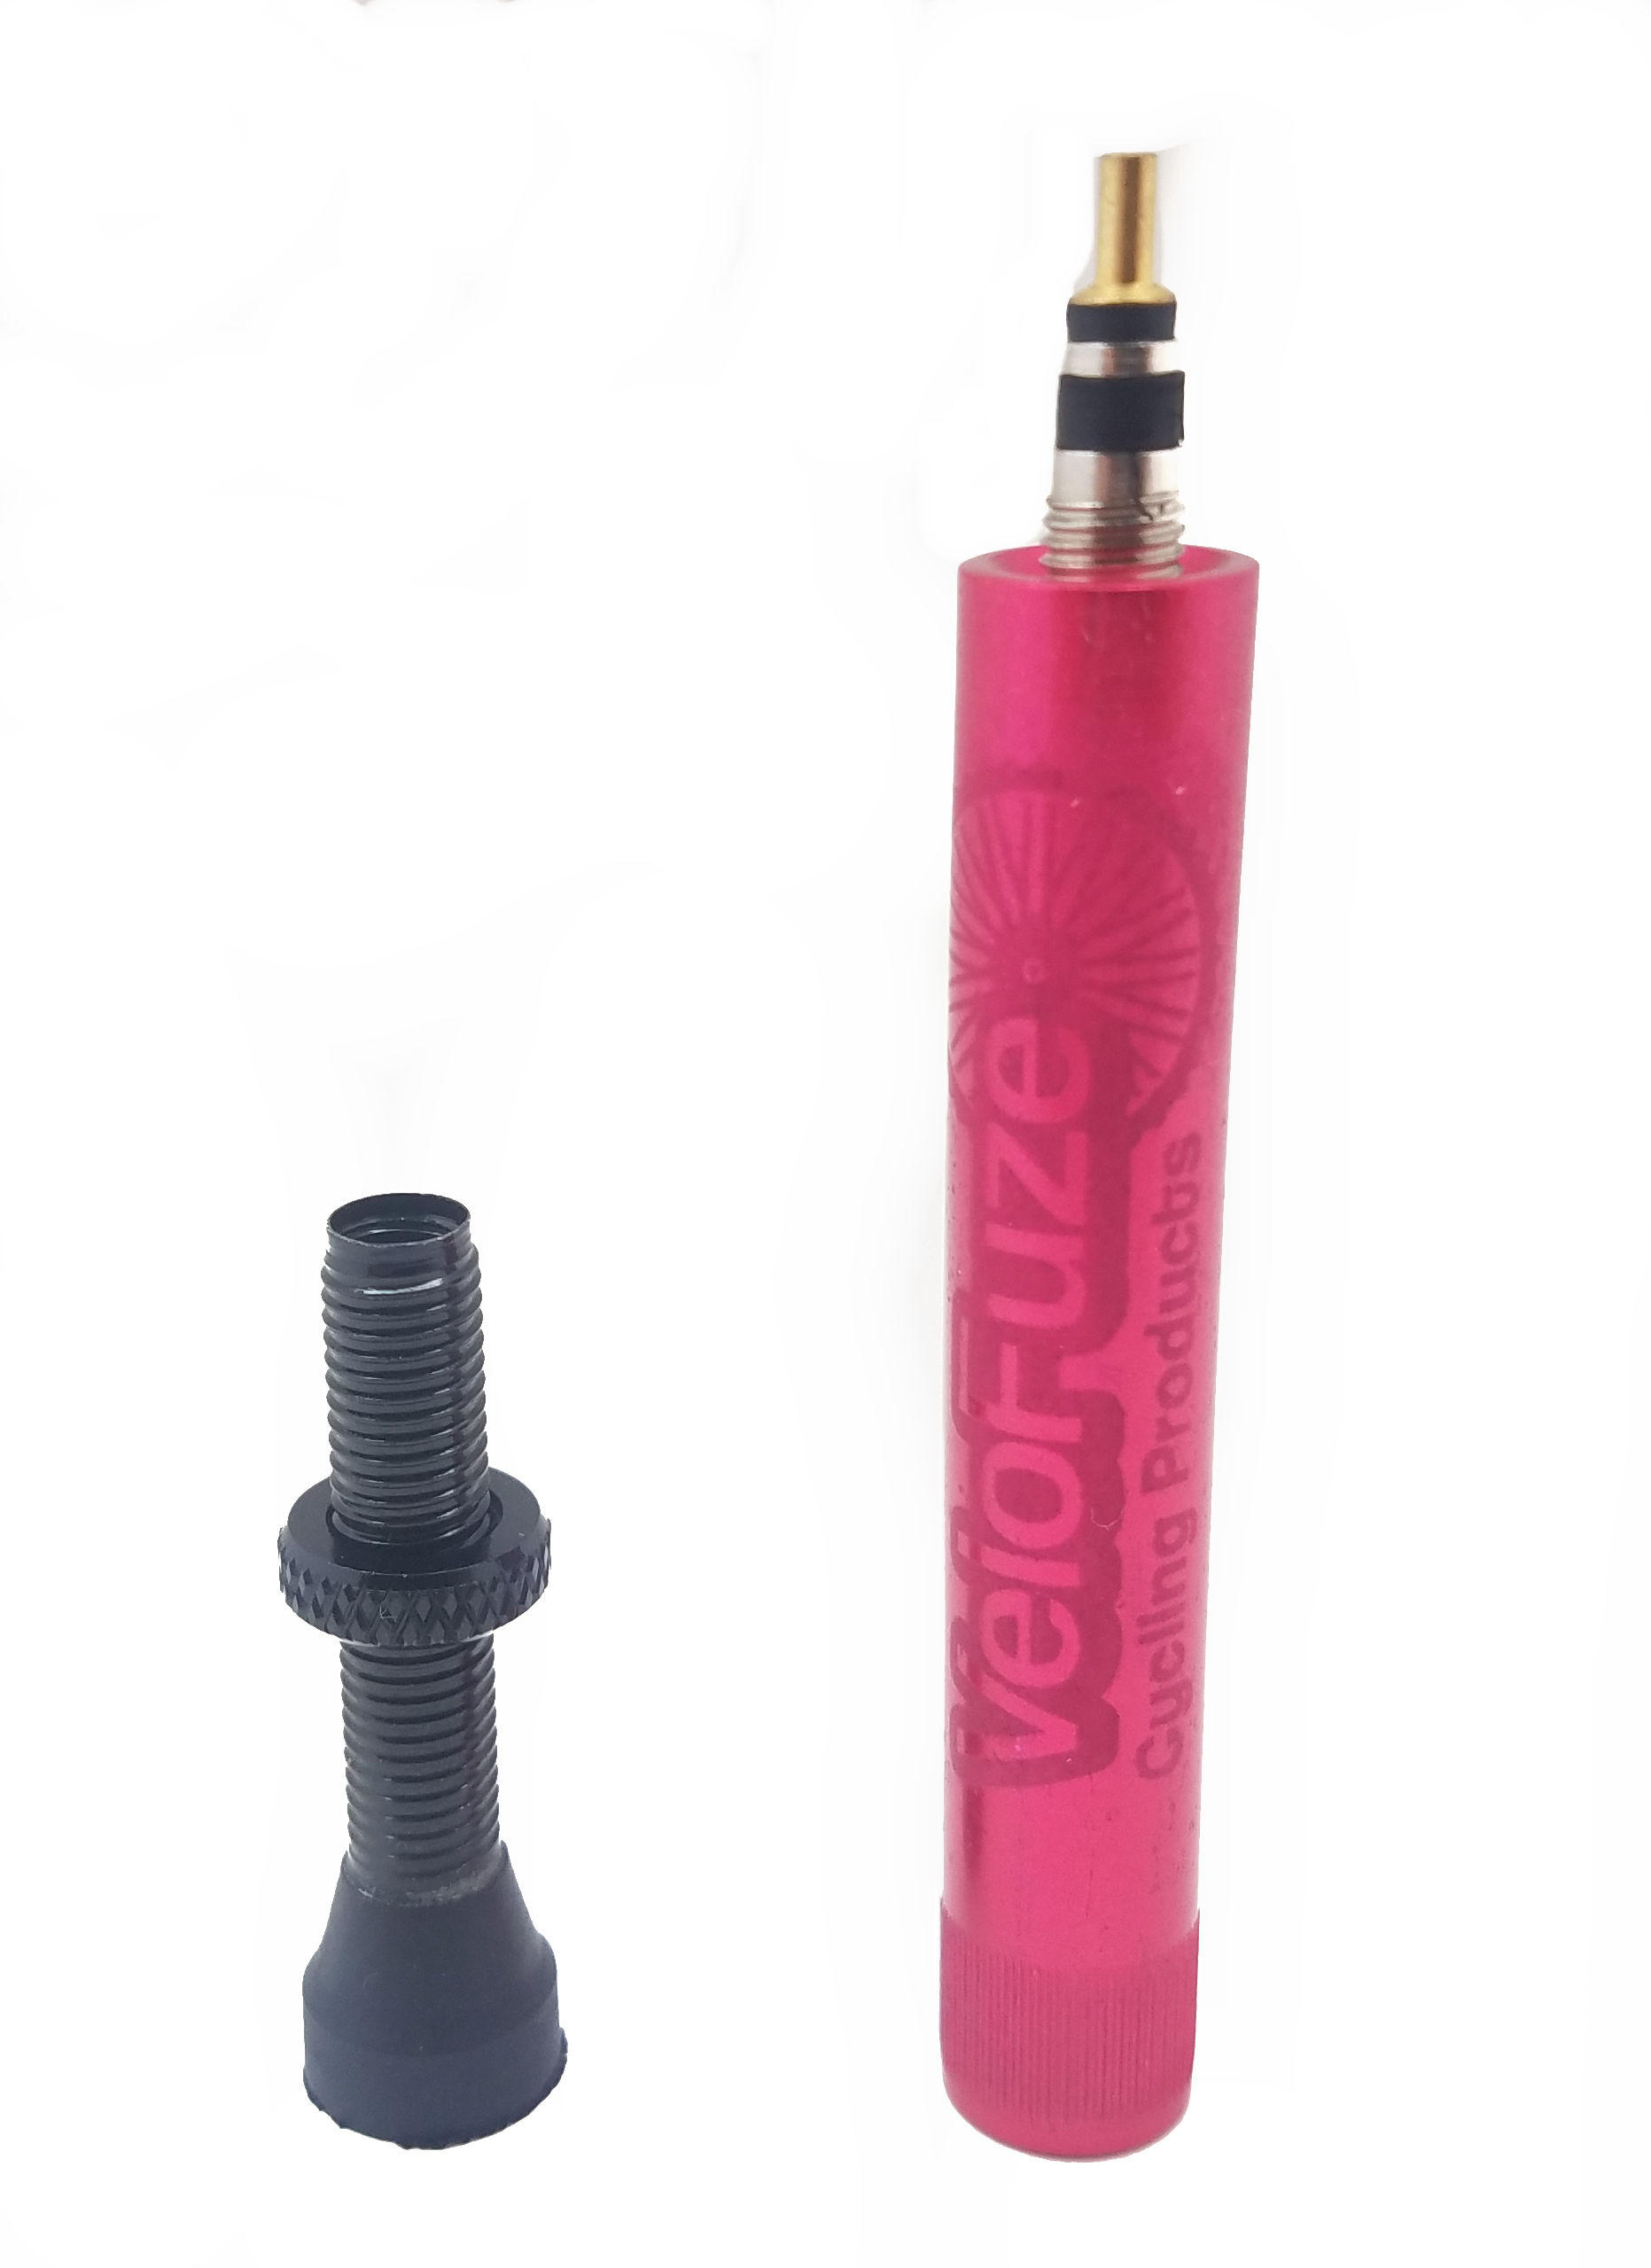
- Valve core remover: A specialized tool designed specifically for removing Presta valve cores.
- New valve core: A replacement valve core in case the original one is damaged or worn out.
- Tire levers: Used to remove the tire from the rim, providing access to the valve stem.
- Valve stem wrench: A tool used to loosen the valve stem from the rim.
- Clean cloth or brush: For cleaning the valve stem and surrounding area.
Having these tools and materials at hand will ensure that cyclists can successfully remove the Presta valve core and perform any necessary maintenance or repairs. Remember, knowing how to remove the Presta valve core is a vital skill for any cyclist, and with the right tools and materials, the process can be done efficiently and effectively.
How to Remove the Presta Valve Core: A Step-by-Step Process
Removing the Presta valve core can seem intimidating, but with the right tools and a step-by-step approach, it’s a manageable task. Here’s a detailed guide on how to remove the Presta valve core:
Step 1: Deflate the Tire
Completely deflate the tire to prevent any air from escaping during the removal process. This will also make it easier to access the valve stem.
Step 2: Remove the Tire from the Rim
Use tire levers to remove the tire from the rim, providing access to the valve stem. Be careful not to damage the tire or rim during this process.
Step 3: Loosen the Valve Stem
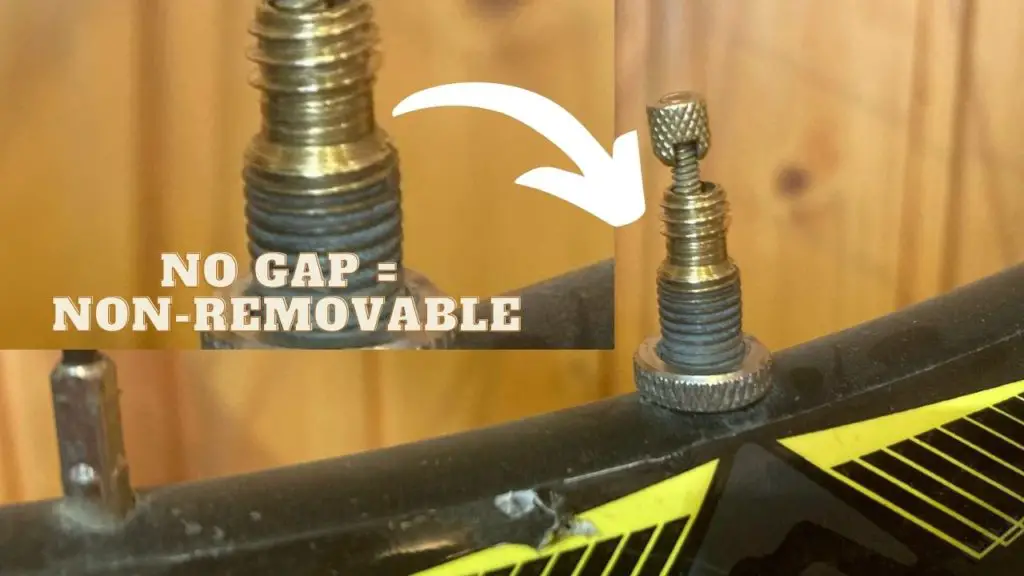
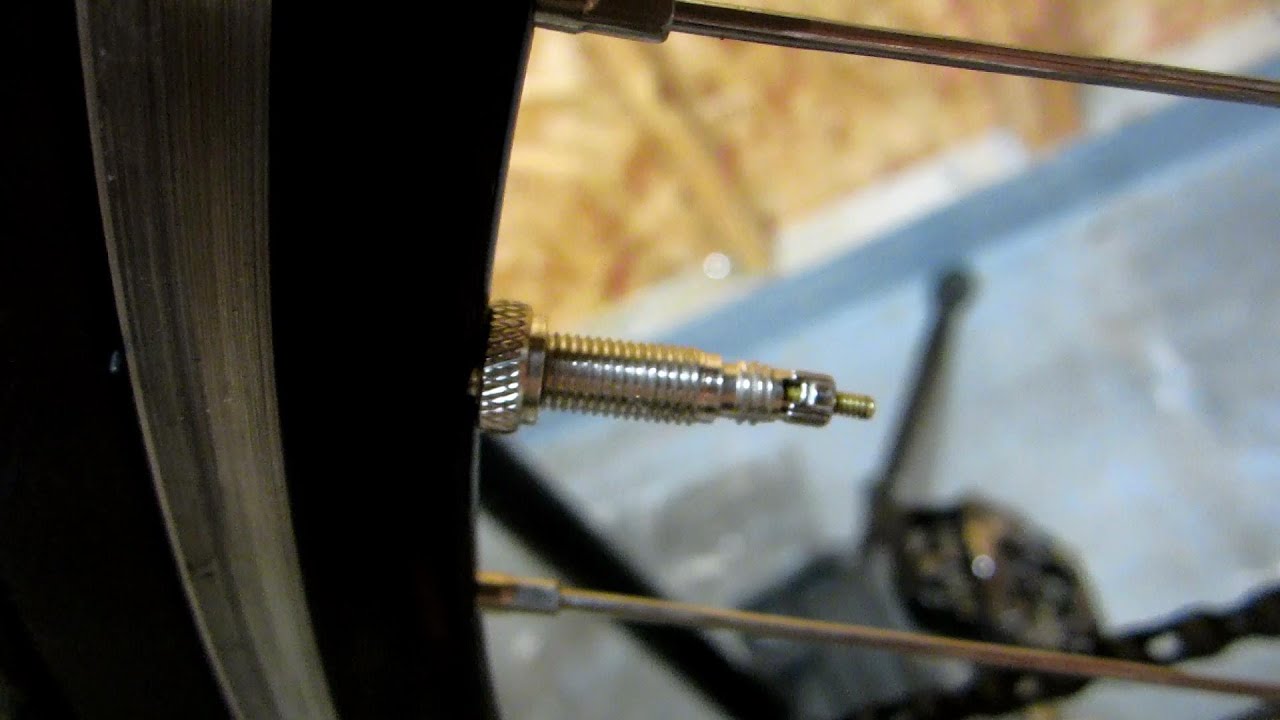
Use a valve stem wrench to loosen the valve stem from the rim. This will allow you to access the valve core.
Step 4: Remove the Valve Core
Use a valve core remover to remove the Presta valve core. Insert the remover into the valve stem and turn it clockwise until the core is removed. Be careful not to damage the delicate valve components.
Step 5: Inspect and Clean the Valve Stem
Inspect the valve stem for any debris or dirt and clean it with a cloth or brush. This will ensure a smooth reinstallation process.
By following these steps, cyclists can successfully remove the Presta valve core and perform any necessary maintenance or repairs. Remember, knowing how to remove the Presta valve core is a crucial skill for any cyclist, and with practice, it can become a routine task. When learning how to remove the Presta valve core, it’s essential to take your time and be gentle when handling the delicate valve components.
Troubleshooting Common Issues During Removal
While removing the Presta valve core, cyclists may encounter some common issues that can hinder the process. Here are some troubleshooting tips to help overcome these challenges:
Stuck Valve Core
If the valve core becomes stuck, try applying a small amount of lubricant, such as silicone spray, to the valve stem and core. This can help loosen the core and make it easier to remove. If the core remains stuck, it may be necessary to use a valve core removal tool with a higher torque rating.
Damaged Valve Stem
If the valve stem becomes damaged during the removal process, it may be necessary to replace the entire valve stem. This can be a more involved process, but it’s essential to ensure the safety and integrity of the tire.
Leakage During Removal
If air begins to leak out during the removal process, it’s essential to stop immediately and re-inflate the tire. This can help prevent further damage to the valve stem or core. Once the tire is re-inflated, cyclists can try to remove the valve core again, taking extra precautions to avoid leakage.
By being aware of these common issues and knowing how to troubleshoot them, cyclists can minimize the risk of complications during the removal process. Remember, knowing how to remove the Presta valve core is a crucial skill for any cyclist, and with practice, it can become a routine task. When learning how to remove the Presta valve core, it’s essential to take your time and be gentle when handling the delicate valve components.
Reinstalling the Presta Valve Core: Best Practices
Once the Presta valve core has been removed and any necessary maintenance or repairs have been performed, it’s essential to reinstall the core correctly to ensure a secure fit and prevent future leaks or issues. Here are some best practices to follow:
Inspect the Valve Stem
Before reinstalling the valve core, inspect the valve stem for any debris or dirt that may have accumulated during the removal process. Clean the stem with a cloth or brush to ensure a smooth reinstallation.
Apply a Small Amount of Lubricant
Apply a small amount of lubricant, such as silicone spray, to the valve stem and core. This will help ensure a smooth installation and prevent the core from becoming stuck in the future.
Install the Valve Core
Insert the new valve core into the valve stem, making sure it’s properly seated and aligned. Use a valve core installer or wrench to tighten the core securely, but avoid over-tightening, which can damage the valve stem.
Reinflate the Tire
Once the valve core has been reinstalled, reinflate the tire to the recommended pressure. Check the valve core for any signs of leakage or damage, and make any necessary adjustments.
By following these best practices, cyclists can ensure a secure and proper reinstallation of the Presta valve core, preventing future issues and ensuring a smooth ride. Remember, knowing how to remove and reinstall the Presta valve core is a crucial skill for any cyclist, and with practice, it can become a routine task.
Maintenance and Inspection Tips for Your Presta Valve
To ensure the longevity and performance of the Presta valve, regular maintenance and inspection are crucial. Here are some tips to help prevent future issues and keep the valve in top condition:
Clean the Valve Regularly
Use a soft cloth or brush to remove dirt and debris from the valve stem and core. This will help prevent corrosion and ensure smooth operation.
Lubricate the Valve
Apply a small amount of lubricant, such as silicone spray, to the valve stem and core. This will help reduce friction and prevent the core from becoming stuck.
Inspect the Valve Core
Regularly inspect the valve core for signs of wear or damage. If the core is damaged, replace it with a new one to prevent leaks or other issues.
Check the Valve Stem
Inspect the valve stem for signs of damage or corrosion. If the stem is damaged, replace it with a new one to ensure a secure fit and prevent leaks.
By following these maintenance and inspection tips, cyclists can help prevent common issues with the Presta valve and ensure a smooth ride. Remember, knowing how to remove and reinstall the Presta valve core is a crucial skill for any cyclist, and with regular maintenance, it can become a routine task. When learning how to remove the Presta valve core, it’s essential to take the time to properly inspect and maintain the valve to prevent future issues.
Conclusion: Mastering Presta Valve Core Removal for Smooth Rides
Proper Presta valve core removal and maintenance are essential skills for any cyclist. By following the steps outlined in this guide, cyclists can ensure a smooth ride and prevent common issues with their tires. Remember, knowing how to remove the Presta valve core is a crucial skill that can save time and frustration on the road or trail.
By mastering the art of Presta valve core removal, cyclists can troubleshoot common problems, clean and maintain their valves, and ensure a secure fit to prevent future leaks or issues. Whether you’re a seasoned pro or a beginner, learning how to remove the Presta valve core is a valuable skill that will serve you well in your cycling journey.
So, take the time to practice and master the skills outlined in this guide. With patience and practice, you’ll be able to remove and reinstall the Presta valve core with ease, ensuring a smooth ride and a confident cycling experience. Don’t let Presta valve core issues hold you back – learn how to remove the Presta valve core and take your cycling to the next level.


