
Understanding the Role of a Bicycle Fork
A bicycle fork is a critical component of any two-wheeled vehicle, playing a crucial role in the bike’s handling, stability, and overall performance. The fork is the part of the bike that connects the front wheel to the frame, and it consists of two blades or legs, a steerer tube, and a crown race. The blades provide the attachment point for the wheel, while the steerer tube connects to the handlebars and allows for steering. The crown race sits atop the fork and supports the headset, which enables smooth steering movement.

Click Image to Find eBike Products
When selecting a new fork, it’s essential to consider the bike’s frame material, wheel size, and intended use. For example, a mountain bike fork will typically have a longer travel distance and more robust construction than a road bike fork. Popular fork brands and models include RockShox, Fox, and SR Suntour, among others. These manufacturers offer a wide range of options to suit various riding styles, budgets, and performance needs.

Recognizing the Need for a Fork Replacement
Over time, bicycle forks can become damaged or worn out, leading to decreased performance and safety risks. It’s essential to recognize the signs that indicate it’s time to replace the fork, such as cracks, wear and tear, or changes in the bike’s handling. Ignoring these signs can lead to more severe damage or even accidents.
Cracks or fractures in the fork blades or steerer tube are clear indicators that the fork needs to be replaced. These cracks can weaken the fork’s structure, making it more susceptible to failure. Similarly, excessive wear and tear on the fork’s bushings or bearings can cause the steering to become rough or unresponsive, leading to a loss of control.
Changes in the bike’s handling, such as a decrease in stability or an increase in vibration, can also signal the need for a fork replacement. These changes can be caused by a variety of factors, including damage to the fork or a mismatch between the fork and the bike’s frame material or wheel size. In any case, it’s essential to address these issues promptly to ensure safe and enjoyable riding.
Continuing to use a damaged fork can lead to more severe problems down the line, such as frame damage or even accidents. Therefore, it’s crucial to replace the fork as soon as possible to maintain the bike’s performance and safety.

Selecting the Perfect Fork for Your Bicycle
Choosing the right fork for your bike is crucial to ensure optimal performance and safety. Here’s a step-by-step guide to help you select the perfect fork for your bike:
- Determine your bike’s frame material: The frame material of your bike will play a significant role in selecting the right fork. For example, if you have a carbon fiber frame, you’ll want to choose a fork made of the same material to ensure compatibility and optimal performance.
- Consider your wheel size: The size of your bike’s wheels will also impact the type of fork you need. Make sure to choose a fork that is compatible with your wheel size to ensure proper fit and function.
- Identify your intended use: The type of riding you do will also impact the type of fork you need. For example, if you’re a mountain biker, you’ll want a fork with more travel and robust construction than a road bike fork. Consider the terrain you ride on and the conditions you typically encounter to help you choose the right fork.
- Research popular fork brands and models: Once you’ve identified the type of fork you need, research popular brands and models. Some of the most popular fork brands include RockShox, Fox, and SR Suntour. Look for forks with good reviews, reliable performance, and a reasonable price point.
- Check compatibility: Before making a final decision, make sure to check that the fork is compatible with your bike’s headset and steerer tube. You may need to consult your bike’s manual or contact the manufacturer to ensure proper fit and function.
By following these steps, you can ensure that you choose the right fork for your bike and your riding style. Remember to prioritize safety and performance when making your selection, and don’t be afraid to consult with a professional if you’re unsure.
Gathering Necessary Tools and Equipment
Before you begin the process of replacing your bicycle fork, it’s essential to gather all the necessary tools and equipment to ensure a smooth and successful installation. Here’s a list of what you’ll need:
- Bike stand: A bike stand will hold your bike securely in place while you work, making the process easier and safer.
- Wrenches: You’ll need a set of wrenches to remove the old fork and install the new one. A set of Allen wrenches and a crescent wrench should suffice.
- Headset press: A headset press is a specialized tool used to install the new fork’s headset. You can purchase or rent one from a local bike shop or online.
- Grease: Applying grease to the fork’s steerer tube and headset will ensure smooth movement and prevent damage.
- Mallet or hammer: A mallet or hammer can help you tap the new fork into place if necessary.
You can find these tools and equipment at your local bike shop or online. It’s essential to invest in high-quality tools to ensure a successful installation and prevent damage to your bike or the new fork. If you’re unsure about how to use any of these tools, consider consulting a professional mechanic or watching online tutorials to ensure proper usage and safety.
Preparing Your Bike for the Fork Replacement
Before you can install the new fork, you’ll need to prepare your bike by removing the front wheel, headset, and any accessories attached to the fork. Here’s a step-by-step guide to help you through the process:
- Remove the front wheel: Start by loosening the quick-release lever or removing the thru-axle that holds the front wheel in place. Once loose, carefully remove the wheel from the bike.
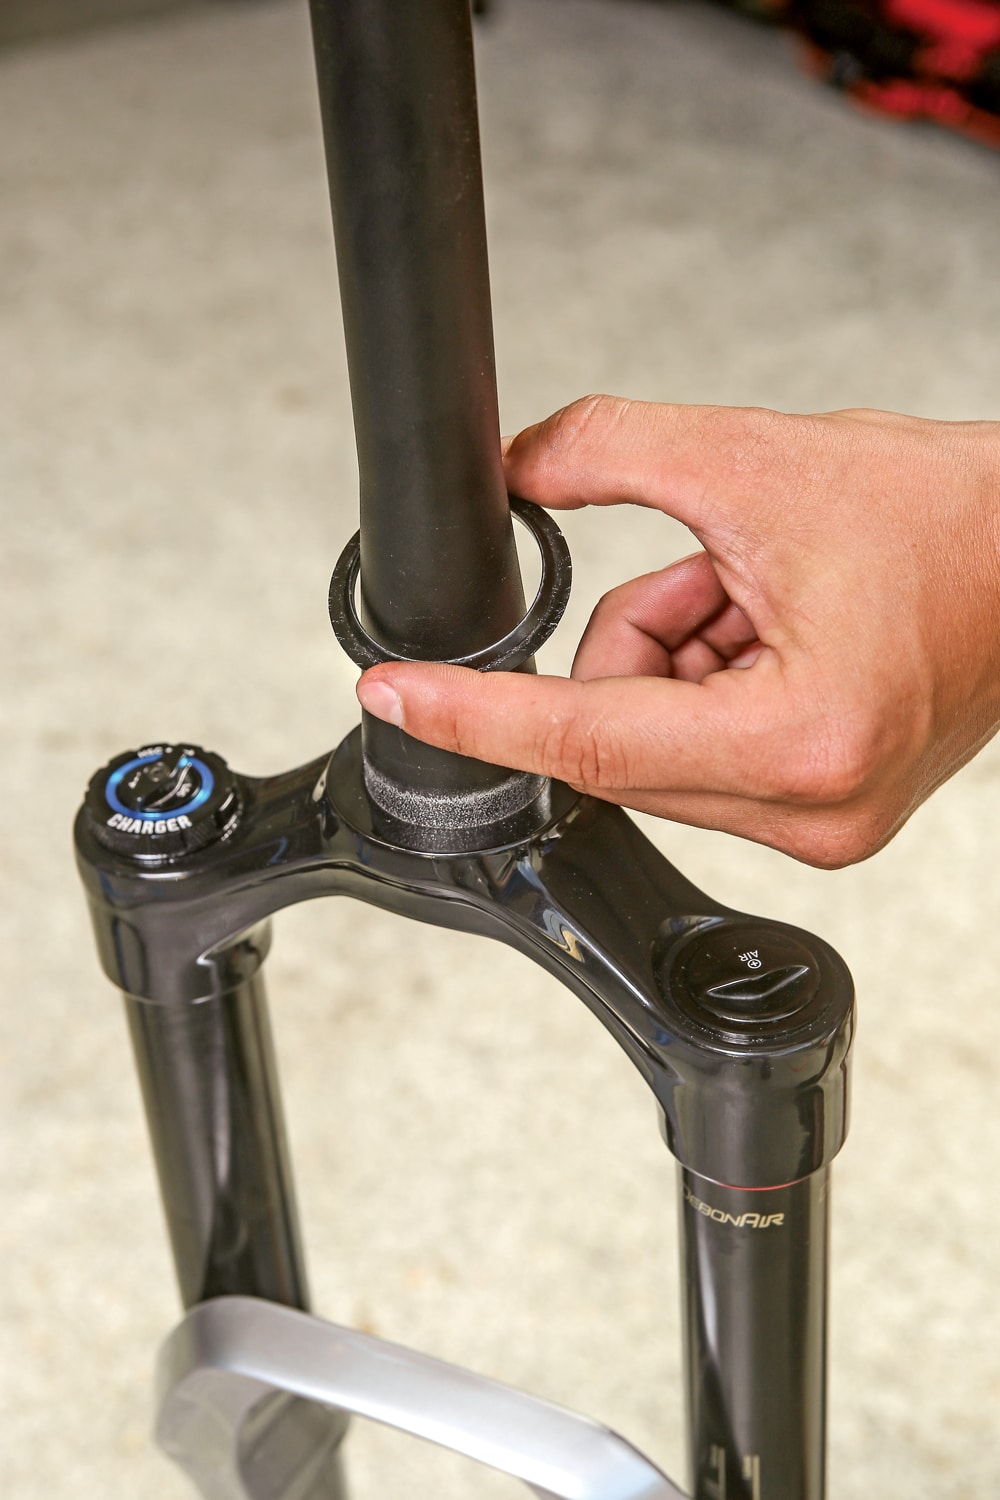
- Remove the headset: The headset is the component that connects the fork to the frame and allows for steering. To remove the headset, you’ll need to loosen the top cap and stem bolts. Once loose, carefully lift the fork out of the frame, taking care not to damage the frame or fork.
- Remove any accessories: If you have any accessories attached to the fork, such as fenders or a bike rack, remove them before installing the new fork.
It’s essential to work carefully and methodically during this process to prevent damage to your bike or the new fork. If you’re unsure about any of the steps, consider consulting a professional mechanic or watching online tutorials to ensure proper technique and safety.

Installing the New Fork
Once you’ve prepared your bike and gathered all the necessary tools and equipment, it’s time to install the new fork. Here’s a step-by-step guide to help you through the process:
- Apply grease: Start by applying a thin layer of grease to the steerer tube of the new fork. This will help to reduce friction and prevent damage to the frame or fork.
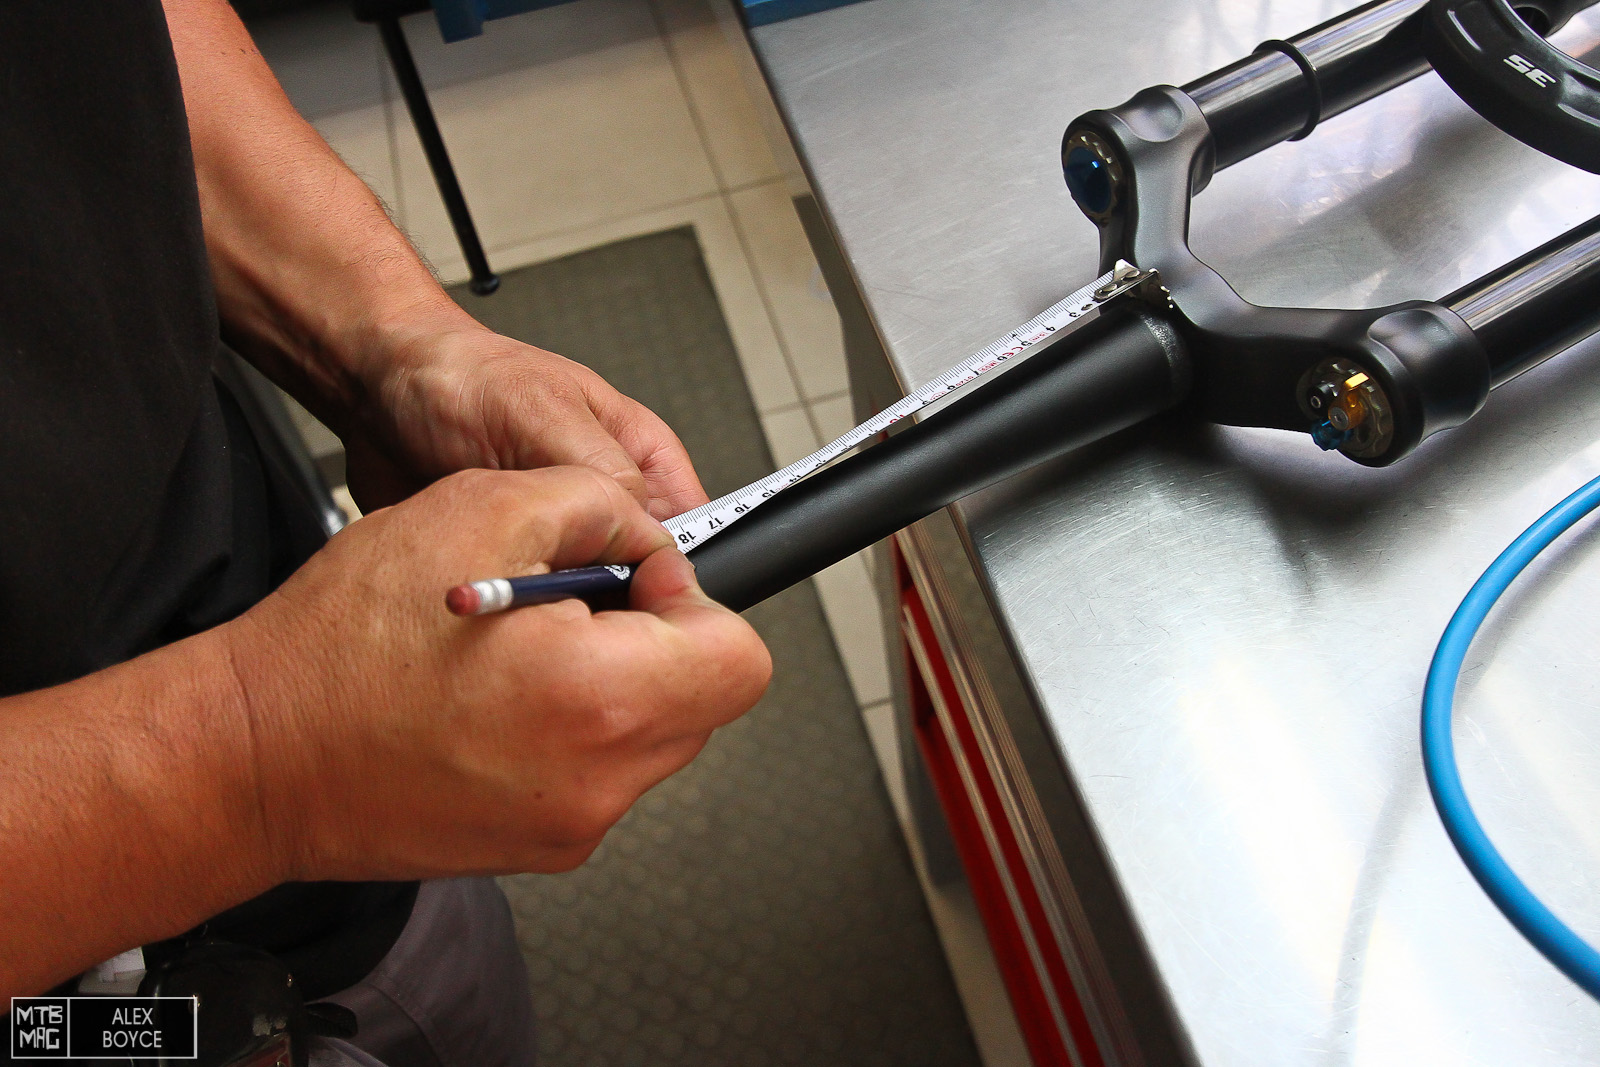
- Align the fork with the frame: Carefully align the new fork with the frame, making sure that the fork dropouts are properly aligned with the wheel axle. It’s essential to ensure a proper fit to prevent damage to the frame or fork and ensure optimal performance.
- Install the headset: Once the new fork is properly aligned, it’s time to install the headset. Carefully slide the headset cups onto the fork steerer tube, making sure that they are properly aligned with the frame. Once in place, tighten the top cap and stem bolts to secure the headset in place.
- Tighten the headset: Once the headset is installed, use a headset wrench to tighten the headset. This will help to ensure a snug fit and prevent damage to the frame or fork.
- Check alignment: After tightening the headset, double-check the alignment of the fork and frame to ensure a proper fit. If necessary, make any adjustments to ensure proper alignment.
It’s essential to work carefully and methodically during this process to prevent damage to your bike or the new fork. If you’re unsure about any of the steps, consider consulting a professional mechanic or watching online tutorials to ensure proper technique and safety.
Reassembling Your Bike and Fine-Tuning
Once you’ve successfully installed the new fork, it’s time to reassemble your bike and make any necessary adjustments to the brakes, shifters, and other components. Here’s a step-by-step guide to help you through the process:
- Reattach the front wheel: Carefully reattach the front wheel to the bike, making sure that it’s properly aligned with the fork dropouts. Once in place, tighten the quick-release lever or thru-axle to secure the wheel.
- Adjust the brakes: If your bike has rim brakes, you may need to adjust the brake pads to ensure proper alignment with the new rim. If your bike has disc brakes, you may need to adjust the caliper to ensure proper alignment with the rotor.
- Adjust the shifters: If your bike has derailleur gears, you may need to adjust the shifters to ensure proper alignment with the new cassette or freewheel. This will help to ensure smooth and accurate shifting.
- Test the bike’s handling: Once you’ve reassembled the bike and made any necessary adjustments, it’s essential to test the bike’s handling before hitting the road or trail. Carefully ride the bike at a slow speed, making any necessary adjustments to the brakes, shifters, or other components as needed.
- Make final tweaks: After testing the bike’s handling, make any final tweaks to the setup to ensure optimal performance and safety. This may include adjusting the saddle height, handlebar height, or other components as needed.
It’s essential to work carefully and methodically during this process to prevent damage to your bike or the new fork. If you’re unsure about any of the steps, consider consulting a professional mechanic or watching online tutorials to ensure proper technique and safety.

Maintaining Your New Fork and Bike
Congratulations! You’ve successfully replaced your bicycle fork and reassembled your bike. Now it’s time to discuss the importance of regular maintenance for the new fork and the bike as a whole. Proper maintenance will help to ensure optimal performance, safety, and longevity of your bike and its components. Here’s a schedule for routine checks and adjustments:
- Daily: Check the tire pressure and inspect the bike for any visible damage or wear and tear before each ride.
- Weekly: Clean the bike with a damp cloth and lubricate the chain and other moving parts to prevent rust and wear.
- Monthly: Inspect the brakes, shifters, and other components for proper alignment and adjust as needed. Check the headset for tightness and proper alignment with the frame.
- Quarterly: Inspect the fork and other suspension components for proper function and adjust as needed. Check the wheels for trueness and spoke tension.
- Annually: Have the bike professionally serviced to ensure proper function and safety. This may include a more thorough inspection of the frame, wheels, and components, as well as adjustments to the brakes, shifters, and other components.
By following this maintenance schedule, you can help to ensure that your bike and its components, including the new fork, remain in optimal condition for years to come. Remember to always consult the manufacturer’s recommendations for maintenance and adjustments, as well as any specific requirements for your bike or its components.