Why Proper Brake Maintenance is Crucial for Safe Cycling
Regular brake maintenance is essential for safe and enjoyable cycling. Worn-out brakes can lead to accidents, injuries, and even fatalities. In fact, the National Highway Traffic Safety Administration (NHTSA) reports that brake failure is a leading cause of bicycle accidents. Moreover, neglected brakes can also result in premature wear on other bike components, such as wheels and frames, leading to costly repairs. On the other hand, timely brake replacement can significantly improve safety and performance. By learning how to replace bike brakes, cyclists can enjoy a smoother ride, improved stopping power, and enhanced confidence on the road. Proper brake maintenance involves regular inspections, timely replacement of worn-out brake pads, and adjustments to ensure optimal performance. In this article, we will delve into the details of how to replace bike brakes, providing cyclists with the knowledge and skills necessary to ensure their safety on every ride.

Click Image to Find eBike Products

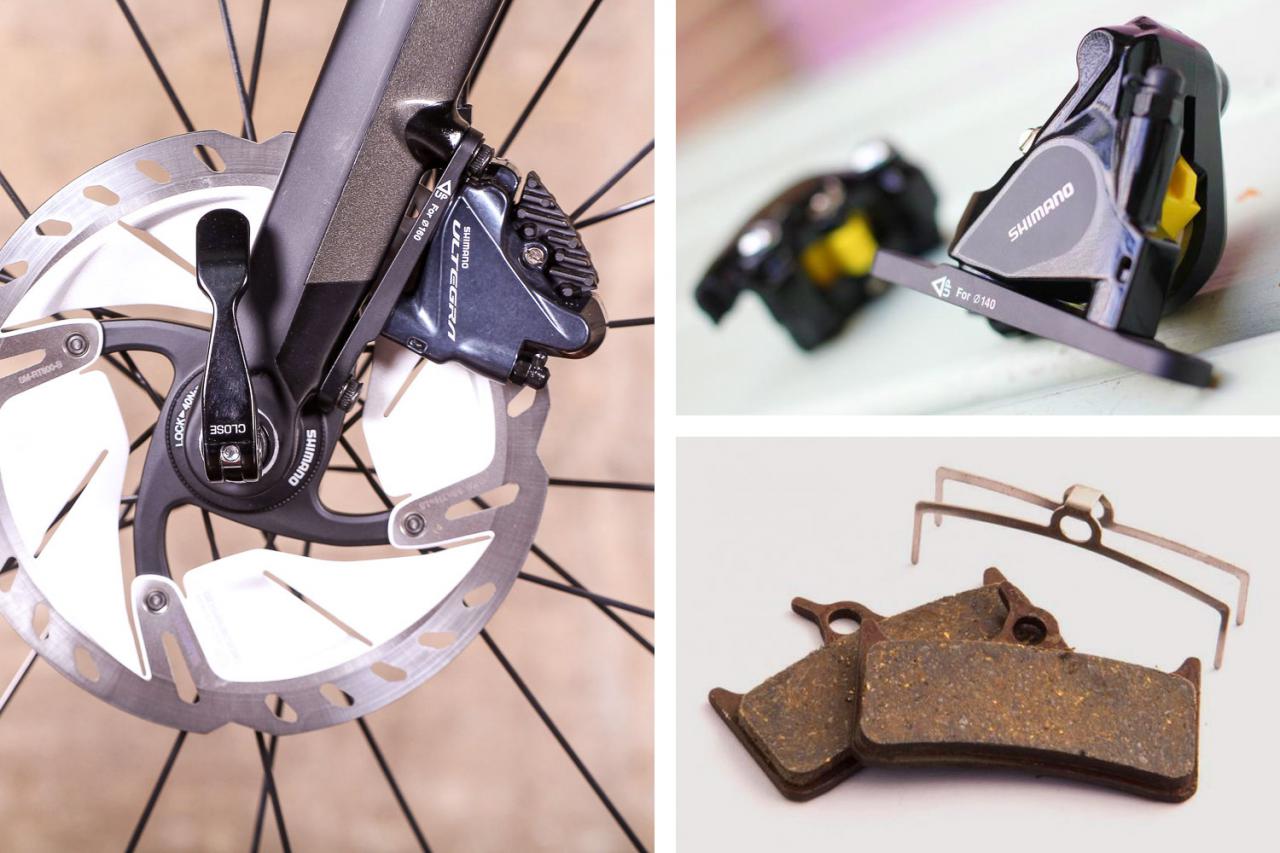
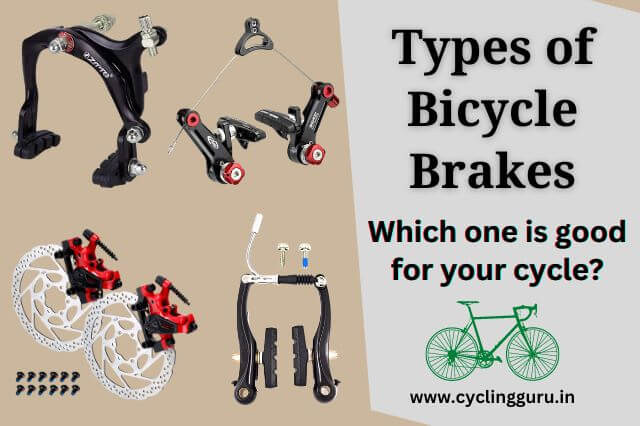
Understanding the Different Types of Bike Brakes
When it comes to bike brakes, there are several types to choose from, each with its own set of advantages and disadvantages. Rim brakes, disc brakes, and hydraulic brakes are the three most common types of bike brakes. Rim brakes are the most traditional type, using a brake pad to rub against the rim of the wheel to slow down the bike. They are lightweight, easy to maintain, and affordable, but can be less effective in wet conditions. Disc brakes, on the other hand, use a rotor attached to the wheel hub and a brake caliper to slow down the bike. They provide better stopping power, especially in wet conditions, but can be heavier and more expensive. Hydraulic brakes use brake fluid to transfer pressure from the brake lever to the brake caliper, providing a more consistent and reliable braking performance. They are popular among mountain bikers and downhill riders, but can be more complex to maintain. Understanding the different types of bike brakes is essential when learning how to replace bike brakes, as each type requires specific tools and techniques. By choosing the right type of brake for your bike, you can ensure optimal performance and safety on the road.
How to Identify Worn-Out Brakes: A Step-by-Step Guide
Identifying worn-out brakes is crucial to ensuring safe and smooth cycling. Neglecting to inspect and replace worn-out brakes can lead to accidents, injuries, and even fatalities. To avoid such risks, it’s essential to know how to identify worn-out brakes. Here’s a step-by-step guide to help you do so. First, perform a visual inspection of the brake pads, looking for signs of wear, such as thinning or uneven wear patterns. Next, check the brake pad wear indicators, which are usually marked with a wear line or a groove. If the brake pads are worn down to the wear line or groove, it’s time to replace them. Additionally, perform a performance test by applying the brakes and checking for any unusual noises, vibrations, or spongy feelings. If you notice any of these symptoms, it’s likely that your brakes need to be replaced. By following these steps, you can identify worn-out brakes and take the necessary steps to replace them, ensuring your safety on the road. Remember, learning how to replace bike brakes is a crucial skill for any cyclist, and identifying worn-out brakes is the first step in the process.

Gathering Essential Tools and Materials for Brake Replacement
Before diving into the process of how to replace bike brakes, it’s crucial to gather the necessary tools and materials. Having the right tools and materials can make the replacement process smoother, faster, and more efficient. Here’s a list of the essential tools and materials required for brake replacement: brake pads, brake cables, cable tension adjusters, brake lubricants, and cable cutters. When choosing brake pads, consider the type of brake system you have, as well as the riding conditions you’ll be in. For example, if you’ll be riding in wet conditions, you may want to choose brake pads with a higher friction rating. Brake cables should be chosen based on the type of brake system and the desired level of cable tension. Additionally, consider investing in a brake pad wear gauge to help you identify when it’s time to replace your brake pads. By having the right tools and materials, you’ll be well on your way to successfully replacing your bike brakes and ensuring your safety on the road. Remember, learning how to replace bike brakes is a crucial skill for any cyclist, and having the right tools and materials is an essential part of the process.

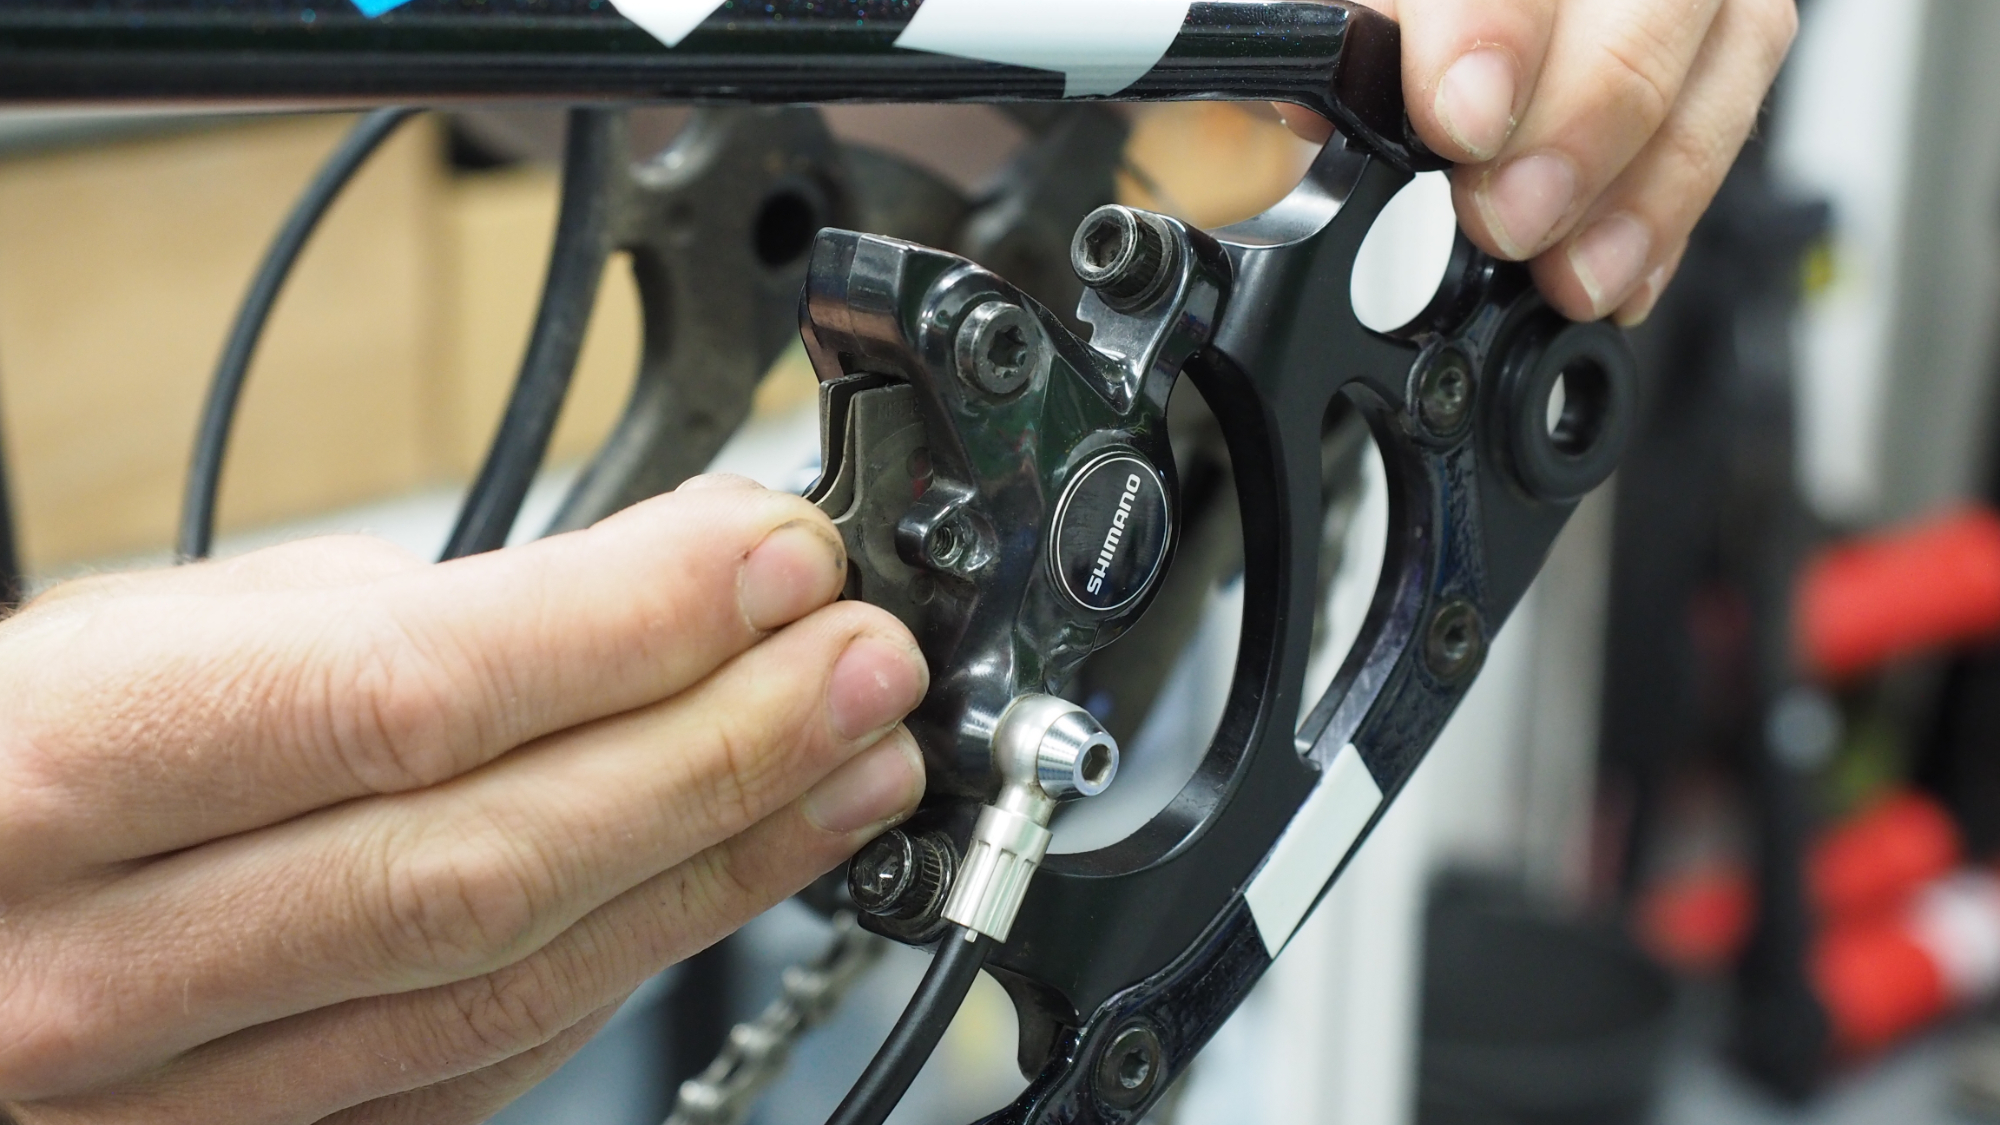
A Step-by-Step Guide to Replacing Bike Brakes
Replacing bike brakes can seem like a daunting task, but with the right guidance, it’s a process that can be completed with ease. Here’s a comprehensive, step-by-step guide on how to replace bike brakes, ensuring your safety on the road. First, remove the old brake pads by releasing the brake caliper and sliding out the worn-out pads. Next, inspect the brake caliper and brake rotor for any signs of wear or damage, and clean them if necessary. Then, install the new brake pads, making sure they’re properly aligned and seated. After that, adjust the brake cables to ensure proper tension and brake lever feel. Finally, perform a series of performance tests to ensure the brakes are functioning correctly, including a slow-speed test, a high-speed test, and a brake lever test. By following these steps, you’ll be able to successfully replace your bike brakes and enjoy improved safety and performance on the road. Remember, learning how to replace bike brakes is a crucial skill for any cyclist, and with this guide, you’ll be well on your way to becoming a brake replacement expert.
Troubleshooting Common Brake Replacement Issues
When learning how to replace bike brakes, it’s essential to be prepared for common issues that may arise during the process. By being aware of these potential problems, you can take steps to prevent them or quickly resolve them if they occur. One common issue is brake pad alignment, which can cause uneven wear on the brake pads and rotor. To overcome this, ensure the brake pads are properly aligned with the rotor and caliper before installing them. Another issue is cable tension, which can affect the brake’s performance and feel. To resolve this, adjust the cable tension according to the manufacturer’s instructions and perform a series of performance tests to ensure the brakes are functioning correctly. Brake noise is another common problem, which can be caused by worn-out brake pads or improper installation. To overcome this, inspect the brake pads and rotor for any signs of wear or damage, and clean or replace them as necessary. Additionally, ensure the brake cables are properly adjusted and lubricated to reduce noise and improve performance. By being aware of these common issues and taking steps to prevent or resolve them, you can ensure a successful brake replacement and enjoy improved safety and performance on the road. Remember, learning how to replace bike brakes requires patience, attention to detail, and a willingness to troubleshoot common issues that may arise.
Post-Replacement Checks: Ensuring Your Brakes are Working Properly
After learning how to replace bike brakes, it’s crucial to perform post-replacement checks to ensure the brakes are functioning correctly. This step is often overlooked, but it’s essential to guarantee your safety on the road. Start by inspecting the brake pads for any signs of wear or damage, and adjust the brake lever to ensure proper feel and performance. Next, perform a series of performance tests, including a slow-speed test, a high-speed test, and a brake lever test, to ensure the brakes are responding correctly. Additionally, check the brake cables for any signs of wear or damage, and lubricate them as necessary to reduce friction and improve performance. By performing these post-replacement checks, you can ensure your brakes are working properly and provide you with the confidence to ride safely. Remember, learning how to replace bike brakes is only half the battle – it’s equally important to perform regular maintenance and checks to ensure your brakes continue to function correctly. By following these steps, you can enjoy improved safety and performance on the road, and extend the life of your new brakes.

Maintenance Tips to Extend the Life of Your New Brakes
To ensure your new brakes continue to function correctly and provide optimal performance, it’s essential to perform regular maintenance. By following these simple tips, you can extend the life of your new brakes and avoid the need for premature replacement. First, establish a regular cleaning schedule to remove dirt and debris that can accumulate on the brake pads and rotor. Use a soft-bristled brush and a mild cleaning solution to avoid damaging the brake components. Next, lubricate the brake cables and pivot points to reduce friction and wear. This will help to maintain smooth brake operation and prevent corrosion. Additionally, inspect the brake pads regularly for signs of wear, and replace them as necessary. By staying on top of brake maintenance, you can ensure your brakes continue to function correctly and provide you with the confidence to ride safely. Remember, learning how to replace bike brakes is just the first step – regular maintenance is key to extending the life of your new brakes and enjoying optimal performance.