The Joy of Customization: Enhance Your Bike with New Pedals
Installing pedals on a bike is an excellent way to customize and enhance your cycling experience. By selecting the right pedals, you can significantly improve performance, comfort, and style. This process offers a unique opportunity to tailor your bicycle to your specific needs and preferences, ensuring a more enjoyable and efficient ride.

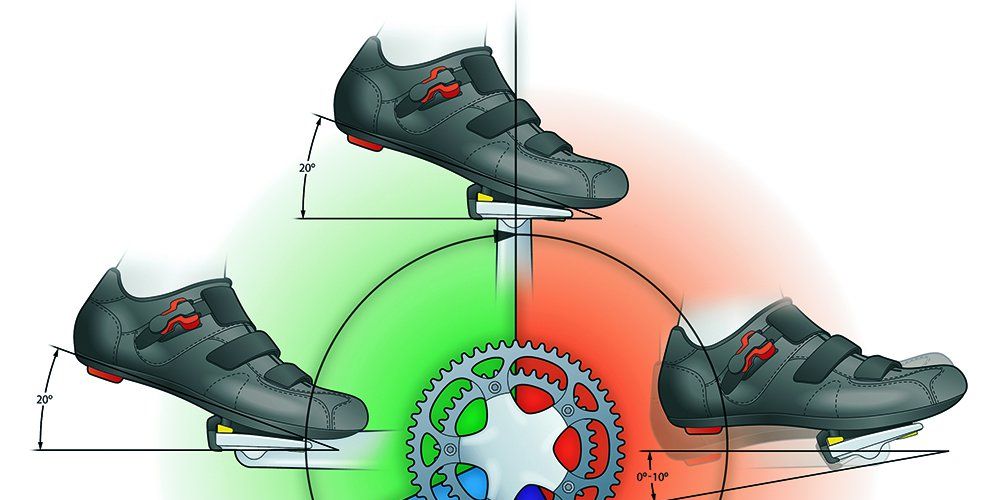
Click Image to Find eBike Products
Choosing the Right Pedals: Types and Considerations
When selecting pedals for installing on your bike, it’s essential to consider various factors, including riding style, experience level, and budget. The three primary types of bike pedals are flat, clipless, and hybrid pedals. Each type offers unique advantages and disadvantages, making it crucial to understand their differences before making a decision.
Flat Pedals
Flat pedals, also known as platform pedals, are the most common type of pedal. They are ideal for casual riders, beginners, and those who prefer a simple and easy-to-use option. Flat pedals often feature a wide and stable platform, allowing for increased foot stability and control during rides. They are generally more affordable than clipless or hybrid pedals, making them an excellent choice for budget-conscious cyclists.
Clipless Pedals
Clipless pedals require specialized cycling shoes with cleats that attach to the pedals, creating a secure connection between the rider and the bike. This connection enables efficient power transfer, improved pedaling efficiency, and enhanced control during rides. Clipless pedals are popular among experienced cyclists and competitive riders, as they can significantly improve performance and reduce fatigue on long rides.
Hybrid Pedals
Hybrid pedals, also known as combination or combo pedals, offer the best of both worlds by combining the features of flat and clipless pedals. One side of the pedal is designed like a flat pedal, while the other side features a clipless mechanism. Hybrid pedals allow riders to switch between clipless and flat pedals, providing versatility and flexibility for various riding conditions and preferences.
Selecting the Best Option
To choose the best pedals for your needs, consider the following:
- Riding style: Flat pedals are suitable for casual riding, while clipless and hybrid pedals are better for performance-oriented riders.
- Experience level: Beginners may prefer flat pedals, while experienced cyclists may opt for clipless or hybrid pedals.
- Budget: Flat pedals are generally the most affordable, while clipless and hybrid pedals can vary in price.

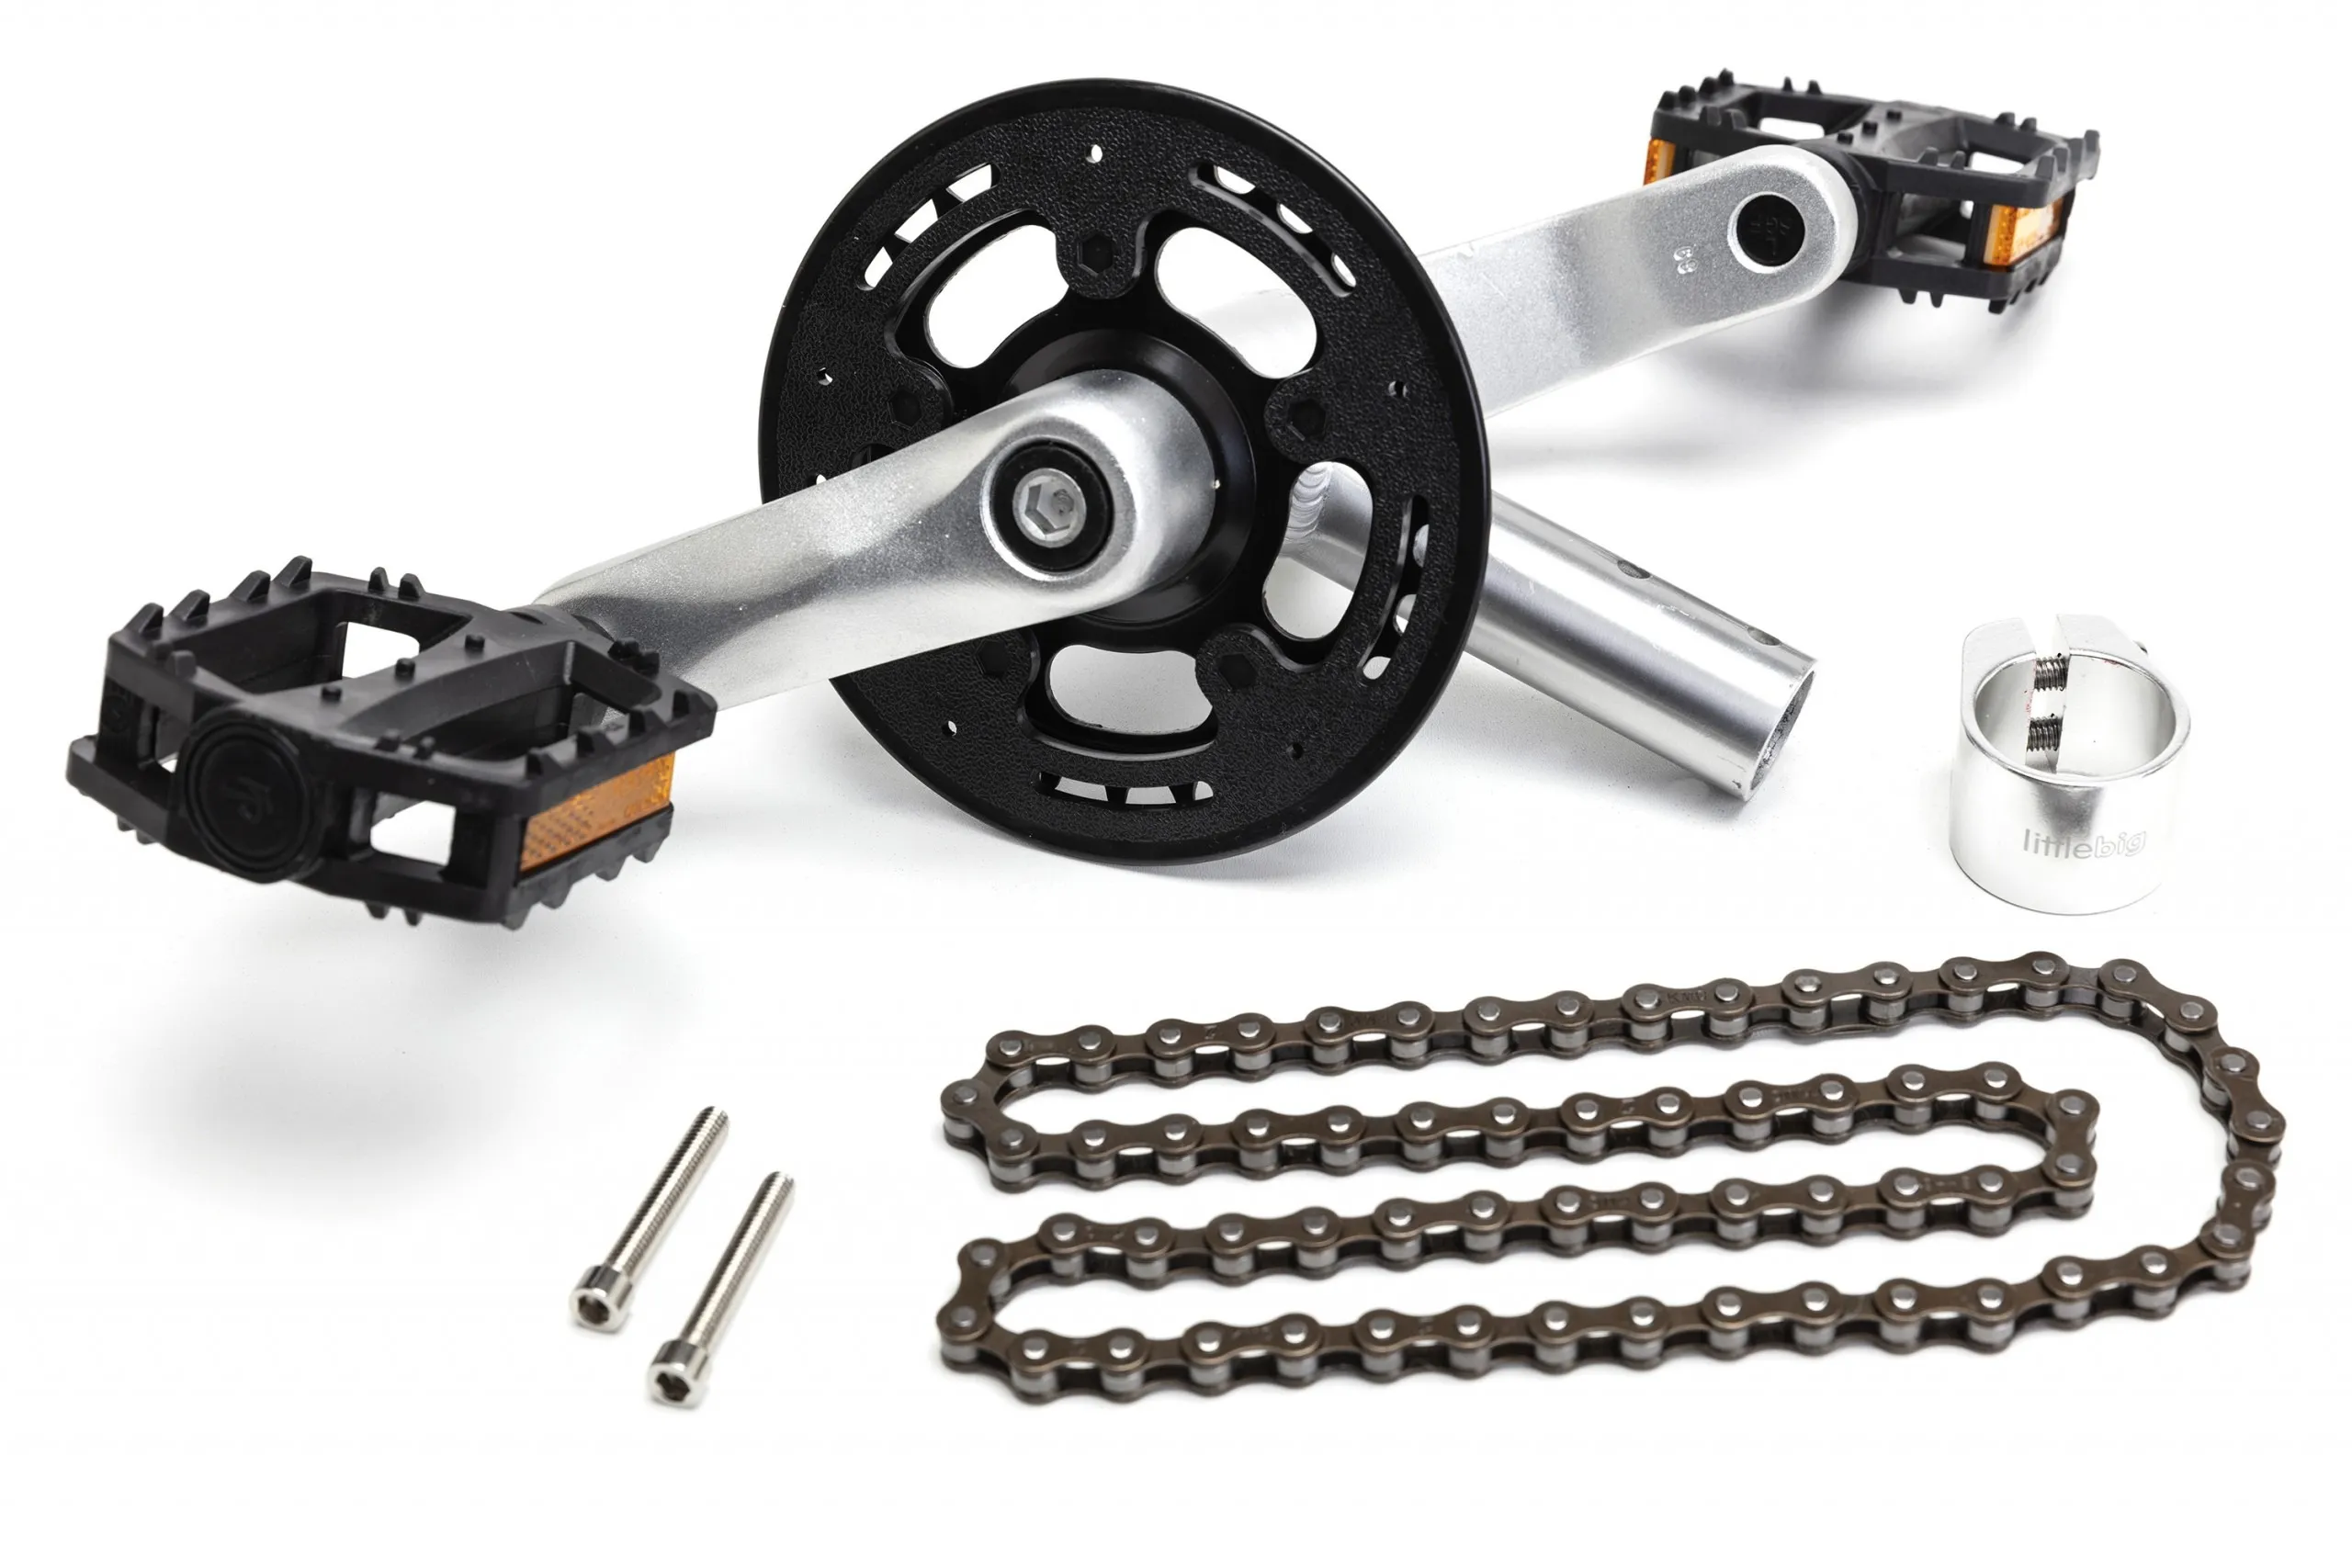
Gathering Your Tools: Essential Equipment for Installing Pedals
Before embarking on the journey of installing pedals on your bike, ensure you have the necessary tools and equipment to complete the task efficiently and safely. The following tools are essential for the installation process:
Pedal Wrench
A pedal wrench, also known as a pedal spanner, is a specialized tool designed to fit the unique shape of bike pedals. Pedal wrenches typically have a long handle for increased leverage, making it easier to loosen and tighten pedals. When selecting a pedal wrench, choose one with a sturdy construction and a comfortable grip to ensure a secure and stable hold during use.
Bike Stand or Repair Stand
A bike stand or repair stand is a valuable tool for any cyclist, providing a stable platform for working on your bike. A stand allows you to securely position your bike at a comfortable working height, making it easier to access and manipulate components during the installation process. While not strictly necessary for installing pedals, a bike stand or repair stand can significantly improve the overall experience and efficiency of the task.
Grease
Grease is an essential component in the installation process, as it helps reduce friction between the pedal and the crank arm, preventing wear and tear and ensuring a smooth and secure fit. Apply a thin layer of grease to the pedal threads before installation, ensuring that the pedal spins freely and without resistance.
Preparation Tips
Before installing pedals, gather all necessary tools and equipment in a clean, well-lit workspace. This organization will help streamline the installation process, minimize the risk of errors, and ensure a successful outcome. Additionally, always refer to the manufacturer’s instructions for specific guidance on installing pedals for your particular bike model.
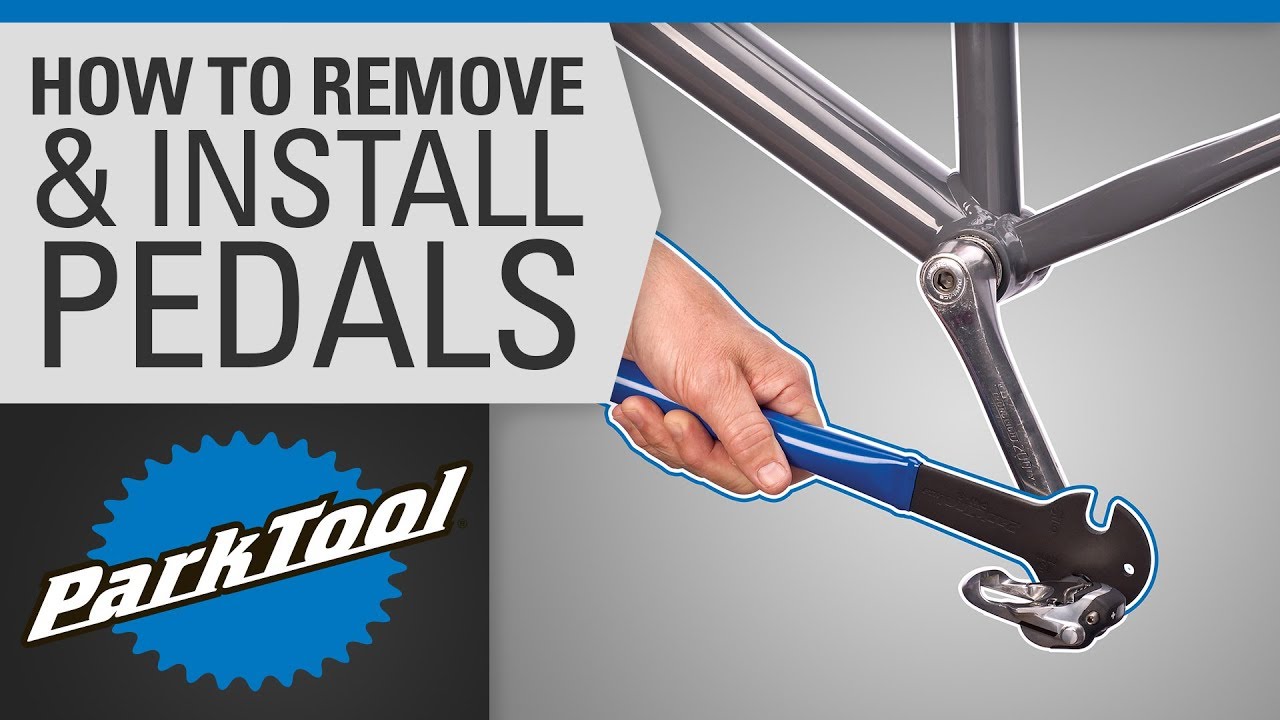
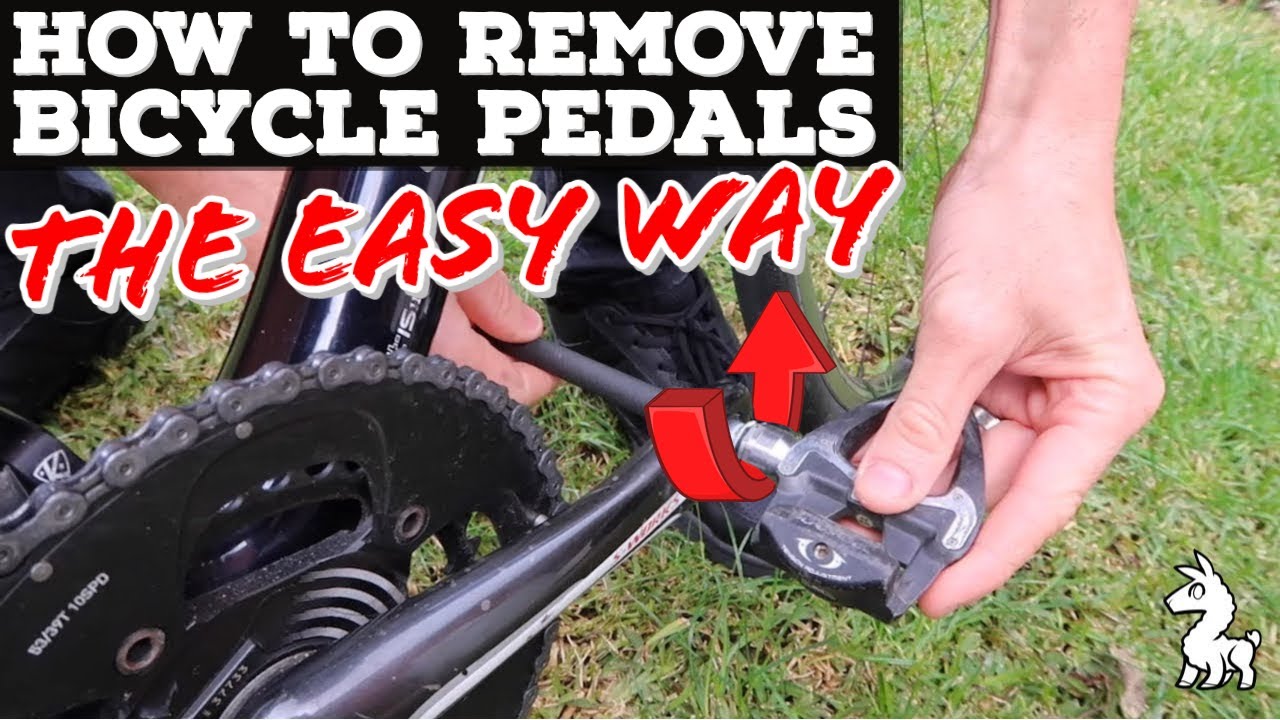
Preparing Your Bike: Removing the Old Pedals
Before installing new pedals on your bike, you must first remove the existing ones. This process typically requires a pedal wrench, although some pedals may be removed with a standard adjustable wrench. Follow these steps to safely and effectively remove your old pedals:
Step 1: Secure Your Bike
Place your bike in a bike stand or securely prop it against a wall or other sturdy surface. Ensure that the bike is stable and will not tip over during the removal process.
Step 2: Identify the Left and Right Pedals
Bike pedals are typically not interchangeable, with the left pedal having a reverse thread compared to the right pedal. To determine the correct orientation, look for the “L” and “R” markings on the pedal or crank arm. The left pedal will have an “L” and a reverse thread, while the right pedal will have an “R” and a standard thread.
Step 3: Loosen the Pedals
Using a pedal wrench, hold the wrench firmly against the flat surface of the pedal and apply pressure to loosen the pedal. For the left pedal, turn the wrench counterclockwise, and for the right pedal, turn the wrench clockwise. If the pedals are tightly secured, you may need to apply additional force or use a longer pedal wrench for increased leverage.
Step 4: Remove the Pedals
Once the pedals are loosened, continue to turn the wrench to fully remove the pedals from the crank arms. Be prepared for the left pedal to turn clockwise as it is removed due to its reverse thread.
Common Challenges and Troubleshooting Tips
If you encounter resistance while removing the pedals, ensure that the bike is properly secured and that the pedal wrench is correctly aligned with the pedal’s flat surface. If the pedals still refuse to budge, you may need to apply some penetrating oil or rust dissolver to help loosen the threads. In some cases, the pedals may be seized due to corrosion or overtightening, requiring the assistance of a professional mechanic to safely remove them.
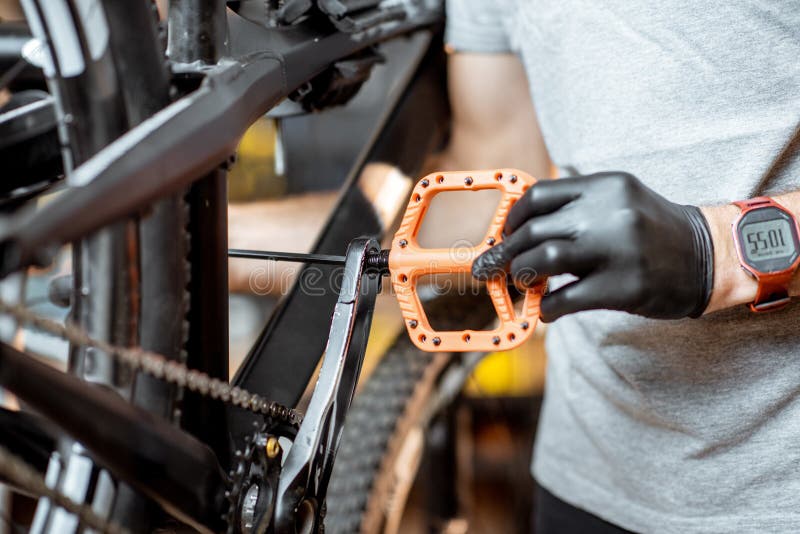
How to Install Pedals on a Bike: Step-by-Step Instructions
Once you have removed the old pedals and gathered the necessary tools, follow these steps to install new pedals on your bike:
Step 1: Prepare the Pedals
Ensure that the new pedals are clean and free of any debris or manufacturing residue. Apply a thin layer of grease to the pedal threads to reduce friction and prevent wear and tear. This step is crucial for ensuring a smooth and secure fit.
Step 2: Align the Pedals with the Crank Arms
Position the left pedal on the left crank arm and the right pedal on the right crank arm. Ensure that the pedal threads are correctly aligned with the crank arm threads before proceeding.
Step 3: Install the Pedals
Using a pedal wrench, slowly turn the pedals clockwise for the right pedal and counterclockwise for the left pedal. Apply steady and consistent pressure, ensuring that the pedals are correctly threaded and securely fastened. Do not overtighten the pedals, as this can strip the threads or damage the crank arms.
Step 4: Tighten the Pedals
After the pedals are initially installed, use the pedal wrench to further tighten them. For the right pedal, turn the wrench clockwise, and for the left pedal, turn the wrench counterclockwise. Ensure that the pedals are securely fastened and that they do not wobble or move freely within the crank arm threads.
Tips for Ensuring a Secure and Stable Fit
When installing pedals, consider the following tips to ensure a secure and stable fit:
- Double-check the orientation of the pedals before tightening them, as incorrect installation can lead to damage or reduced performance.
- Use a torque wrench to achieve the manufacturer’s recommended torque settings, ensuring that the pedals are neither under-tightened nor overtightened.
- Periodically check the pedals for any signs of loosening or wear, and re-tighten them as needed to maintain optimal performance and longevity.

Tightening the Pedals: Achieving the Perfect Torque
Proper torque is crucial when installing pedals on a bike, as it ensures a secure and stable fit while preventing damage to the pedals and crank arms. By using a torque wrench and following the manufacturer’s recommended torque settings, you can achieve a consistent and accurate fit.
Selecting the Appropriate Torque Wrench
A torque wrench is a specialized tool designed to measure and apply precise torque to bolts and other threaded fasteners. When selecting a torque wrench for installing pedals on a bike, consider the following factors:
- Torque range: Choose a torque wrench with a torque range that includes the manufacturer’s recommended torque settings for your bike’s pedals.
- Accuracy: Opt for a torque wrench with a high degree of accuracy, typically within +/- 4% of the set torque value.
- Ease of use: Select a torque wrench that is easy to read, handle, and operate, ensuring a smooth and efficient installation process.
Techniques for Achieving a Consistent and Secure Fit
To achieve the perfect torque when installing pedals on a bike, follow these techniques:
- Set the torque wrench to the manufacturer’s recommended torque setting for your specific pedals.
- Align the torque wrench with the pedal’s fastening bolt, ensuring that the wrench is properly seated and engaged.
- Apply steady and consistent pressure to the torque wrench, turning the bolt until the wrench clicks or indicates that the desired torque has been reached.
- Once the desired torque has been achieved, double-check the pedal’s stability and ensure that it does not wobble or move freely within the crank arm threads.
Torque Wrench Maintenance and Care
Proper maintenance and care are essential for ensuring the longevity and accuracy of your torque wrench. After each use, follow these steps to maintain your torque wrench:
- Clean the torque wrench with a soft, dry cloth to remove any dirt, debris, or residue.
- Check the torque wrench for any signs of damage, such as cracks, bent components, or worn-out parts, and replace or repair as necessary.
- Store the torque wrench in a protective case or storage container to prevent damage during transportation or storage.
- Calibrate the torque wrench periodically, as recommended by the manufacturer, to ensure continued accuracy and performance.
Testing Your New Pedals: Ensuring Safety and Performance
After successfully installing new pedals on your bike, it’s essential to thoroughly test them to ensure safety, performance, and longevity. By following these recommended safety checks, adjustments, and maintenance tasks, you can maximize the benefits of your new pedals and enjoy a more comfortable and efficient cycling experience.
Safety Checks
Before taking your bike for a spin, perform these safety checks:
- Inspect the pedals for any signs of damage, such as cracks, bent components, or loose fasteners, and address any issues before riding.
- Ensure that the pedals are securely fastened and that they do not wobble or move freely within the crank arm threads.
- Check the bike’s brakes, tires, and wheels for proper function and alignment, and adjust as necessary.
Adjustments
To optimize the performance of your new pedals, consider making the following adjustments:
- Adjust the pedal tension, if applicable, to suit your preferred level of resistance and engagement.
- Fine-tune the saddle height and position to achieve a comfortable and efficient pedaling motion.
- Ensure that the handlebars are correctly aligned and adjusted for optimal control and comfort.
Maintenance Tasks
Regular maintenance is crucial for preserving the performance and longevity of your new pedals. Perform these maintenance tasks as needed:
- Clean the pedals with a soft, dry cloth to remove any dirt, debris, or residue.
- Lubricate the pedal threads and fastening bolts to reduce wear and tear and ensure smooth operation.
- Tighten the pedals as necessary to maintain the recommended torque settings and a secure fit.
- Inspect the pedals for any signs of wear, damage, or wear, and replace them if needed.
Enjoying Your New Pedals
With proper installation, testing, and maintenance, you can now enjoy the benefits of your new pedals, including improved performance, comfort, and style. Embrace the joy of customization and take your cycling experience to new heights with your upgraded bike.