
Why Proper Pedal Removal Matters
Removing pedals from a bike is a crucial process that requires attention to detail and a understanding of the correct techniques. Improper pedal removal can lead to a range of problems, including stripped threads, damaged crank arms, and even accidents. When pedals are not removed correctly, it can put unnecessary stress on the bike’s components, leading to premature wear and tear. Furthermore, incorrect pedal removal can also compromise the safety of the rider, particularly if the pedals are not securely reinstalled.

Click Image to Find eBike Products
In addition to the potential risks, improper pedal removal can also lead to costly repairs and maintenance. Stripped threads, for example, can require specialized tools and expertise to repair, while damaged crank arms may need to be replaced entirely. By taking the time to learn the correct techniques for removing pedals from a bike, riders can avoid these problems and ensure a smooth, safe, and enjoyable riding experience.
One of the most common mistakes riders make when removing pedals is not paying attention to the direction of the threads. Pedals are typically threaded in a specific direction, and removing them in the wrong direction can cause damage to the threads or the crank arms. To avoid this, it’s essential to understand the basics of pedal threads and how to identify the correct direction for removal. By doing so, riders can ensure a safe and successful pedal removal process.
Removing pedals from a bike which direction is also crucial to avoid damaging the bike’s components. The direction of the threads is usually indicated by an arrow or a marking on the pedal or crank arm. By following the correct direction, riders can ensure that the pedals are removed safely and without causing any damage. This is particularly important for riders who are new to bike maintenance or are unsure about the correct techniques for pedal removal.
In conclusion, proper pedal removal is essential for maintaining the safety and integrity of a bike. By understanding the correct techniques and paying attention to the direction of the threads, riders can avoid common problems and ensure a smooth, safe, and enjoyable riding experience. Whether you’re a seasoned rider or just starting out, taking the time to learn the correct techniques for removing pedals from a bike is an investment worth making.
Understanding Pedal Threads and Directions
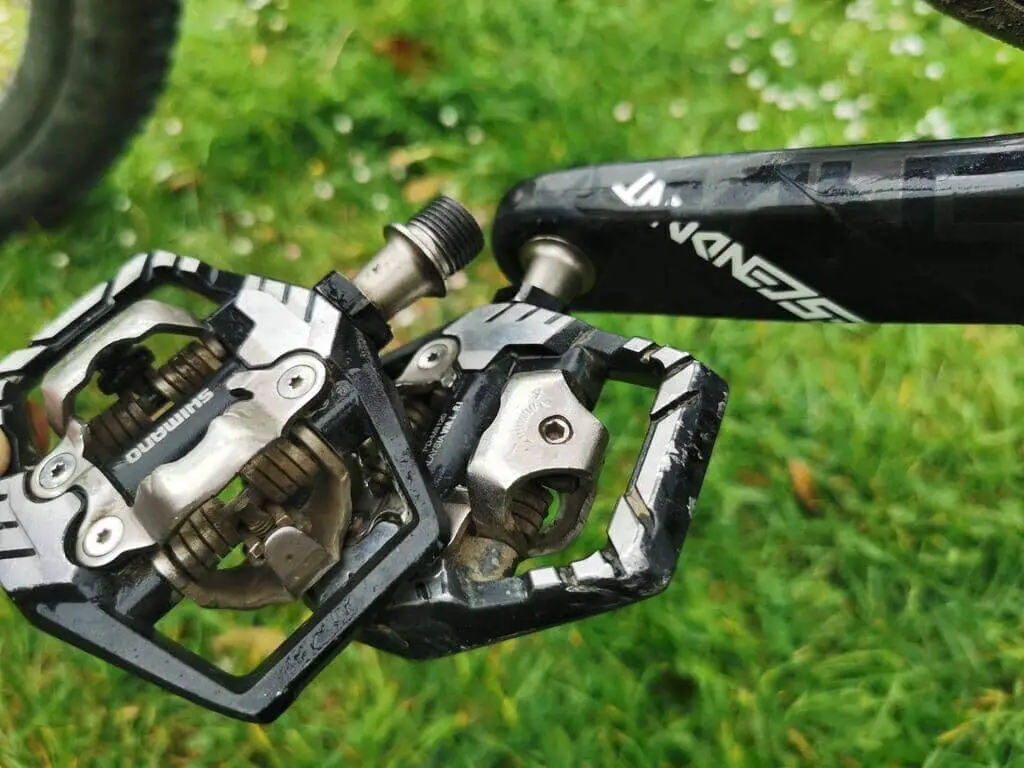
Pedal threads are a crucial aspect of bike maintenance, and understanding the basics is essential for removing pedals from a bike which direction. Pedal threads come in two main types: left-hand and right-hand threads. The direction of the threads is usually indicated by an arrow or a marking on the pedal or crank arm.
The most common type of pedal thread is the right-hand thread, which is used on the majority of bikes. However, some bikes, particularly those with specialized pedals or cranksets, may use left-hand threads. It’s essential to identify the correct thread direction before attempting to remove the pedals, as using the wrong direction can cause damage to the threads or the crank arms.
To identify the thread direction, look for the following markings:
- Right-hand threads: The arrow or marking will point clockwise.
- Left-hand threads: The arrow or marking will point counterclockwise.
Once you’ve identified the thread direction, make sure to use the correct tool for the job. Pedal wrenches and Allen wrenches are designed to work with specific thread directions, so using the wrong tool can cause damage or strip the threads.
When removing pedals from a bike which direction, it’s also essential to consider the type of pedal and crankset being used. Some pedals, such as clipless pedals, may require specialized tools or techniques for removal. Similarly, some cranksets may have specific requirements for pedal removal, such as the use of a specific wrench or adapter.
By understanding the basics of pedal threads and directions, bike owners can ensure a safe and successful pedal removal process. Whether you’re a seasoned mechanic or a DIY enthusiast, taking the time to learn about pedal threads and directions can save you time and hassle in the long run.

Choosing the Right Tools for the Job
When it comes to removing pedals from a bike, having the right tools for the job is essential. The correct tools will make the process easier, safer, and more efficient. In this section, we’ll discuss the necessary tools for removing pedals, including pedal wrenches, Allen wrenches, and pliers.
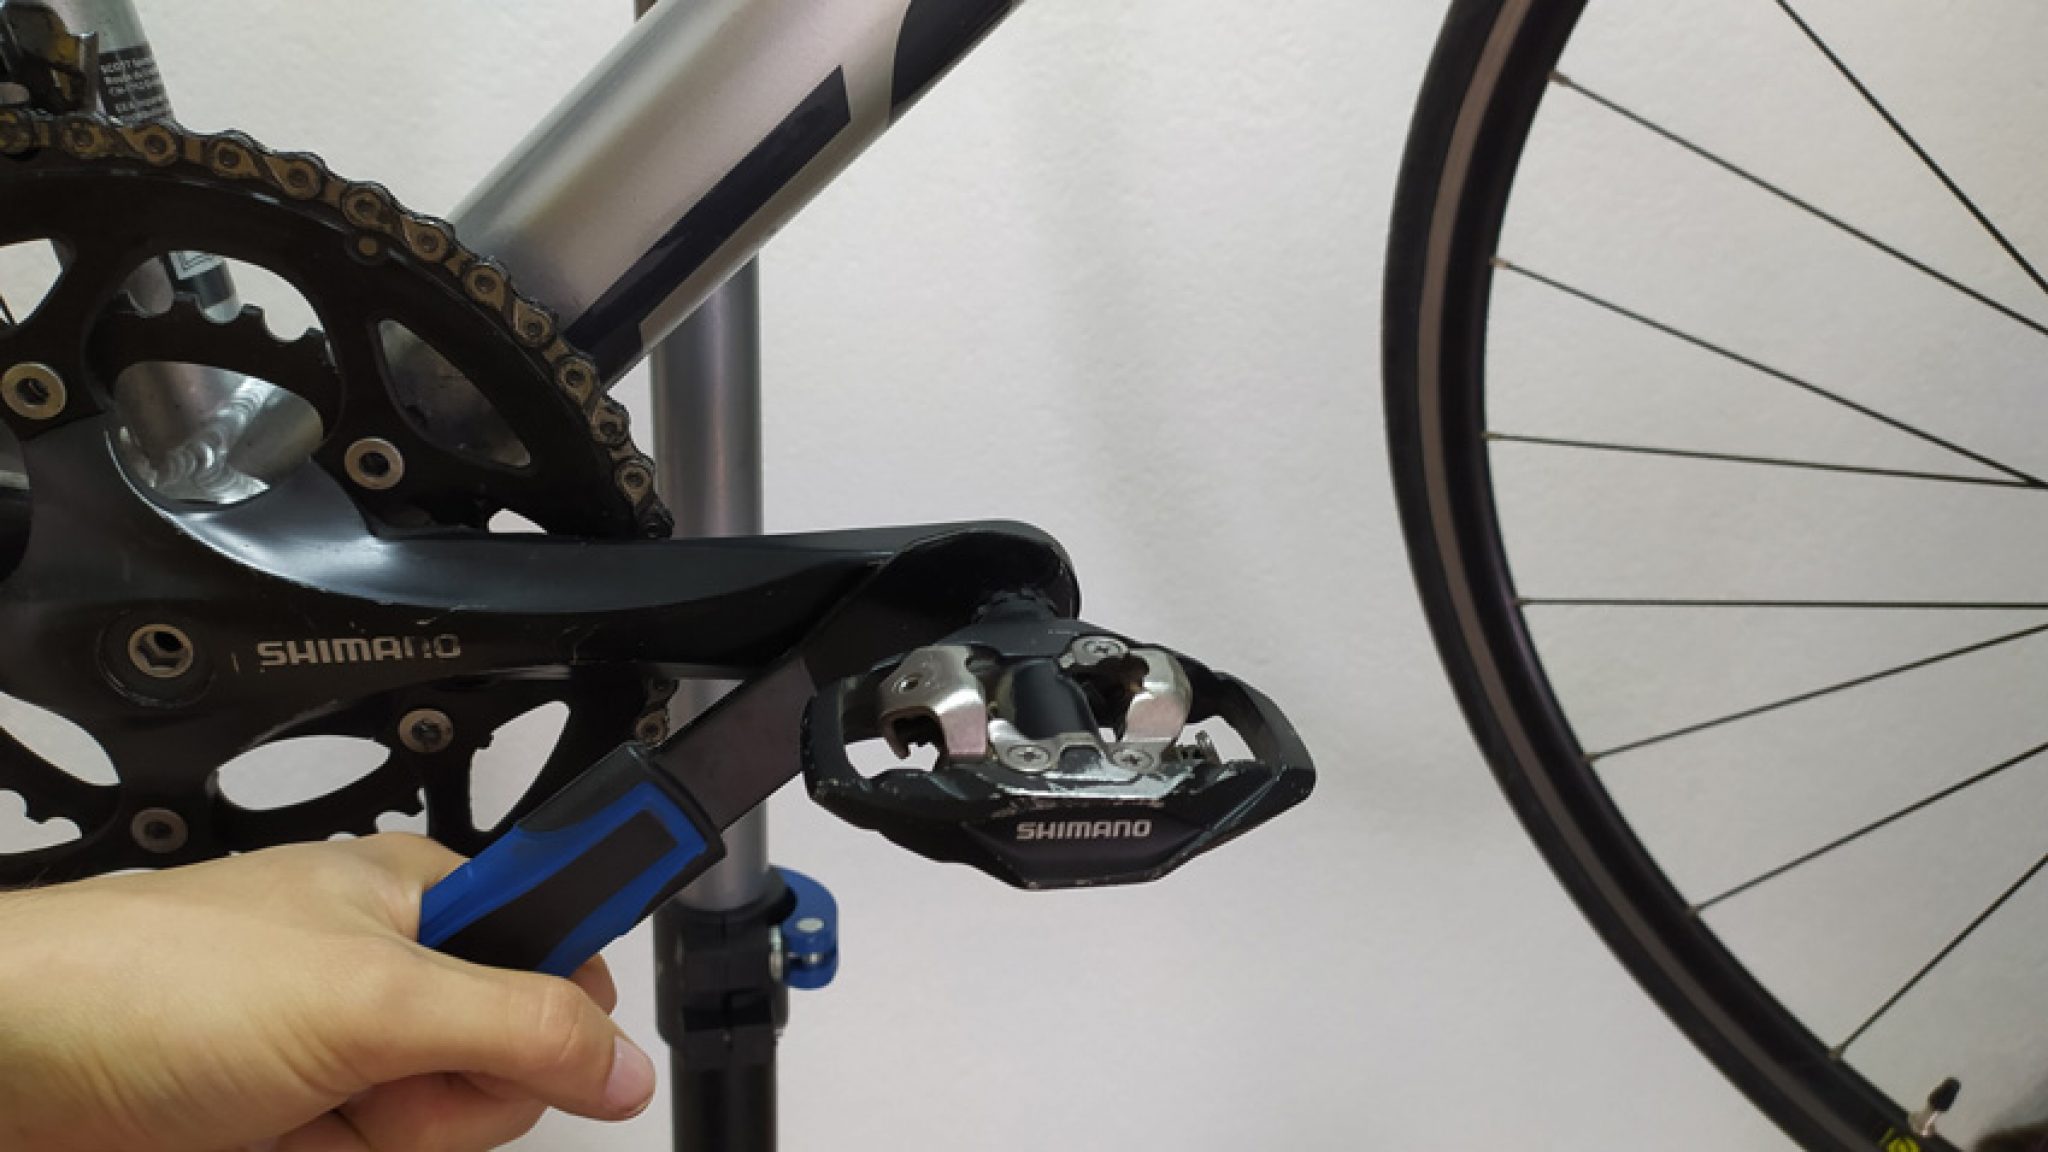
Pedal wrenches are the most common tool used for removing pedals. They are designed to fit onto the pedal axle and provide the necessary leverage to loosen the pedal. Pedal wrenches come in different sizes, so it’s essential to choose the correct size for your pedal. A pedal wrench that is too small may not provide enough leverage, while a wrench that is too large may damage the pedal or crank arm.
Allen wrenches are also commonly used for removing pedals, particularly those with Allen bolts. Allen wrenches are designed to fit into the Allen bolt and provide the necessary torque to loosen the pedal. When using an Allen wrench, make sure to choose the correct size to avoid damaging the bolt or surrounding components.
Pliers are also useful for removing pedals, particularly those with a nut or bolt that needs to be loosened. Pliers can provide the necessary grip and leverage to loosen the pedal, but be careful not to damage the surrounding components.
When choosing the right tool for the job, consider the type of pedal and crankset being used. Some pedals, such as clipless pedals, may require specialized tools or adapters. Similarly, some cranksets may have specific requirements for pedal removal, such as the use of a specific wrench or adapter.
When removing pedals from a bike which direction, it’s essential to use the correct tool to avoid damaging the threads or surrounding components. Using the wrong tool can lead to stripped threads, damaged crank arms, or even accidents. By choosing the right tool for the job, you can ensure a safe and successful pedal removal process.
In addition to the tools mentioned above, it’s also essential to have a few other items on hand, such as a rag, some lubricant, and a pair of gloves. These items will help to protect your hands and the surrounding components from damage, and make the pedal removal process easier and more efficient.
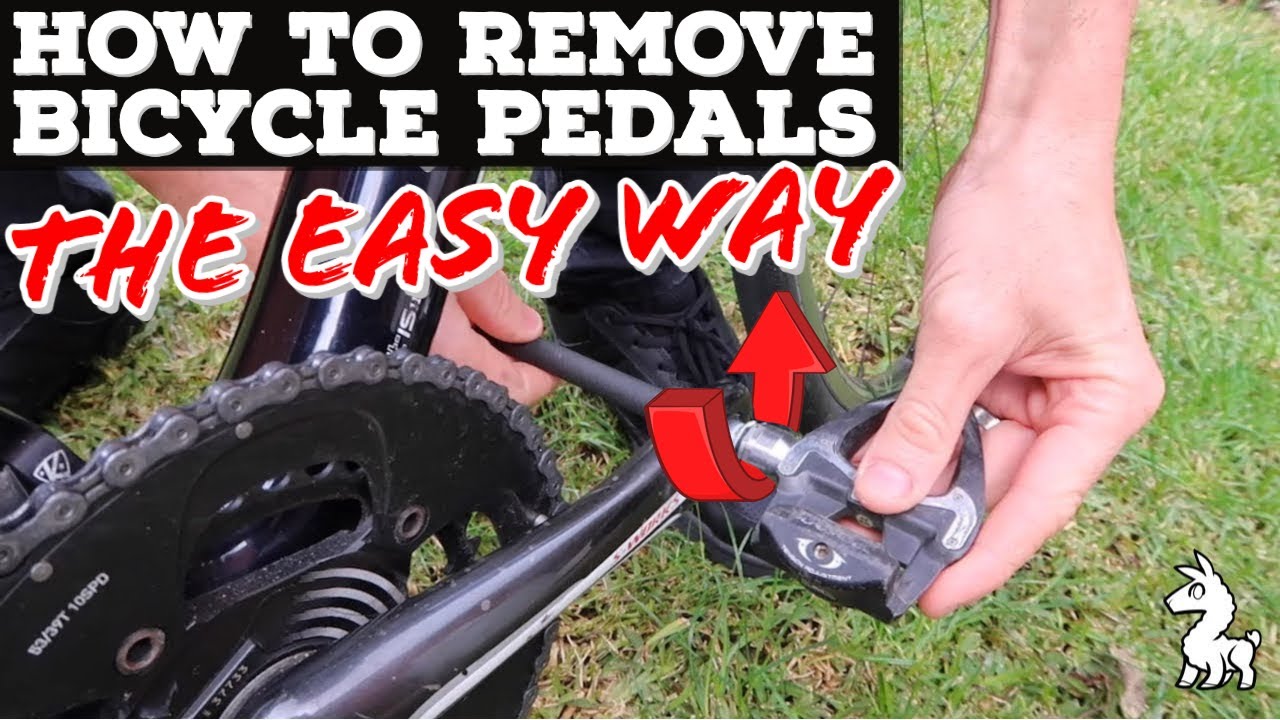
Step-by-Step Pedal Removal Instructions
Removing pedals from a bike can seem like a daunting task, but with the right tools and a step-by-step guide, it can be a straightforward process. In this section, we’ll walk you through the steps to remove pedals from a bike, including how to position the bike, loosen the pedals, and remove them completely.
Step 1: Position the Bike
Before starting the pedal removal process, make sure the bike is in a stable position. Place the bike on a level surface and ensure the pedals are in the correct position. For most bikes, this means the pedals should be in the 3 o’clock and 9 o’clock positions.
Step 2: Loosen the Pedals
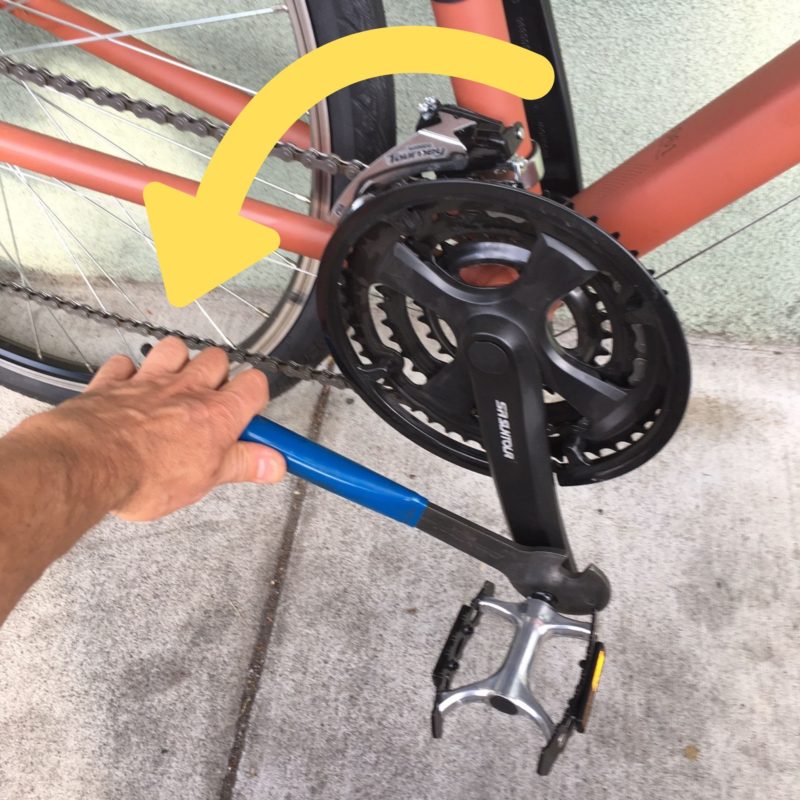
Using the correct tool for the job, loosen the pedals by turning them counterclockwise. For right-hand threaded pedals, this means turning the pedal wrench or Allen wrench to the left. For left-hand threaded pedals, turn the wrench to the right.
Step 3: Remove the Pedals
Once the pedals are loose, remove them completely by pulling them straight off the crank arm. Be careful not to damage the surrounding components or strip the threads.
Step 4: Inspect the Crank Arm
After removing the pedals, inspect the crank arm for any damage or debris. Clean the area with a rag and apply some lubricant to the threads to prevent corrosion.
Step 5: Repeat the Process
Repeat the process for the second pedal, making sure to follow the correct thread direction and loosen the pedal completely before removing it.
By following these steps, you can safely and successfully remove pedals from a bike. Remember to always follow the correct thread direction and use the correct tools for the job to avoid damaging the bike or injuring yourself.
When removing pedals from a bike which direction, it’s essential to follow the correct thread direction to avoid damaging the threads or surrounding components. Using the wrong direction can lead to stripped threads, damaged crank arms, or even accidents. By following the steps outlined above, you can ensure a safe and successful pedal removal process.
Troubleshooting Common Pedal Removal Issues
Removing pedals from a bike can be a straightforward process, but sometimes issues can arise. In this section, we’ll address common problems that may occur during pedal removal, such as stuck pedals, stripped threads, or damaged crank arms. We’ll also provide solutions and tips for overcoming these issues.
Stuck Pedals
If a pedal is stuck, it can be difficult to remove. This can be caused by corrosion, dirt, or grime buildup. To overcome this issue, try applying some lubricant to the pedal threads and letting it sit for a few minutes. Then, use a pedal wrench or Allen wrench to loosen the pedal. If the pedal is still stuck, try using a breaker bar or a long-handled wrench to provide extra leverage.
Stripped Threads
Stripped threads can occur if the pedal is removed in the wrong direction or if the wrong tool is used. To avoid stripped threads, always follow the correct thread direction and use the correct tool for the job. If the threads are already stripped, try using a thread repair kit to repair the damage.
Damaged Crank Arms
Damaged crank arms can occur if the pedal is removed with excessive force or if the wrong tool is used. To avoid damaging the crank arms, always use the correct tool and follow the correct thread direction. If the crank arms are already damaged, try using a crank arm repair kit to repair the damage.
Other Common Issues
Other common issues that may arise during pedal removal include loose pedals, misaligned pedals, or pedals that are difficult to reinstall. To overcome these issues, try tightening the pedals securely, aligning the pedals properly, or using a pedal installation tool to ensure proper installation.
When removing pedals from a bike which direction, it’s essential to be aware of these common issues and take steps to prevent them. By following the correct thread direction, using the correct tools, and taking your time, you can avoid these issues and ensure a safe and successful pedal removal process.

Reinstalling Pedals: Best Practices
Reinstalling pedals is a crucial step in the pedal removal process. Proper reinstallation ensures that the pedals are securely attached to the crank arms and function smoothly. In this section, we’ll discuss the best practices for reinstalling pedals, including how to apply the correct amount of torque and ensure secure threading.
Applying the Correct Amount of Torque
When reinstalling pedals, it’s essential to apply the correct amount of torque to ensure that the pedals are securely attached to the crank arms. Over-tightening can damage the threads or strip the pedals, while under-tightening can cause the pedals to come loose while riding. The recommended torque specification for most pedals is between 30-40 Nm.
Ensuring Secure Threading
Secure threading is critical to ensure that the pedals are properly attached to the crank arms. To ensure secure threading, make sure to align the pedal threads with the crank arm threads and turn the pedal clockwise until it’s snug. Then, apply the recommended torque specification to secure the pedal in place.
Tips for Avoiding Common Mistakes
When reinstalling pedals, there are several common mistakes to avoid. These include over-tightening, under-tightening, and cross-threading. To avoid these mistakes, make sure to follow the recommended torque specification and ensure that the pedal threads are properly aligned with the crank arm threads.
Best Practices for Reinstalling Pedals
Here are some best practices to keep in mind when reinstalling pedals:
- Always follow the recommended torque specification for your pedals.
- Ensure that the pedal threads are properly aligned with the crank arm threads.
- Turn the pedal clockwise until it’s snug, then apply the recommended torque specification.
- Avoid over-tightening or under-tightening the pedals.
- Regularly inspect and maintain your pedals to ensure smooth function and prevent damage.
By following these best practices, you can ensure that your pedals are properly reinstalled and function smoothly. Remember to always follow the recommended torque specification and ensure that the pedal threads are properly aligned with the crank arm threads.
When removing pedals from a bike which direction, it’s essential to follow the correct thread direction and use the correct tools for the job. By doing so, you can avoid damaging the threads or surrounding components and ensure a safe and successful pedal removal process.

Conclusion: Pedal Removal Made Easy
Removing pedals from a bike can seem like a daunting task, but with the right techniques and tools, it can be a straightforward process. By following the steps outlined in this article, you can ensure a safe and successful pedal removal process. Remember to always follow the correct thread direction, use the correct tools for the job, and take your time to avoid damaging the threads or surrounding components.
Proper pedal removal and reinstallation techniques are essential for maintaining the safety and integrity of your bike. By mastering these skills, you can become more confident and self-sufficient bike owners, able to tackle common maintenance tasks with ease.
In addition to the techniques outlined in this article, regular maintenance is crucial for ensuring a smooth pedaling experience. Regular cleaning, lubrication, and inspection of pedals and crank arms can help prevent damage and ensure optimal performance.
By incorporating these techniques and maintenance tips into your bike maintenance routine, you can enjoy a safe and enjoyable riding experience. Remember to always follow the manufacturer’s instructions and take necessary safety precautions when working with your bike.
Removing pedals from a bike which direction is a crucial step in the pedal removal process. By following the correct thread direction and using the correct tools for the job, you can ensure a safe and successful pedal removal process. With practice and patience, you can master the art of pedal removal and become a more confident and self-sufficient bike owner.
Maintenance Tips for a Smooth Pedaling Experience
Regular maintenance is crucial for ensuring a smooth pedaling experience. By following these tips, you can keep your pedals and crank arms in good condition and prevent damage.
Regular Cleaning
Regular cleaning is essential for removing dirt, grime, and other debris that can accumulate on the pedals and crank arms. Use a soft-bristled brush or a clean cloth to wipe down the pedals and crank arms, paying particular attention to the areas around the threads and bearings.
Lubrication
Lubrication is critical for keeping the pedals and crank arms running smoothly. Apply a small amount of lubricant to the threads and bearings, making sure to wipe off any excess with a clean cloth.
Inspection
Regular inspection is essential for identifying any potential issues before they become major problems. Check the pedals and crank arms for any signs of wear or damage, such as stripped threads, damaged bearings, or loose connections.
Additional Tips
Here are some additional tips for maintaining a smooth pedaling experience:
- Regularly check and adjust the pedal tension to ensure proper alignment and smooth pedaling.
- Use a torque wrench to ensure proper tightening of the pedals and crank arms.
- Avoid using excessive force or torque when removing or installing pedals, as this can damage the threads or surrounding components.
- Keep the pedals and crank arms clean and dry to prevent corrosion and damage.
By following these maintenance tips, you can ensure a smooth pedaling experience and prevent damage to your pedals and crank arms. Remember to always follow the manufacturer’s instructions and take necessary safety precautions when working with your bike.
Removing pedals from a bike which direction is a crucial step in the pedal removal process. By following the correct thread direction and using the correct tools for the job, you can ensure a safe and successful pedal removal process. With regular maintenance and proper care, you can keep your pedals and crank arms in good condition and enjoy a smooth pedaling experience.