The Significance of High-Quality Brake Cables
Regularly checking and replacing bike brake cables is crucial for ensuring optimal safety and performance. High-quality brake cables offer several benefits, including improved responsiveness and durability. These cables are designed to withstand the rigors of daily use, providing reliable braking power in various weather conditions. By upgrading to high-quality cables, cyclists can enhance their biking experience and gain peace of mind, knowing their brakes will perform when needed most. The process of replace brake cables on bike is straightforward and can be accomplished with the right tools and guidance.

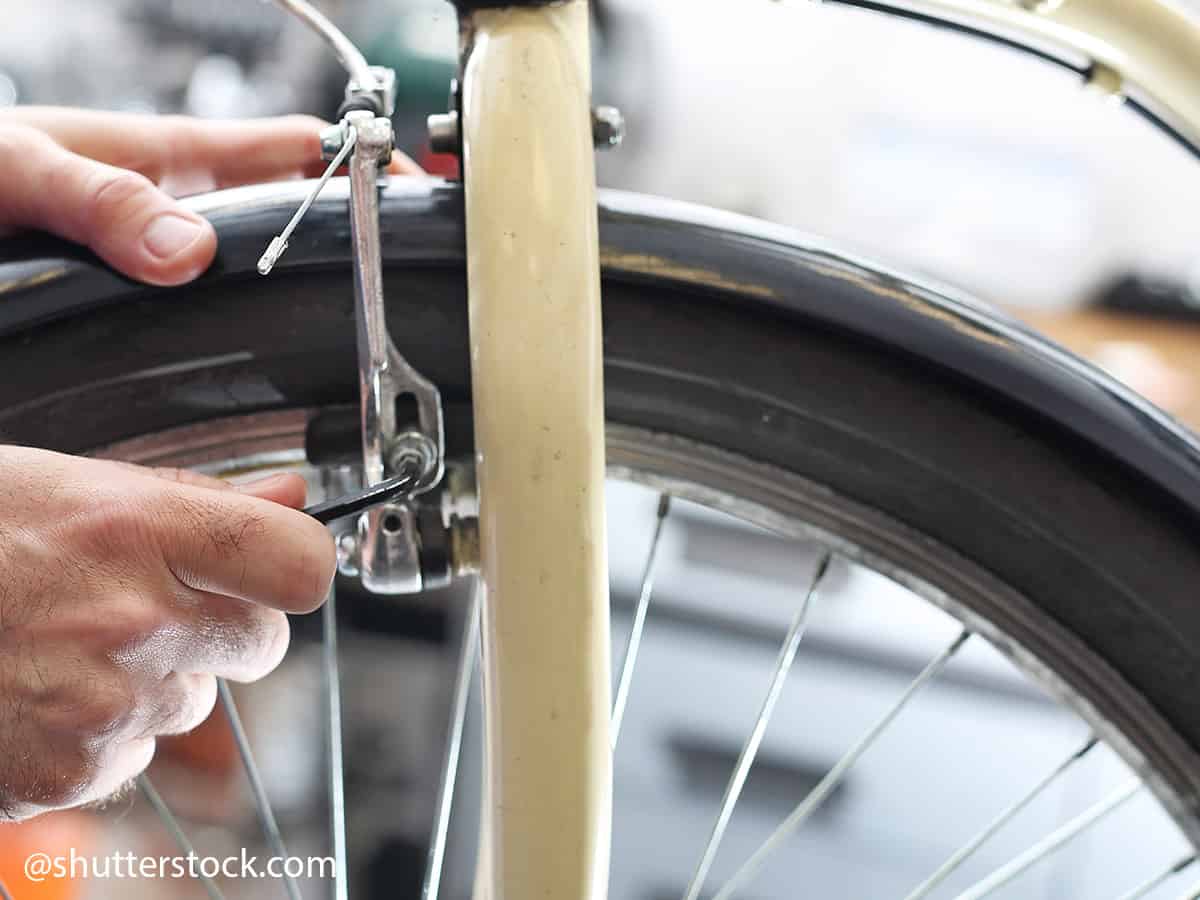
Click Image to Find eBike Products

Identifying Worn-Out Brake Cables
Brake cables are essential components of a bike’s braking system, and their condition significantly impacts the overall safety and performance of the bicycle. Regularly inspecting your brake cables can help you identify signs of wear and determine when it’s time for a replacement. Some common indicators of worn-out brake cables include reduced braking power, unusual noises during braking, and difficulty shifting gears.
When inspecting your brake cables, pay attention to the cable’s overall appearance. Frayed, corroded, or kinked cables may require replacement. Additionally, if you notice that your brake levers feel spongy or unresponsive, this could be a sign that the cable’s inner lining has worn down, reducing its ability to transmit force effectively.
To diagnose cable issues, start by testing your bike’s braking system. Squeeze the brake levers firmly and observe the response. If you notice a delay in braking or reduced stopping power, it may be time to replace the brake cables. Additionally, if shifting gears becomes challenging or noisy, this could indicate that the brake cables are affecting the gear system’s performance.
Regularly replacing bike brake cables is an essential aspect of bike maintenance, ensuring optimal safety and performance. By staying vigilant and addressing worn-out cables promptly, cyclists can enjoy a smooth, secure, and enjoyable riding experience.
https://www.youtube.com/watch?v=80TaGOXy9Wk
Choosing the Right Brake Cables for Your Bike
When it comes to replacing bike brake cables, cyclists have several options to choose from, each with its unique advantages and disadvantages. Understanding the different types of brake cables available can help you make an informed decision and select the best option for your bike, riding style, and budget.
Stainless Steel Brake Cables: Stainless steel brake cables are a popular choice among cyclists due to their durability and resistance to corrosion. These cables are ideal for wet or humid environments, as they can withstand exposure to moisture without deteriorating. Additionally, stainless steel cables offer improved responsiveness and a longer lifespan compared to other cable materials. However, they tend to be more expensive than alternative options.
Coated Brake Cables: Coated brake cables are another popular choice, featuring an outer layer of plastic or synthetic material designed to protect the inner cable from damage and wear. This coating can help reduce friction, improving the overall performance and longevity of the cable. Coated cables are often more affordable than stainless steel options, making them an attractive choice for budget-conscious cyclists. However, they may not be as durable as stainless steel cables and may require more frequent replacement.
When selecting the right brake cables for your bike, consider factors such as your riding style, environment, and budget. For instance, if you frequently ride in wet or humid conditions, stainless steel cables may be the best choice due to their resistance to corrosion. On the other hand, if you’re looking for an affordable option that still offers improved performance, coated brake cables could be a suitable alternative.

Gathering Tools and Materials for the Job
Before embarking on the task of replacing bike brake cables, it’s essential to gather the necessary tools and materials to ensure a smooth and efficient installation process. High-quality tools can make the difference between a successful installation and a frustrating experience. Here’s a list of essential items you’ll need to complete the job:
- Cable Cutters: Cable cutters are specifically designed to cut through brake cables and housing without damaging the components. Using regular scissors or wire cutters can result in frayed or deformed ends, making it difficult to install and adjust the cables properly.
- Pliers: Pliers are useful for gripping, bending, and manipulating the cables during installation. Needle-nose pliers, in particular, can help you guide the cables through tight spaces and housing ends.
- Lubricant: Applying lubricant to the new brake cables can help reduce friction and improve the overall performance of the braking system. Look for a high-quality lubricant specifically designed for bike cables and housing.
- New Brake Cables: Of course, you’ll need new brake cables to replace the worn-out ones. Select the appropriate cables based on your bike type, riding style, and budget. Ensure that the cables are the correct length and diameter for your specific braking system.
- Brake Cable Housing: Brake cable housing is the outer protective covering that surrounds the cables. While it may not always need to be replaced during a cable swap, inspect the housing for signs of wear, damage, or fraying. If necessary, replace the housing to ensure optimal performance and protection for your new cables.
By investing in high-quality tools and materials, you’ll not only make the installation process easier but also ensure the longevity and performance of your new brake cables. Remember, the right tools can make all the difference when it comes to replacing bike brake cables.

How to Replace Brake Cables on a Bike: Step-by-Step Instructions
Follow these clear, concise steps to replace bike brake cables, ensuring optimal performance and safety. Remember to take your time, and don’t hesitate to consult visual aids or seek assistance if needed.
- Remove the Old Brake Cables: Begin by disconnecting the old brake cables from the brake levers. This process typically involves loosening the pinch bolt on the brake lever, pulling the cable out, and securing the lever in its open position using a cable tie or by clamping it with pliers.
- Inspect the Brake Housing: Carefully inspect the brake housing for signs of wear, damage, or kinking. If necessary, replace the housing to ensure optimal performance and protection for your new cables.
- Install the New Brake Cables: Feed the new brake cables through the housing, starting at the brake lever and working your way to the brake caliper. Ensure that the cables are not twisted or kinked during this process.
- Attach the Cables to the Brake Caliper: Once the cables are in place, attach them to the brake caliper using the appropriate hardware. This may involve tightening a pinch bolt or securing the cable with a cable clamp.
- Adjust the Brake Lever Tension: With the new cables installed, adjust the brake lever tension to ensure optimal braking power. This process typically involves loosening the pinch bolt on the brake lever, adjusting the tension using a barrel adjuster or the brake lever itself, and then tightening the pinch bolt to secure the cable in place.
- Test the Brakes: Finally, test the brakes to ensure proper function. Squeeze the brake levers firmly and observe the response. If you notice any issues, such as reduced braking power or unusual noises, consult the troubleshooting section for potential solutions.
By following these step-by-step instructions, you’ll be able to replace bike brake cables with confidence, ensuring optimal performance and safety for your cycling adventures. Remember, high-quality tools and materials can make the installation process smoother and more efficient, so invest wisely to make the most of your time and effort.

Troubleshooting Common Issues During Installation
While replacing bike brake cables, you may encounter some common issues that can be easily addressed with the right approach. Here, we discuss these challenges and provide solutions to help you achieve a successful installation.
Cable Kinking
Cable kinking can occur when the cable is not properly guided through the housing or if it is twisted during installation. To avoid kinking, carefully feed the cable through the housing, ensuring that it moves smoothly and without resistance. If a kink does occur, try straightening it gently with pliers, but be cautious not to damage the cable.
Housing Misalignment
Misaligned brake housing can lead to poor cable alignment and reduced braking performance. To correct this issue, loosen the housing clamps and realign the housing so that it is straight and properly positioned. Then, tighten the clamps securely to hold the housing in place.
Brake Lever Adjustment
Improperly adjusted brake levers can result in reduced braking power or difficulty shifting gears. To adjust the brake levers, loosen the pinch bolt and use the barrel adjuster or the brake lever itself to fine-tune the tension. Once the desired tension is achieved, tighten the pinch bolt to secure the cable in place.
Inadequate Cable Tension
Insufficient cable tension can lead to reduced braking power and a spongy brake lever feel. To resolve this issue, adjust the cable tension by loosening the pinch bolt, pulling the cable taut, and then tightening the pinch bolt to secure the cable in place. Test the brakes and make further adjustments as needed to achieve optimal performance.
By understanding these common issues and their solutions, you’ll be better equipped to replace bike brake cables successfully and ensure optimal performance for your cycling adventures. Remember, taking your time and using high-quality tools and materials can make the installation process smoother and more efficient, ultimately leading to a safer and more enjoyable riding experience.

Maintaining Your New Brake Cables for Long-Term Performance
Regular maintenance is crucial for ensuring the longevity and optimal performance of your newly replaced bike brake cables. By incorporating a few simple steps into your routine bike maintenance, you can prolong the lifespan of your cables and enjoy a safer, more responsive riding experience.
Cleaning
Dirt, debris, and moisture can accumulate on your brake cables over time, leading to reduced performance and increased wear. To clean your cables, use a soft, dry brush to gently remove any dirt or debris from the cable housing. For particularly stubborn grime, you can use a mild detergent and a cloth to clean the exterior of the housing. Avoid using high-pressure water or abrasive materials, as these can damage the cables or housing.
Lubrication
Applying lubricant to your brake cables can help reduce friction and improve performance. To lubricate your cables, first, clean them thoroughly to remove any dirt or debris. Then, apply a high-quality lubricant specifically designed for bike cables, ensuring that it reaches both the inner and outer cables. Wipe away any excess lubricant to prevent attracting dirt and debris.
Adjustment
Over time, your brake cables may stretch or become loose, leading to reduced braking power and a spongy brake lever feel. Regularly check your brake cable tension and make adjustments as needed to maintain optimal performance. This process typically involves loosening the pinch bolt, adjusting the tension, and then tightening the pinch bolt to secure the cable in place.
By incorporating these maintenance practices into your routine bike care, you can ensure the long-term performance and safety of your new brake cables. Regular cleaning, lubrication, and adjustment not only extend the lifespan of your cables but also contribute to a more enjoyable and responsive riding experience. Remember, investing in high-quality tools and materials can make these maintenance tasks smoother and more efficient, ultimately saving you time and effort in the long run.