Diagnosing the Problem: When to Replace Your Gear Shift Cable
A faulty gear shift cable can cause a range of problems, from difficulty shifting gears to unusual noises and vibrations. If you’re experiencing any of these symptoms, it may be time to consider replacing your gear shift cable. But how do you know for sure if a replacement is necessary?

Click Image to Find eBike Products
One of the most common signs of a faulty gear shift cable is difficulty shifting gears. If you’re finding it hard to shift into gear, or if the gear shift is feeling loose or stiff, it could be a sign that the cable is worn out or damaged. Another symptom to look out for is unusual noises, such as grinding or clicking sounds, when shifting gears. These noises can indicate that the cable is not functioning properly.
In addition to these symptoms, you may also notice that your vehicle is having trouble staying in gear. If you’re finding that your vehicle is slipping out of gear, or if you’re having trouble getting it to stay in gear, it could be a sign that the gear shift cable is faulty.
If you’re experiencing any of these symptoms, it’s a good idea to have your vehicle checked by a mechanic as soon as possible. They can diagnose the problem and determine if a replacement is necessary. In some cases, the problem may be with the gear shift cable itself, while in other cases it may be with the transmission or other components.
Replacing a gear shift cable can be a relatively straightforward process, but it does require some technical expertise. If you’re not comfortable with DIY car repairs, it’s best to leave it to a professional mechanic. However, if you’re looking to save money and learn a new skill, replacing a gear shift cable can be a great project to take on.
Before you start, make sure you have a good understanding of the process and the tools and materials you’ll need. You’ll need to purchase a new gear shift cable, as well as any necessary tools and lubricants. You’ll also need to consult your vehicle’s repair manual for specific instructions on how to replace the cable.
By following these steps and taking the time to diagnose the problem, you can ensure that your vehicle is running smoothly and safely. And if you do need to replace your gear shift cable, you’ll be able to do it with confidence.
Understanding the Gear Shift Cable: How it Works and What to Expect
The gear shift cable is a critical component of a vehicle’s transmission system, responsible for connecting the gear shift to the transmission. It plays a vital role in ensuring smooth and precise shifting of gears, and its proper functioning is essential for the overall performance and safety of the vehicle.
There are several types of gear shift cables, each designed for specific vehicle applications. The most common types include:
- Push-pull cables: These cables use a push-pull mechanism to engage and disengage gears.
- Rotary cables: These cables use a rotary motion to engage and disengage gears.
- Linear cables: These cables use a linear motion to engage and disengage gears.
Each type of gear shift cable has its unique characteristics, advantages, and disadvantages. For example, push-pull cables are commonly used in manual transmissions, while rotary cables are often used in automatic transmissions.
When replacing a gear shift cable, it’s essential to choose the correct type and specification for your vehicle. Consult your vehicle’s repair manual or manufacturer’s instructions to ensure you get the right cable for the job.
In addition to the type of cable, it’s also important to consider the material and construction of the cable. Gear shift cables are typically made from durable materials such as stainless steel or nylon, and are designed to withstand the rigors of daily driving.
When selecting a replacement gear shift cable, look for one that meets or exceeds the original equipment manufacturer’s (OEM) specifications. This will ensure that the cable is designed to work seamlessly with your vehicle’s transmission system and provide optimal performance.
By understanding the gear shift cable’s function, types, and characteristics, you’ll be better equipped to diagnose and repair problems, and ensure a smooth and safe driving experience.

Gathering the Right Tools and Materials: A Checklist for Replacement
Before starting the replacement process, it’s essential to gather the necessary tools and materials to ensure a smooth and successful installation. Here’s a checklist of what you’ll need:
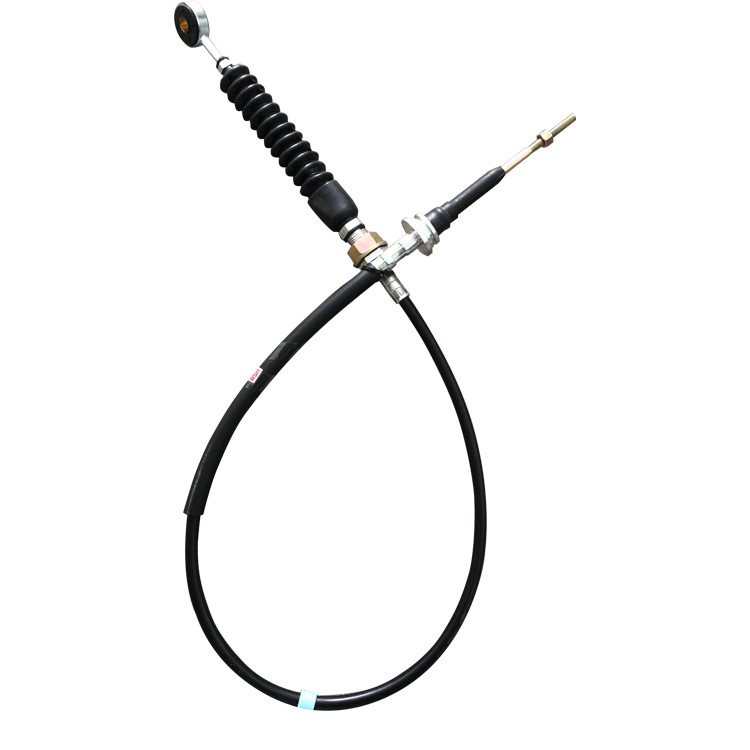
- New gear shift cable: Make sure to purchase a cable that meets or exceeds the original equipment manufacturer’s (OEM) specifications.
- Lubricants: You’ll need a lubricant specifically designed for gear shift cables, such as silicone-based or petroleum-based lubricants.
- Specialized tools: Depending on the type of gear shift cable and vehicle, you may need specialized tools such as a cable adjuster or a gear shift cable installer.
- Socket set or wrench set: You’ll need a socket set or wrench set to remove the old cable and install the new one.
- Pliers and punches: You may need pliers and punches to remove any clips or retainers that hold the old cable in place.
- Torque wrench: A torque wrench is necessary to ensure that the new cable is properly secured.
When sourcing these materials, make sure to consult your vehicle’s repair manual or manufacturer’s instructions to ensure you get the correct tools and materials for the job. You can also purchase these materials from a reputable auto parts store or online retailer.
In addition to the tools and materials, it’s also essential to have a clean and well-lit workspace to ensure a successful replacement. Make sure to clear any clutter or debris from the area and have a drain pan or other container to catch any spills or drips.
By gathering the right tools and materials, you’ll be well-prepared to tackle the replacement process and ensure a smooth and successful installation.
A Step-by-Step Guide to Replacing the Gear Shift Cable
Replacing the gear shift cable is a relatively straightforward process that can be completed with the right tools and a bit of patience. Here’s a step-by-step guide to help you through the process:
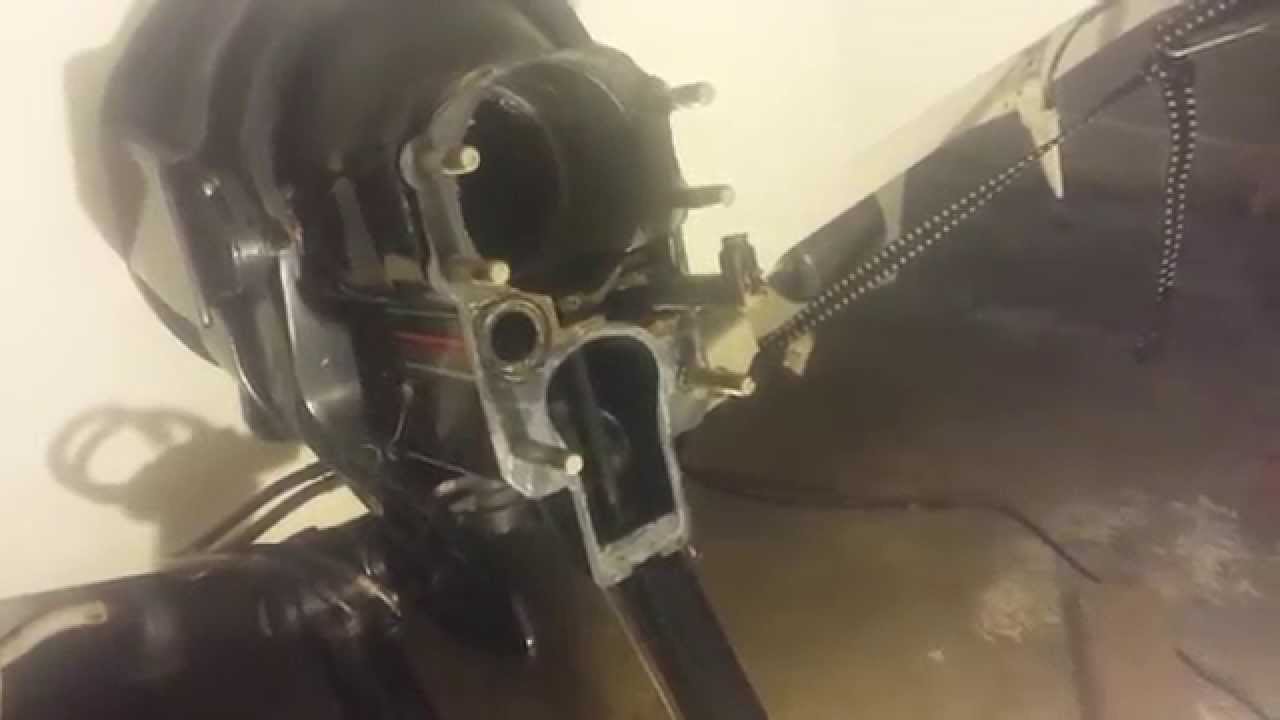
Step 1: Disassemble the Gear Shift Mechanism
Start by disassembling the gear shift mechanism to access the old cable. This will typically involve removing the gear shift knob and any other components that may be obstructing access to the cable.
Step 2: Remove the Old Cable
Once you have access to the old cable, use a wrench or pliers to loosen any retaining clips or nuts that hold it in place. Then, carefully pull the old cable out of the gear shift mechanism.
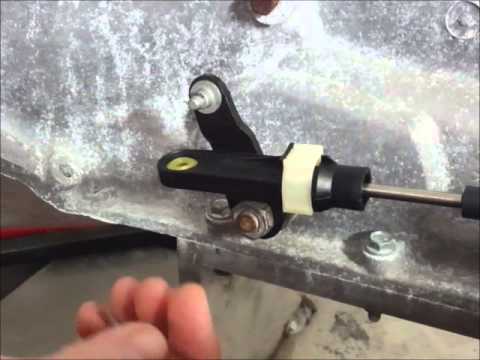
Step 3: Install the New Cable
Take the new gear shift cable and insert it into the gear shift mechanism, making sure it is properly seated and aligned. Use the wrench or pliers to secure the cable in place with the retaining clips or nuts.
Step 4: Reassemble the Gear Shift Mechanism
Reassemble the gear shift mechanism in the reverse order that it was disassembled. Make sure all components are properly secured and tightened.
Step 5: Adjust the Cable
Adjust the gear shift cable to ensure proper tension and alignment. This may involve adjusting the cable’s length or rotating the gear shift mechanism to achieve the correct position.
By following these steps, you should be able to successfully replace your gear shift cable and enjoy smooth shifting performance. Remember to always refer to your vehicle’s repair manual or manufacturer’s instructions for specific guidance on replacing the gear shift cable in your particular vehicle.

Tips and Tricks for a Smooth Replacement Process
Replacing a gear shift cable can be a straightforward process, but it’s not without its challenges. Here are some expert tips and tricks to help you navigate the process and ensure a smooth shifting experience:
Avoid Common Mistakes
One of the most common mistakes when replacing a gear shift cable is incorrect cable routing. Make sure to consult your vehicle’s repair manual or manufacturer’s instructions to ensure you’re routing the cable correctly.
Handle Tricky Situations
When replacing a gear shift cable, you may encounter tricky situations such as stuck or corroded components. Don’t be afraid to use penetrating oil or other lubricants to help loosen stuck parts.
Ensure Smooth Shifting
After replacing the gear shift cable, make sure to test the shifting mechanism to ensure smooth shifting. If you notice any issues, adjust the cable as needed to achieve proper tension and alignment.
Use the Right Tools
Using the right tools can make all the difference when replacing a gear shift cable. Make sure to use a torque wrench to secure the cable in place, and avoid using pliers or other tools that can damage the cable or surrounding components.
Consult the Repair Manual
Finally, don’t be afraid to consult your vehicle’s repair manual or manufacturer’s instructions for specific guidance on replacing the gear shift cable. These resources can provide valuable insights and tips to help you navigate the process.
By following these tips and tricks, you can ensure a smooth and successful replacement process. Remember to always refer to your vehicle’s repair manual or manufacturer’s instructions for specific guidance on replacing the gear shift cable in your particular vehicle.

Common Mistakes to Avoid When Replacing the Gear Shift Cable
Replacing a gear shift cable can be a straightforward process, but it’s not without its challenges. Here are some common mistakes to watch out for during the replacement process:
Incorrect Cable Routing
One of the most common mistakes when replacing a gear shift cable is incorrect cable routing. Make sure to consult your vehicle’s repair manual or manufacturer’s instructions to ensure you’re routing the cable correctly.
Insufficient Lubrication
Insufficient lubrication can cause the gear shift cable to wear out prematurely. Make sure to apply the recommended lubricant to the cable and surrounding components to ensure smooth shifting.
Improper Adjustment
Improper adjustment of the gear shift cable can cause shifting problems and premature wear. Make sure to adjust the cable according to the manufacturer’s instructions to ensure proper tension and alignment.
Using the Wrong Tools
Using the wrong tools can damage the gear shift cable or surrounding components. Make sure to use the recommended tools and follow the manufacturer’s instructions to avoid damaging the cable or other components.
Not Testing the Cable
Not testing the gear shift cable after replacement can cause shifting problems and premature wear. Make sure to test the cable according to the manufacturer’s instructions to ensure proper function and smooth shifting.
By avoiding these common mistakes, you can ensure a successful replacement process and enjoy smooth shifting performance. Remember to always refer to your vehicle’s repair manual or manufacturer’s instructions for specific guidance on replacing the gear shift cable in your particular vehicle.
After Replacement: Testing and Adjusting the Gear Shift Cable
After replacing the gear shift cable, it’s essential to test and adjust the cable to ensure proper function and smooth shifting. Here’s a step-by-step guide on how to test and adjust the gear shift cable:
Testing the Gear Shift Cable
Start by testing the gear shift cable to ensure it’s functioning properly. Check for any unusual noises, vibrations, or resistance when shifting gears. If you notice any issues, adjust the cable as needed to achieve proper tension and alignment.
Adjusting the Gear Shift Cable
Adjusting the gear shift cable is a crucial step in ensuring smooth shifting performance. Use the manufacturer’s instructions to adjust the cable to the recommended specifications. Make sure to check the cable’s tension and alignment regularly to ensure proper function.
Checking for Proper Function
After adjusting the gear shift cable, check for proper function by shifting through the gears. Make sure the cable is engaging and disengaging properly, and that there are no unusual noises or vibrations.
Ensuring Smooth Shifting
Finally, ensure smooth shifting by checking the gear shift cable’s alignment and tension. Make any necessary adjustments to achieve proper function and smooth shifting performance.
By following these steps, you can ensure that your gear shift cable is functioning properly and that you’re enjoying smooth shifting performance. Remember to always refer to your vehicle’s repair manual or manufacturer’s instructions for specific guidance on testing and adjusting the gear shift cable in your particular vehicle.

Conclusion: Shifting into High Gear with Confidence
Replacing a gear shift cable can seem like a daunting task, but with the right guidance and preparation, it can be a straightforward process. By following the steps outlined in this article, you can ensure a successful replacement and enjoy smooth shifting performance.
Remember to always diagnose the problem correctly, gather the right tools and materials, and follow the manufacturer’s instructions for specific guidance on replacing the gear shift cable in your particular vehicle.
Additionally, be sure to test and adjust the gear shift cable after replacement to ensure proper function and smooth shifting. By doing so, you can avoid common mistakes and ensure a smooth shifting experience.
With the knowledge and confidence gained from this article, you can take on the replacement project with ease. Don’t be afraid to get your hands dirty and tackle the project yourself. With the right mindset and preparation, you can save money and ensure a successful replacement.
So, shift into high gear with confidence and take on the replacement project today!