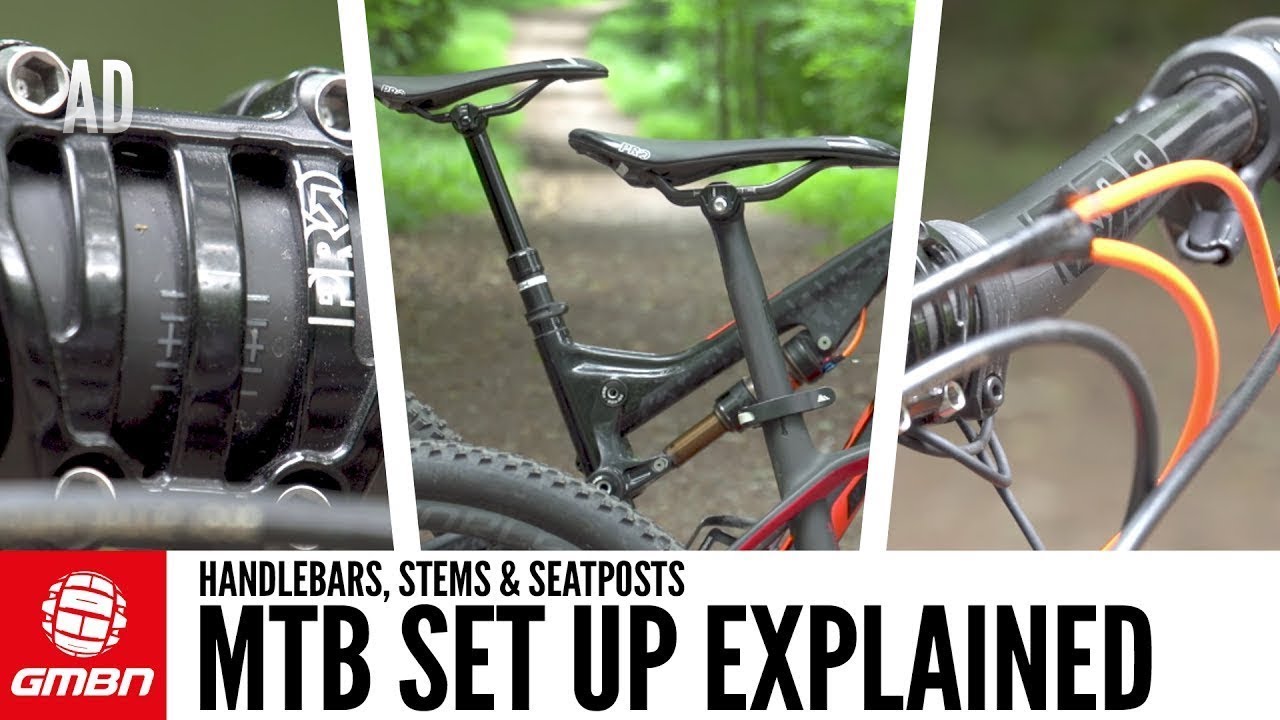
The Role of Handlebar Setup in Mountain Biking
A proper mountain bike handlebar setup plays a crucial role in enhancing control, comfort, and overall performance during your rides. Adjusting various components, such as handlebar width, stem length, and grip type, can significantly impact your biking experience. Fine-tuning these elements can help you adapt to different terrains, improve handling, and prevent fatigue, ultimately leading to a more enjoyable and safer ride.

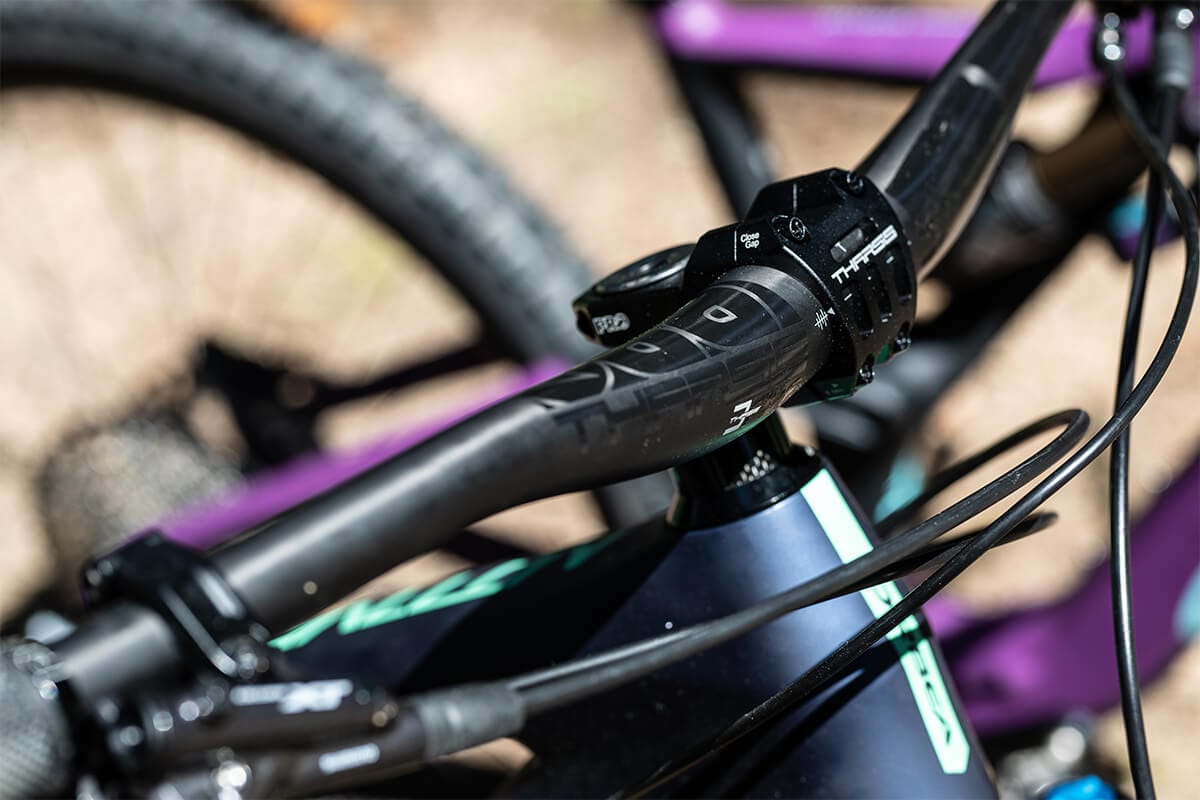
Click Image to Find eBike Products
Assessing Your Riding Style and Bike Geometry
When setting up your mountain bike handlebars, it is essential to consider both your riding style and bike geometry. Different riding styles, such as cross-country, downhill, or trail riding, demand unique handlebar preferences to optimize control, comfort, and performance. For instance, cross-country riders often prefer narrower handlebars for better maneuverability, while downhill riders may opt for wider handlebars to enhance stability and leverage.
Bike geometry also plays a significant role in determining the ideal handlebar setup. For example, bikes with a slack head angle and long wheelbase typically benefit from wider handlebars to improve high-speed stability. Conversely, bikes with a steep head angle and short wheelbase may require narrower handlebars to maintain agility and quick steering.
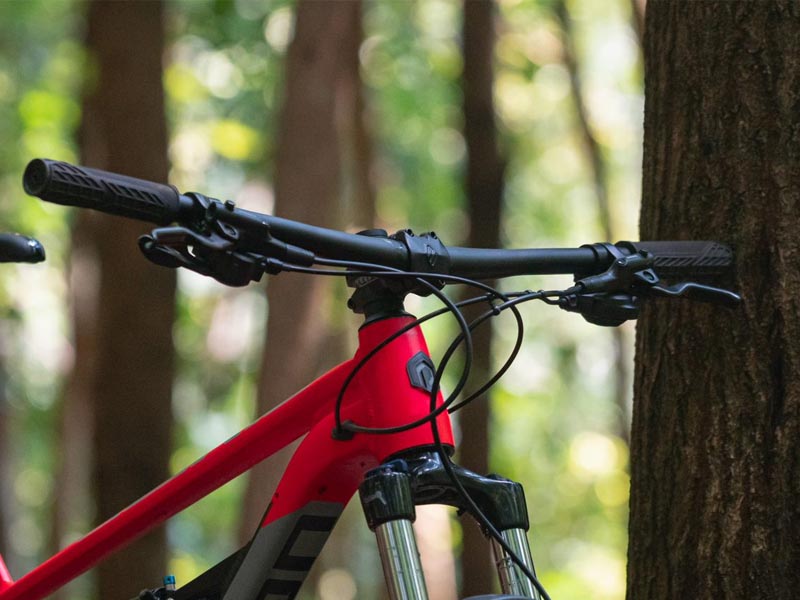
Selecting the Right Handlebar Width
Choosing the appropriate handlebar width significantly impacts your mountain bike handlebar setup. Several factors, including rider height, shoulder width, and riding style, influence the ideal handlebar width. Generally, taller riders and those with broader shoulders may prefer wider handlebars for increased leverage and control. However, riders with smaller frames or narrower shoulders might find narrower handlebars more comfortable and maneuverable.
Riding style also plays a crucial role in handlebar width selection. Cross-country riders typically opt for narrower handlebars, often between 680mm to 720mm, to enhance maneuverability and reduce weight. Trail riders, on the other hand, often prefer slightly wider handlebars, ranging from 740mm to 780mm, for better stability and control in various terrains. Downhill riders and freeriders usually go for the widest handlebars, between 780mm to 820mm, to maximize stability, leverage, and confidence during high-speed descents and technical sections.
Choosing the Ideal Stem Length
Stem length significantly affects handling and stability in your mountain bike handlebar setup. A shorter stem generally provides quicker steering and increased agility, while a longer stem contributes to straight-line stability and high-speed confidence. However, there are trade-offs between shorter and longer stems, and selecting the ideal stem length depends on your riding style and bike geometry.
For cross-country riders, who prioritize maneuverability and efficiency, shorter stems (typically between 50mm to 80mm) are often preferred. These stems allow for quicker handling and a more aggressive riding position, making them suitable for tight, twisty trails and competitive racing.
Trail riders, who encounter a variety of terrains, often opt for slightly longer stems (ranging from 80mm to 120mm) to balance agility and stability. This stem length range offers a versatile setup that adapts well to changing trail conditions and riding styles.
Downhill riders and freeriders, who require maximum stability and control during high-speed descents, typically use longer stems (120mm or more). These stems help maintain a centered riding position and provide additional leverage for maneuvering the bike in technical sections and steep terrain.
Ultimately, the ideal stem length depends on your riding style, bike geometry, and personal preferences. Experimenting with different stem lengths can help you find the perfect balance between agility and stability, ensuring a comfortable and enjoyable riding experience.
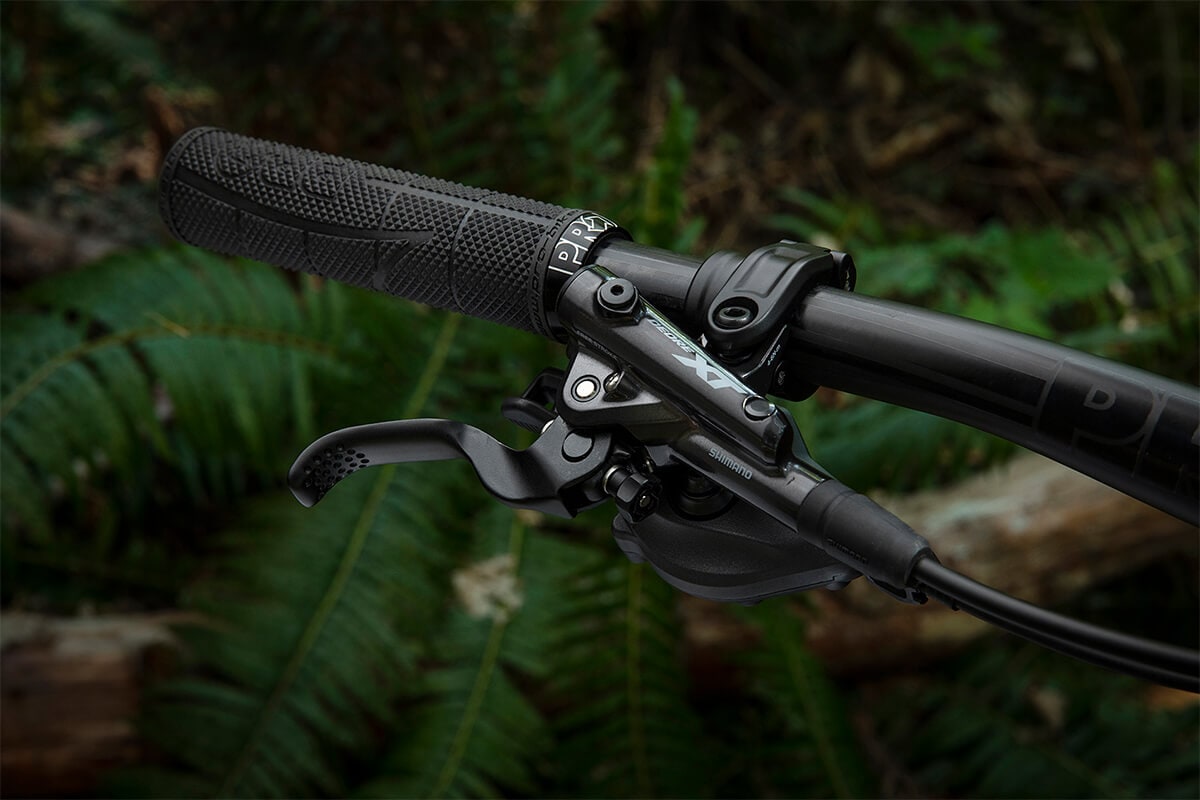
Grip Types and Materials: Enhancing Comfort and Control
Grip types and materials play a crucial role in your mountain bike handlebar setup, significantly impacting comfort, control, and durability. Various grip options cater to different preferences and use cases, making it essential to understand their unique characteristics and benefits.
One popular grip type is the lock-on grip. These grips feature an inner sleeve that slides onto the handlebar, followed by a soft, replaceable outer grip. Lock-on grips are known for their security and ease of installation, as they typically include clamps that prevent twisting or slipping during rides. They are available in a wide range of compounds, from soft and cushioned to firm and responsive, allowing riders to choose the level of comfort and feedback they prefer.
Another grip option is the traditional slip-on grip. These grips are made of a single piece of rubber or foam, which slides directly onto the handlebar. Slip-on grips often provide a softer, more comfortable feel than lock-on grips, but they can be more challenging to install and may rotate or slip during rides, especially in wet or muddy conditions. Some riders prefer the additional feedback and vibration dampening that slip-on grips offer, despite their drawbacks.
When selecting grip materials, consider factors such as durability, grip, and feel. Rubber grips are known for their excellent durability and grip, even in wet conditions. However, they can be less comfortable than foam grips, which offer a softer, more cushioned feel. Foam grips, on the other hand, may wear out faster than rubber grips and can become slick when wet or dirty. Some grips combine rubber and foam materials to balance durability, comfort, and grip.
Ultimately, the ideal grip type and material for your mountain bike handlebar setup depends on your personal preferences, riding style, and environmental conditions. Experimenting with different grip options can help you find the perfect balance between comfort, control, and durability, ensuring a safer and more enjoyable riding experience.
Bar Ends and Extensions: Expanding Your Handlebar Real Estate
Bar ends and extensions are additional components that can increase control and leverage in your mountain bike handlebar setup. These accessories provide alternative hand positions, reducing fatigue and strain during long rides and steep descents. However, they also come with benefits and drawbacks, and it’s essential to understand when to consider using them.
Bar ends are extensions that attach to the ends of your handlebars, providing extra gripping surface and hand positions. They are typically made of lightweight materials such as aluminum or carbon fiber and are available in various shapes and sizes. Bar ends can be particularly useful for cross-country riders, who spend long hours in the saddle and benefit from additional hand positions to alleviate pressure and fatigue.
However, bar ends also have drawbacks. They can make handling more challenging in tight spaces, as they extend the width of your handlebars. Additionally, bar ends can catch on obstacles or branches, potentially causing accidents or damage to your bike. As a result, some riders prefer to avoid using bar ends, especially in technical or densely wooded terrains.
Extensions, on the other hand, are components that attach to the sides of your handlebars, providing additional hand positions closer to the stem. Extensions are often used by downhill or freeride riders, who require extra control and leverage during high-speed descents and technical sections. They can help maintain a centered riding position and reduce strain on the arms and shoulders.
Like bar ends, extensions have benefits and drawbacks. They add weight and complexity to your handlebar setup and can interfere with other components, such as brake levers or shifters. Moreover, extensions may not be legal in some racing or competitive events, so it’s essential to check the rules and regulations before installing them.
Ultimately, whether to use bar ends or extensions depends on your riding style, preferences, and the specific demands of your terrain. Consider the potential benefits and drawbacks, and experiment with different setups to find the ideal solution for your mountain bike handlebar setup.

Setting Up and Adjusting Your Mountain Bike Handlebars
Setting up and adjusting your mountain bike handlebars is essential for optimizing control, comfort, and performance. By following a clear, concise guide, you can maintain proper ergonomics, ensure even brake lever reach, and achieve the ideal saddle-handlebar relationship. Here are the steps to set up and adjust your mountain bike handlebars:
- Choose the right handlebar width: Based on your riding style, height, and shoulder width, select a handlebar width that provides optimal control and comfort. Narrower handlebars are generally better for quick maneuverability, while wider handlebars offer increased stability and leverage.
- Select the appropriate stem length: Consider your riding style, bike geometry, and the trade-offs between shorter and longer stems. Shorter stems provide quicker steering and a more responsive feel, while longer stems offer stability and straight-line tracking. Adjust the stem length to achieve your desired riding position and handling characteristics.
- Install your handlebars and stem: Carefully slide the handlebar into the stem and secure it with the top cap and stem bolts. Ensure that the handlebars are aligned straight and centered with the front wheel.
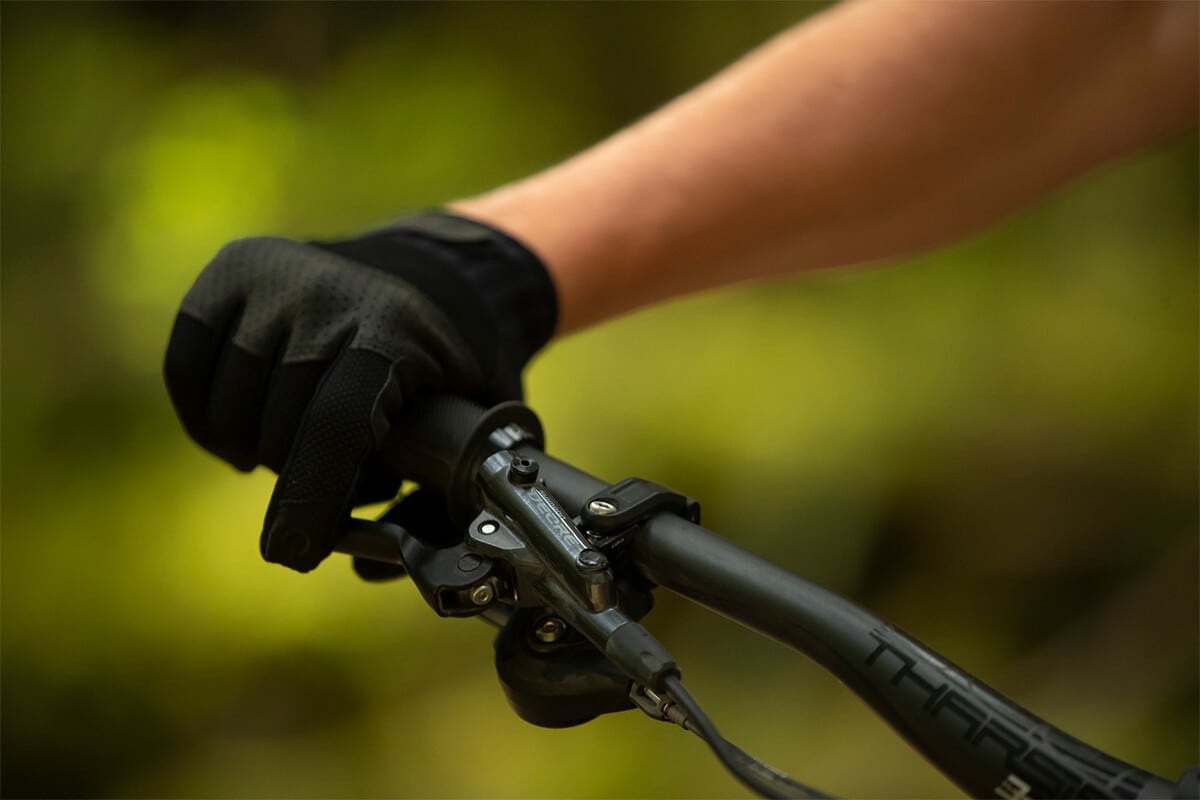
- Set up your brake levers: Position your brake levers to allow for even reach and maximum control. Aim for a comfortable grip that enables you to apply pressure with ease and maintain proper hand positioning. It’s crucial to have even reach on both sides to ensure consistent braking performance.
- Adjust your shifters: Place your shifters in a convenient location, allowing for quick and easy gear changes without compromising control or comfort. Ensure that your shifters are within easy reach and do not interfere with your braking or steering.
- Install grips: Choose the right grip type and material for your needs. Slide the grips onto the handlebars, ensuring a snug fit. For lock-on grips, tighten the clamps to secure them in place.
- Fine-tune your setup: Test ride your bike and make any necessary adjustments to ensure a comfortable, ergonomic riding position. Fine-tune your handlebar setup to suit your individual preferences and needs.
By following these steps, you can create a personalized mountain bike handlebar setup that enhances control, comfort, and performance. Remember to consider your riding style, bike geometry, and personal preferences when making adjustments, and always prioritize safety and ergonomics in your setup.

Fine-Tuning Your Setup: Personalizing Your Mountain Bike Experience
Once you have set up and adjusted your mountain bike handlebars according to the guidelines provided earlier, it’s time to fine-tune your setup to suit your individual preferences and needs. Fine-tuning your handlebar setup can significantly enhance your control, comfort, and overall riding experience. Here are some tips to help you personalize your mountain bike handlebar setup:
- Experiment with different grip types and materials: Grip types and materials can significantly impact comfort and control. Try various options to find the one that best suits your needs and preferences. Consider factors such as grip pattern, diameter, and compound to ensure optimal comfort and control.
- Consider using bar ends or extensions: Bar ends and extensions can provide additional hand positions, increasing control and leverage. Evaluate whether these components could benefit your riding style and discipline. Keep in mind the benefits and drawbacks of each option before making a decision.
- Adjust your saddle position: The relationship between your saddle and handlebars plays a crucial role in your overall riding experience. Make sure your saddle height, angle, and fore/aft position are optimized for your riding style and preferences. Fine-tuning your saddle position can help you achieve a comfortable, efficient, and powerful pedaling position.
- Evaluate your suspension setup: If your mountain bike is equipped with suspension components, ensure they are properly set up and adjusted for your riding style and weight. Proper suspension setup can significantly improve control, comfort, and overall performance.
- Consider additional accessories: Additional accessories, such as suspension lockouts, dropper posts, or remote controls, can further enhance your mountain bike handlebar setup. Evaluate your riding style and preferences to determine whether any of these accessories could benefit your riding experience.
Remember, fine-tuning your mountain bike handlebar setup is an ongoing process. Continuously evaluate your setup and make adjustments as needed to ensure optimal control, comfort, and performance. By personalizing your setup, you can create a riding experience that is tailored to your unique needs and preferences.